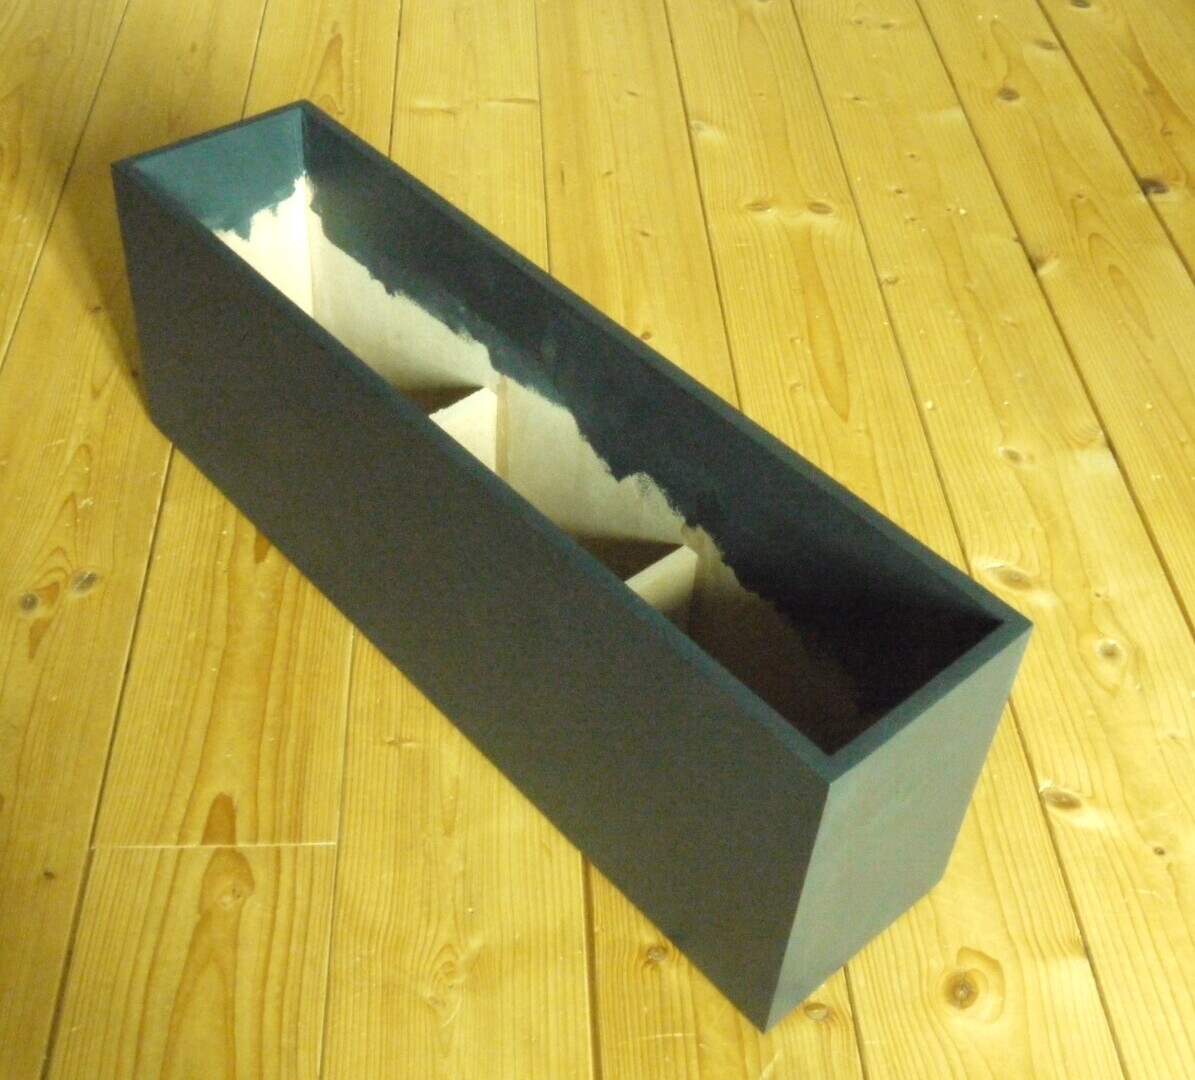
Once the box is glued up, I sand down the joints to something approaching smooth and then paint it black. For those with the skills (which doesn’t include me) there really is nothing stopping you going to town on the finishing if you want to. Wood veneers and a spray lacquer? Whatever floats your boat. Personally, I’m happy with plain and discrete – besides which it keeps both the visibility and the cost down.
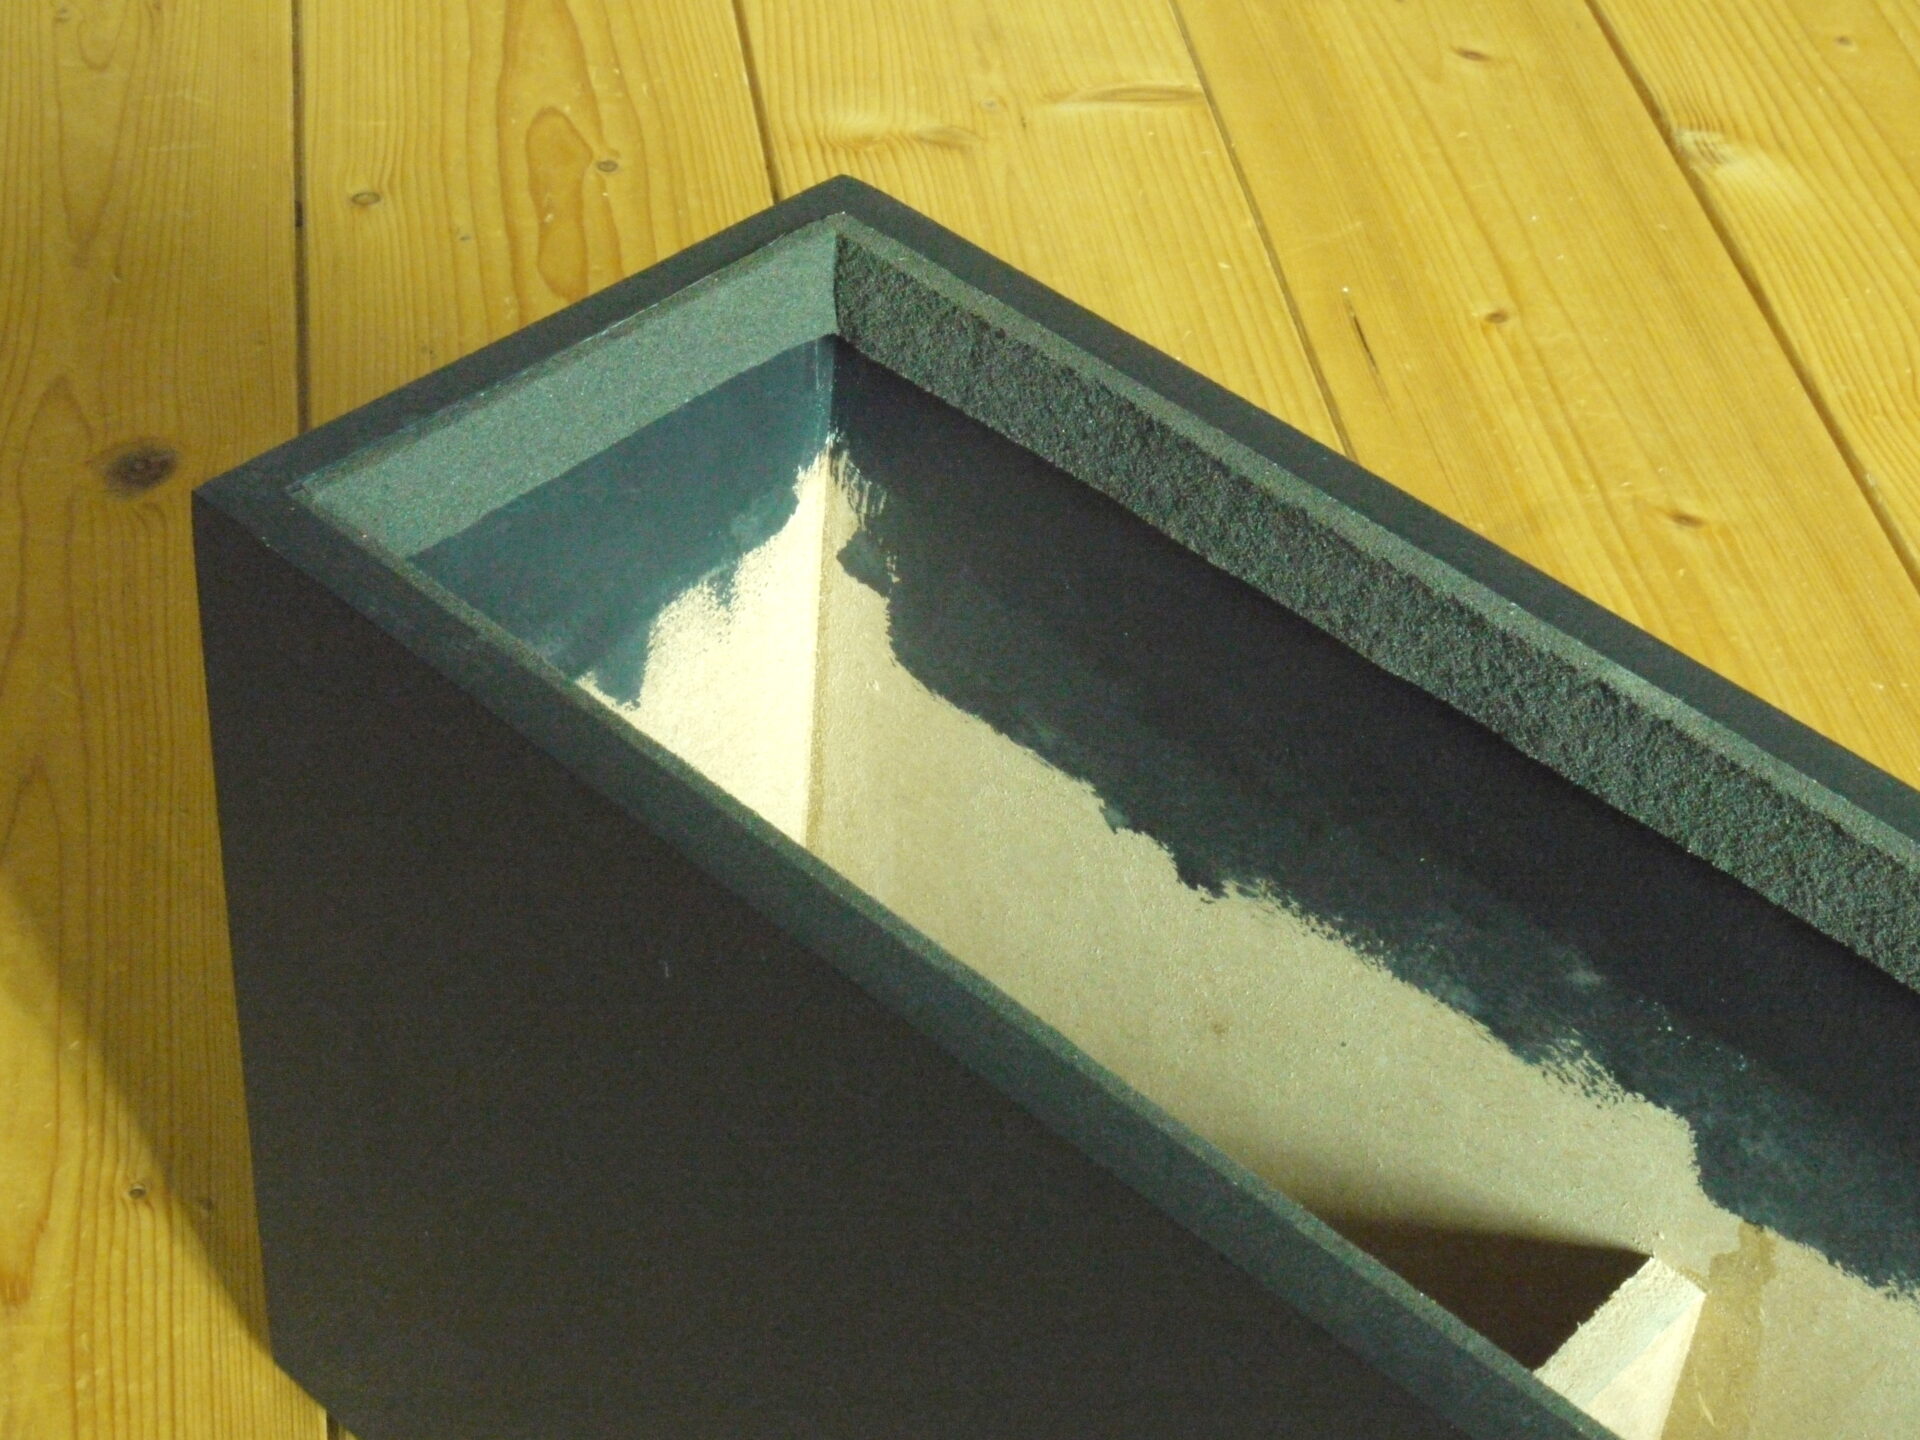
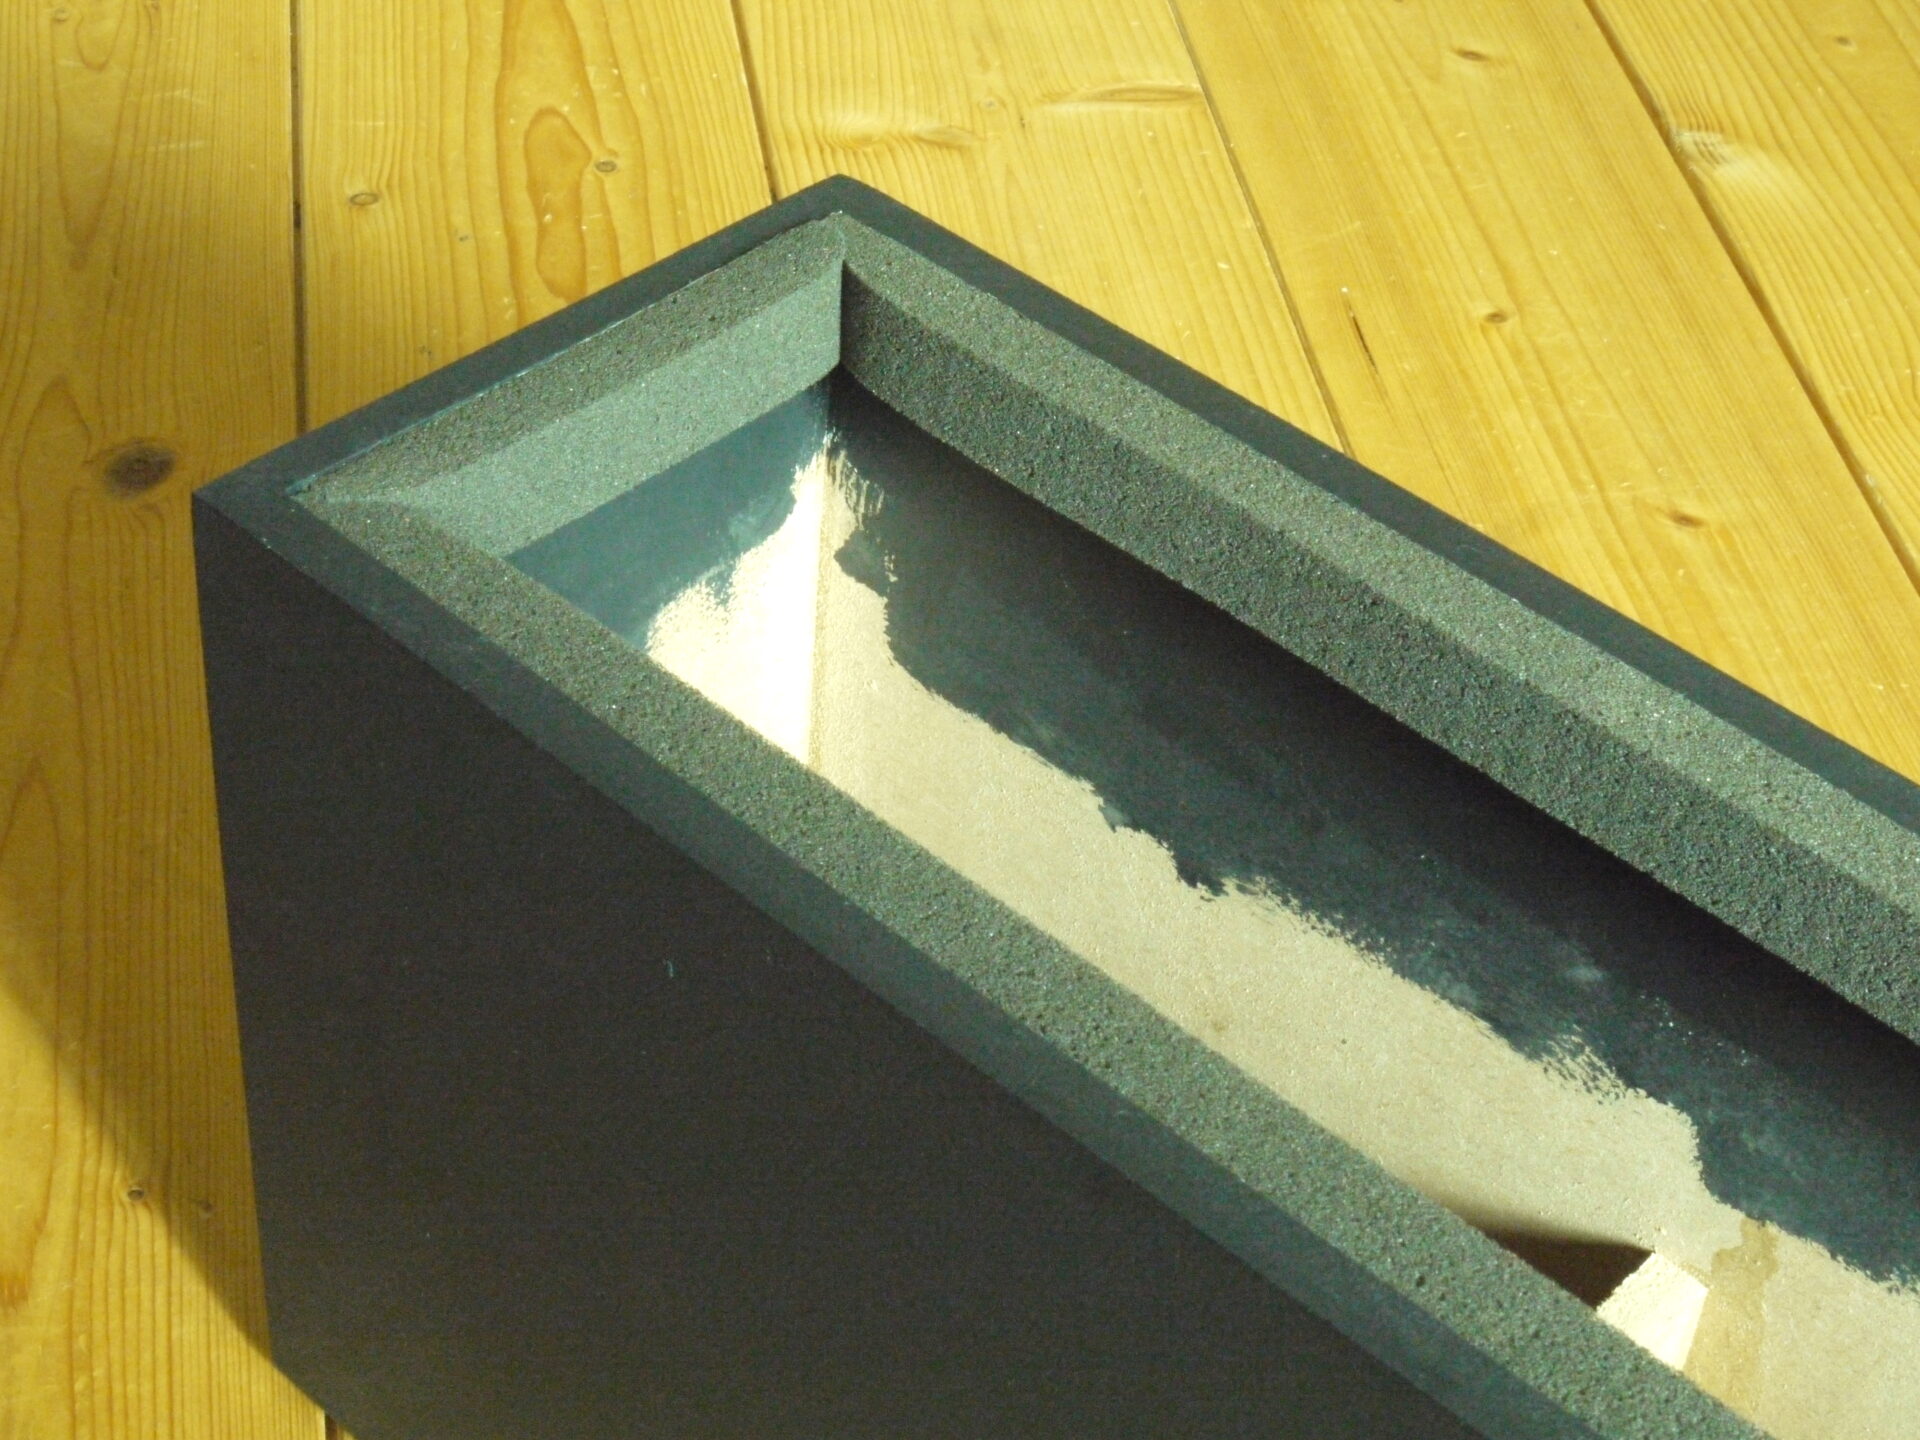
With the box painted up, I seal the internal seams with silicon sealant (that pesky sand really does get everywhere given even half a chance) and then put strips of draft excluder around the inside top edge. These will act to centre the plywood platform and help retain the sand. The draught excluder I use is designed to surround sealed-unit windows and, although on the roll it is around 2mm thick, once in place it slowly expands to a maximum depth of 7mm. At 15mm wide that provides plenty of margin (in terms of depth) and a nice tight fit around the top panel, while still being spongy enough to ensure proper decoupling. Clamping a straightedge across the top of the side you are dealing with helps get a nice, level junction between the panel and the draught excluder and helps keep everything looking neat.
So far, the costs for the PowerHAUS ‘sand-box’ amount to around €20 for the pre-cut panels. The other materials I had lying around, but even if you have to buy glue, sealant and draught excluder, you are probably going to add less than €20 on top of that. Which only leaves the sand, which is, ironically, perhaps the biggest challenge…
There’s dry – and then there’s REALLY dry…
Buying sand is easy: buying bone-dry sand, not so much… And you do need the sand to be dry or your carefully constructed box is going to disintegrate over time. Some builder’s merchants or DIY stores sell what is described as dry sand, but their idea of dry and mine are not always the same. If in doubt, the best alternative source I’ve found is pet shops, who sell really fine grain, dry sand for gerbils, snakes and the like, or you might source the sand used for sand blasting. However, these options can be pricy if you need a lot. Alternatively, you could use generic fillers like Cat Litter or even audio-specific fillers marketed by stand manufacturers. I’ve often wondered about the (incredibly dense) ash generated by my pellet burning heating furnace, but that is so fine that containing it inside the box could be a real challenge. I’m sure that there are plenty of additives or mixes that you could concoct, but discussion of those is beyond the scope of this article.
Once you’ve got your sand, you need to pour it gently into the box, helping it settle as you go. I normally use a small plastic measuring jug for this. Don’t be tempted to rush the job as it can get seriously messy very quickly indeed. Top the sand up to the draught excluder and level it off (you can use the edge of the support platform for this) and once you have the height of the sand where you want it, drop in the top platform and you are all done. Just remember that once it’s full of sand, your box is going to be heavy and far from simple to move around. I normally put large diameter felt feet in the corners of the base, which make it easy to slide into position.