Roy Gregory
As with all big, heavy speakers, installation is a challenge, but that challenge is as different in the case of the Göbel Divin Marquis as the speaker is different to the norm. They might only stand 118cm/46” tall, but each one weighs a substantial 150kg/330lbs. That weight results from a cabinet that is just as substantial as the mass suggests, but is also substantially deeper. The Divin Marquis is a full 72cm/28” deep! Yup – that makes the depth around 60% of the height. Throw in the beautiful lacquered paintwork which is as slippery as it is revealing of surface damage and you’ve got a speaker that is as potentially awkward to handle as it is unusually proportioned. However, in practice, the Marquis is incredibly straightforward to work with, in no small part because the manufacturer has considered and solved most of the problems. In fact, along with the larger Divin Noblesse, it might well act as an object lesson in how best to approach large speaker installation.
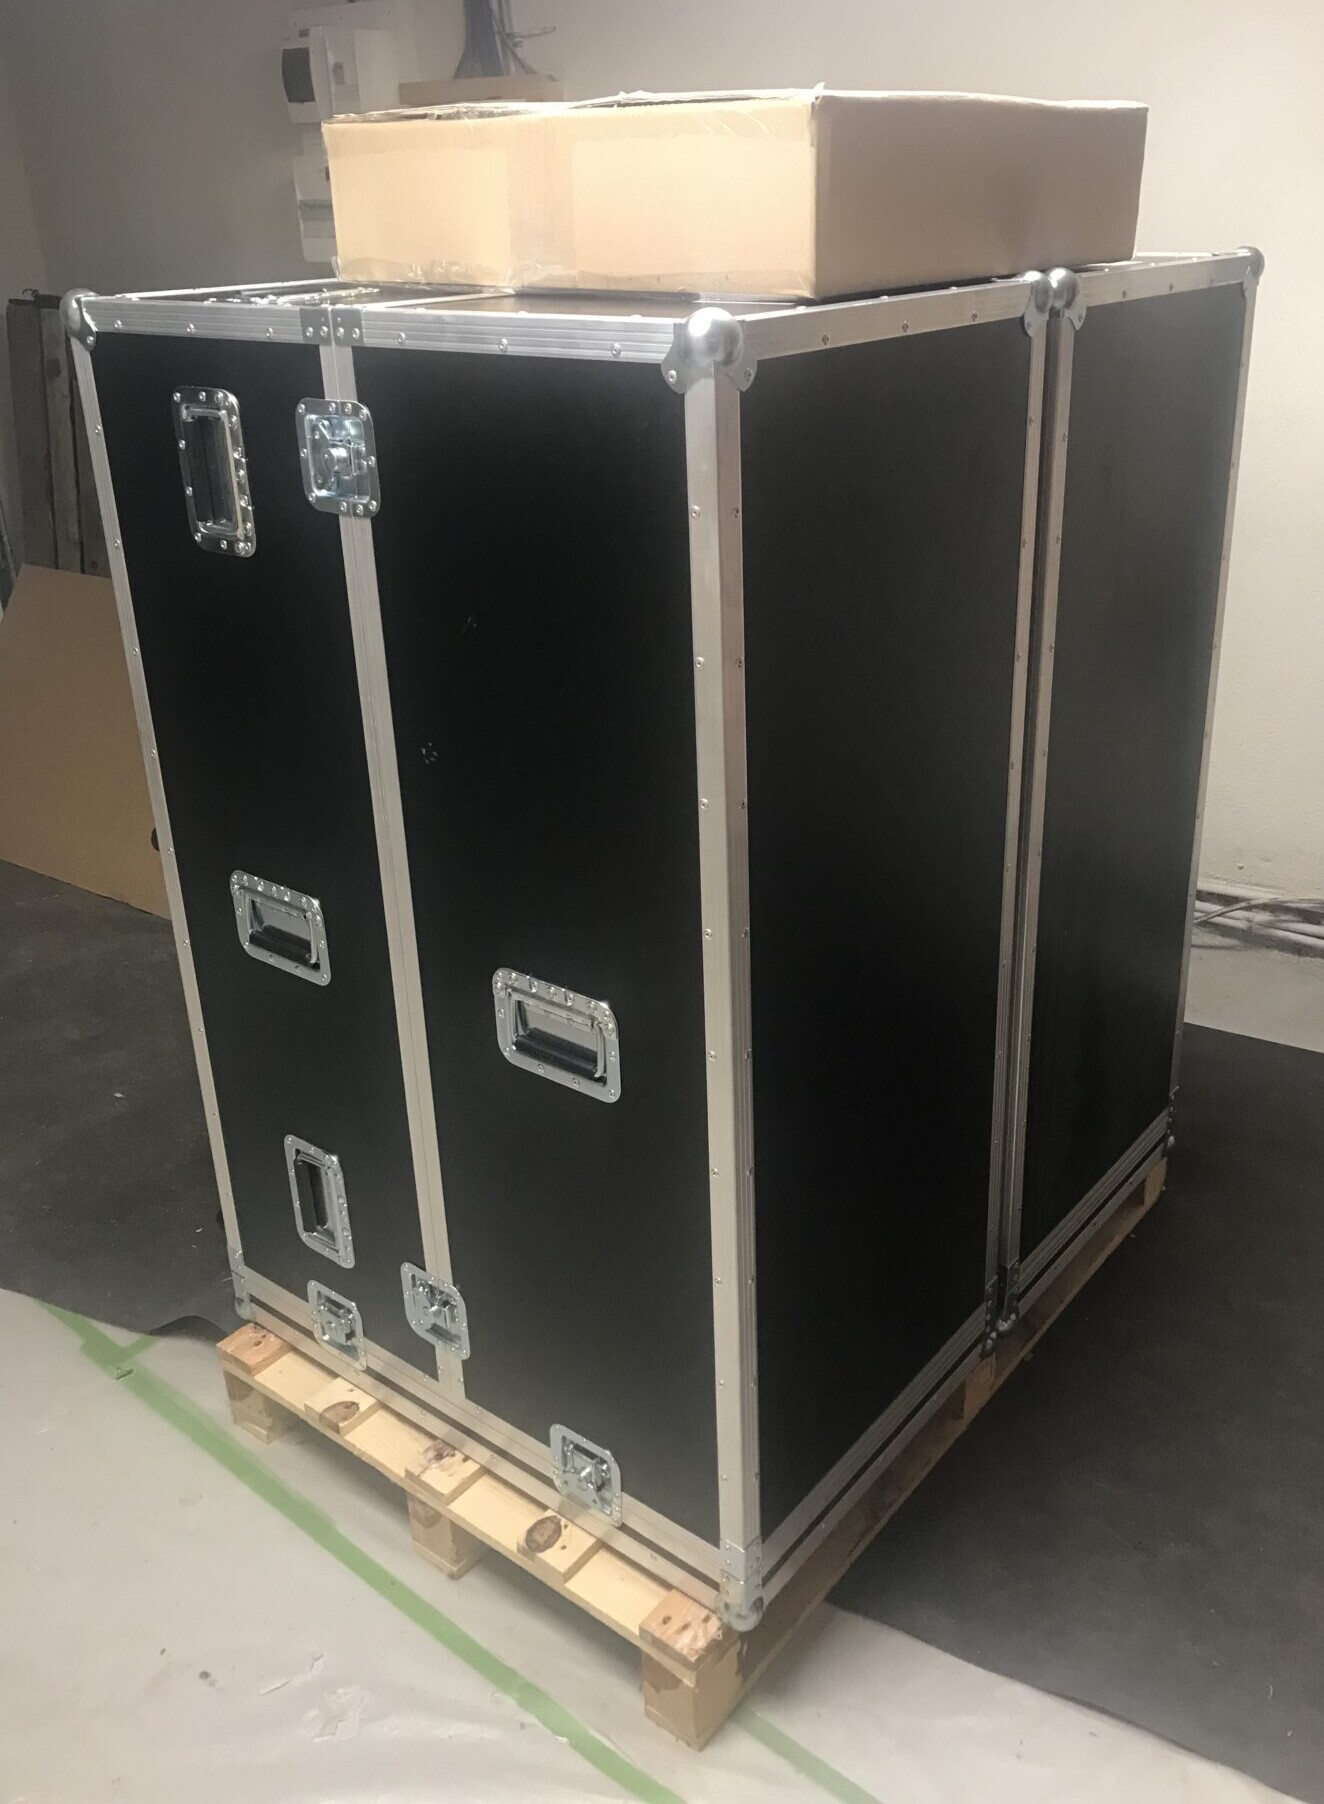
That starts with the flight-cases in which the speakers arrive. I’m not normally a particular fan of flight cases, especially for products it’s not sensible or practical to lift. But the Göbel flight-cases are an exception to that rule, through the simple expedient of being a three-part construction – front, back and base/end. Göbel also eschew the use of wheels on the flight-case or speaker, instead relying on skates (wheeled platforms) that, centrally positioned, make the packed speakers considerably more manoeuvrable. Simply tip the flight-case from the pallet on which it arrives onto the skate, wheel it into place, remove the base/end and tip it upright – all considerably easier and safer (thanks to the skate) than it would be with corner mounted casters. You even get blocks of high-density foam rubber, packed inside the base of the flight case to protect the floor as you rotate the case to the vertical.
But before you do so, it is worth just checking that all of the large diameter feet turn freely. They are held in place by zip-ties threaded through the pry-bar ports and these can just be pulled out. Check that the large diameter, fine pitch thread on each foot rotates freely.
Any dust or dirt can jam the thread, so I actually removed the feet, cleaned both threads (internal and external) and then lightly greased the internal thread to help with later adjustment. With the feet reinstalled, reinsert he zip-ties to prevent the feet falling off as you tip the speaker up. With the speaker now standing on its large, stainless steel feet, you simply unlatch the front and back parts of the flight case and the speaker is revealed, in place and in all its glory. Whip out the zip-ties and you are ready to get down to final placement.
The review speakers were single wired, although they can be specified with bi-wire terminals. They arrived with a large, square accessory pack strapped to their pallet. Open it and inside you find heir other secret weapon – a set of beautifully machined, thin and curved Delrin ‘shoes’ that fit between the feet and the floor. Why Delrin and why not Teflon? Because the softer Teflon tends to trap and embed any dust or grit, which then scratches any surface over which it’s slid. The Delrin slides just fine, while the gentle dome profile of the underside rides over irregularities like gaps between boards or tiles and even door-jambs, with ease.