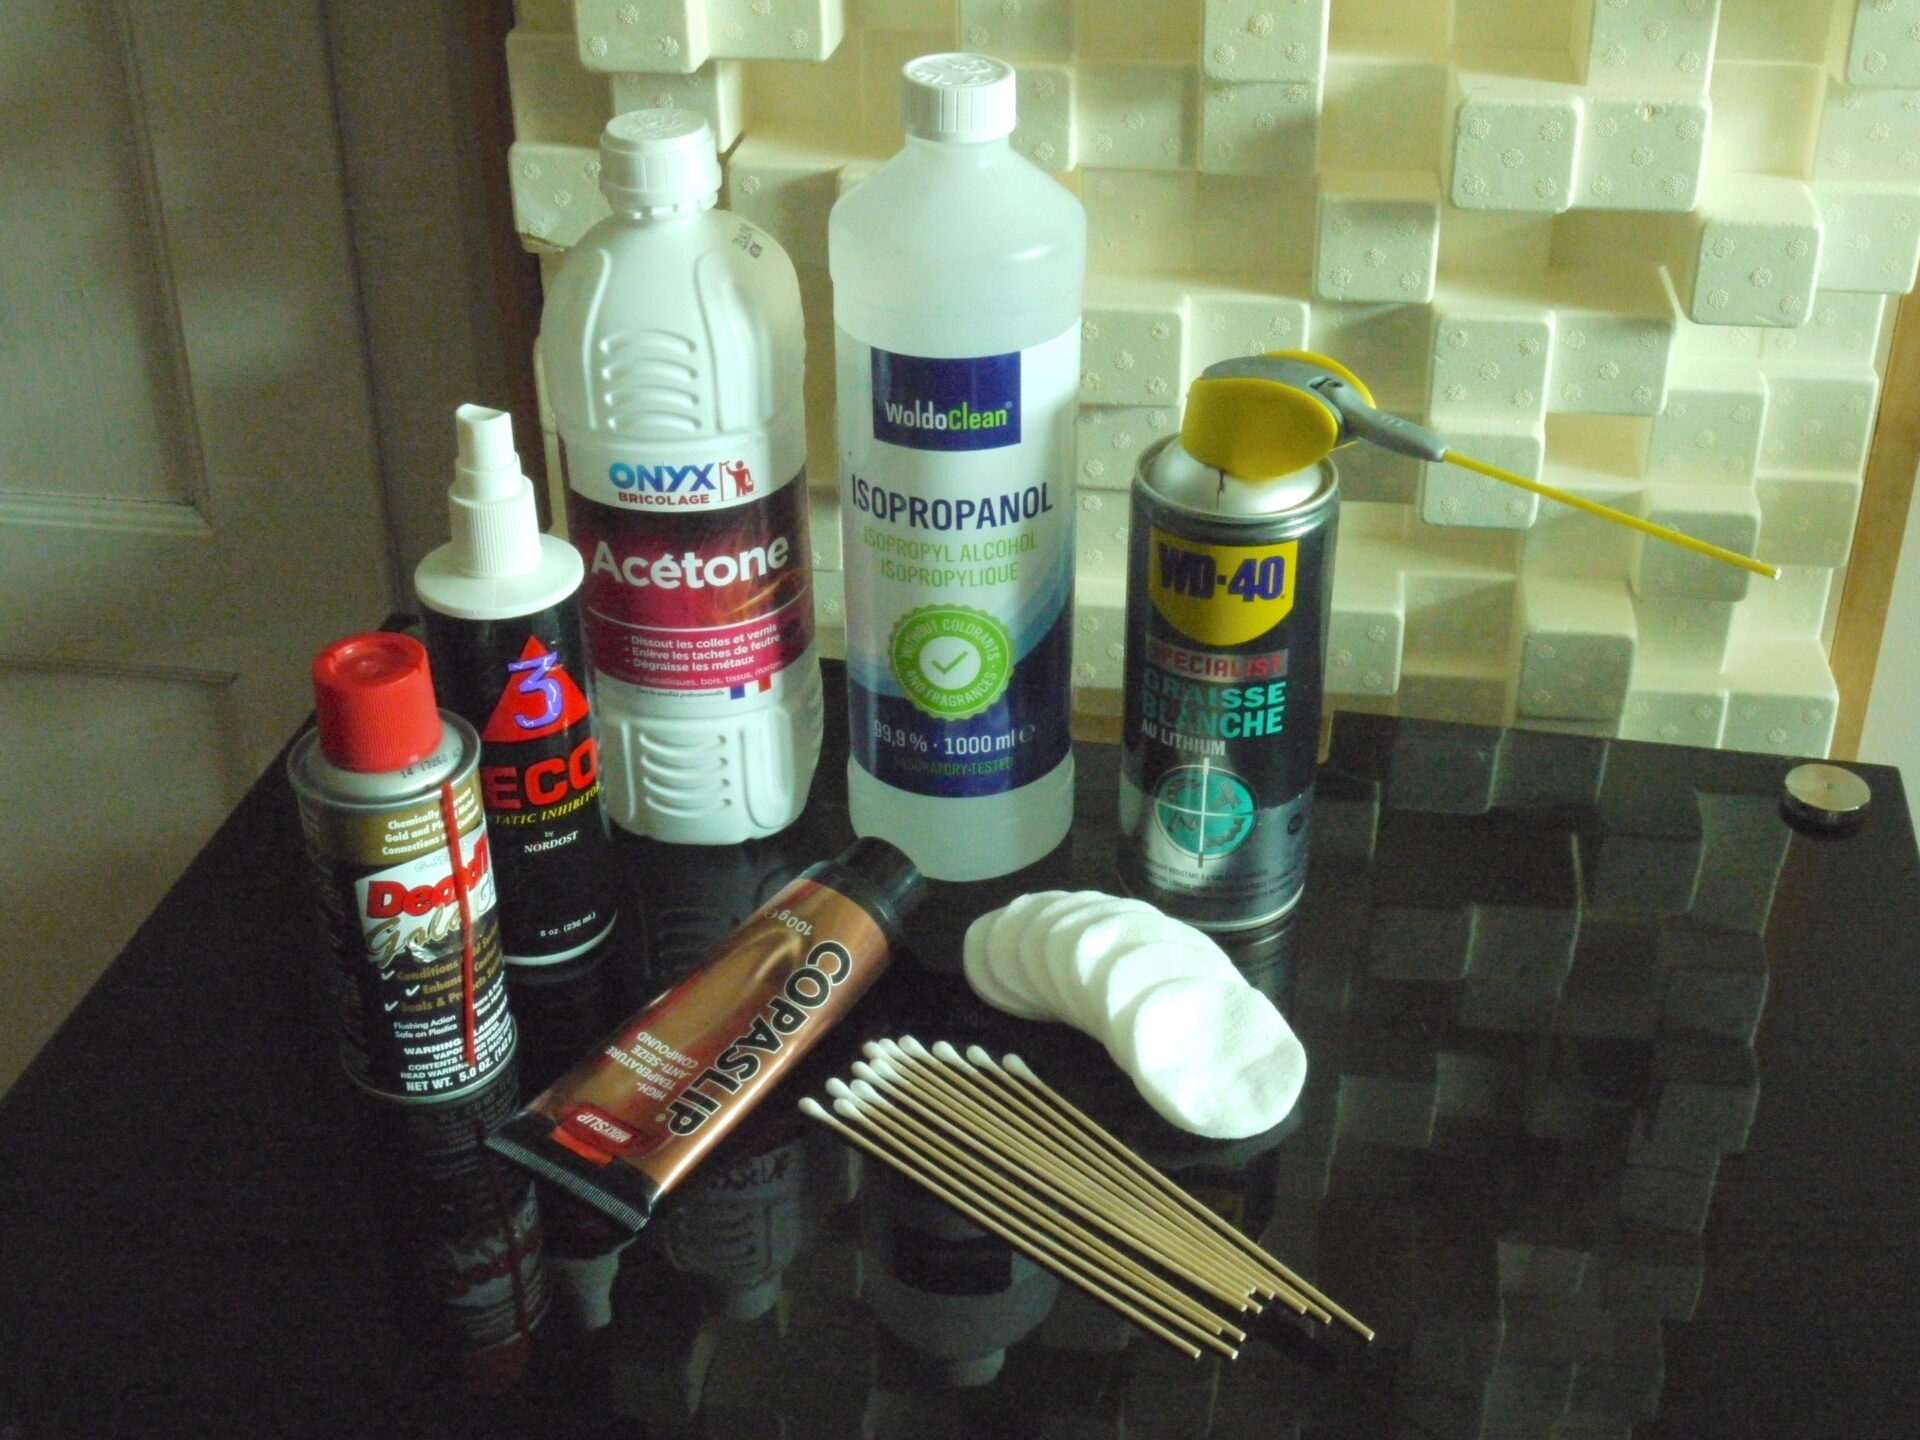
At the same time, clean the shelves on your rack. Different surfaces and materials demand different approaches, but use your common sense and if in doubt, you can always ask (either the manufacturer or your significant other). Before starting this process I assembled the following cleaning materials and lubricants/assembly compounds…
Deoxit Gold G5 Contact Cleaner
Nordost Eco 3 Static Inhibitor
Glass Cleaner
Acetone (for cleaning metal surfaces – not plastics!)
Isopropanol (for cleaning plastics and rubber)
Copaslip
White Lithium Grease
Cotton Buds (long ones)
Cotton Wool Pads
Kitchen Towels
Micro-Fibre Cloths
When it comes to cotton buds and pads, you are probably going to use quite a few. Ravaging your partner’s cosmetics cache is likely to make you unpopular, so buy your own. This will also allow you to obtain proper, 6” long and single-ended cotton buds, which are far better for reaching awkward nooks and crannies.
When it comes to cleaning, we often overlook the actual surface of the cables. They also need to be straightened, kinks removed and laid out on the floor to ‘relax’. You should clean their connectors with Deoxit (or your preferred alternative). I use a mix of cotton buds, cotton wool pads and micro-fibre cloths for this, paying particular attention to the pins on AC plugs. At the same time, I disconnect the AC power to the socket(s) supplying the system, remove the faceplate from the wall and check that the connections are nice and tight. With the power still off, insert a clean AC plug (or even better, one with fibrous dummy pins) lightly coated in cleaning fluid, in and out of each socket feeding the system or on your distribution block. Leave the power off and everything disconnected while the sockets dry. Over lunch is good: overnight is better!
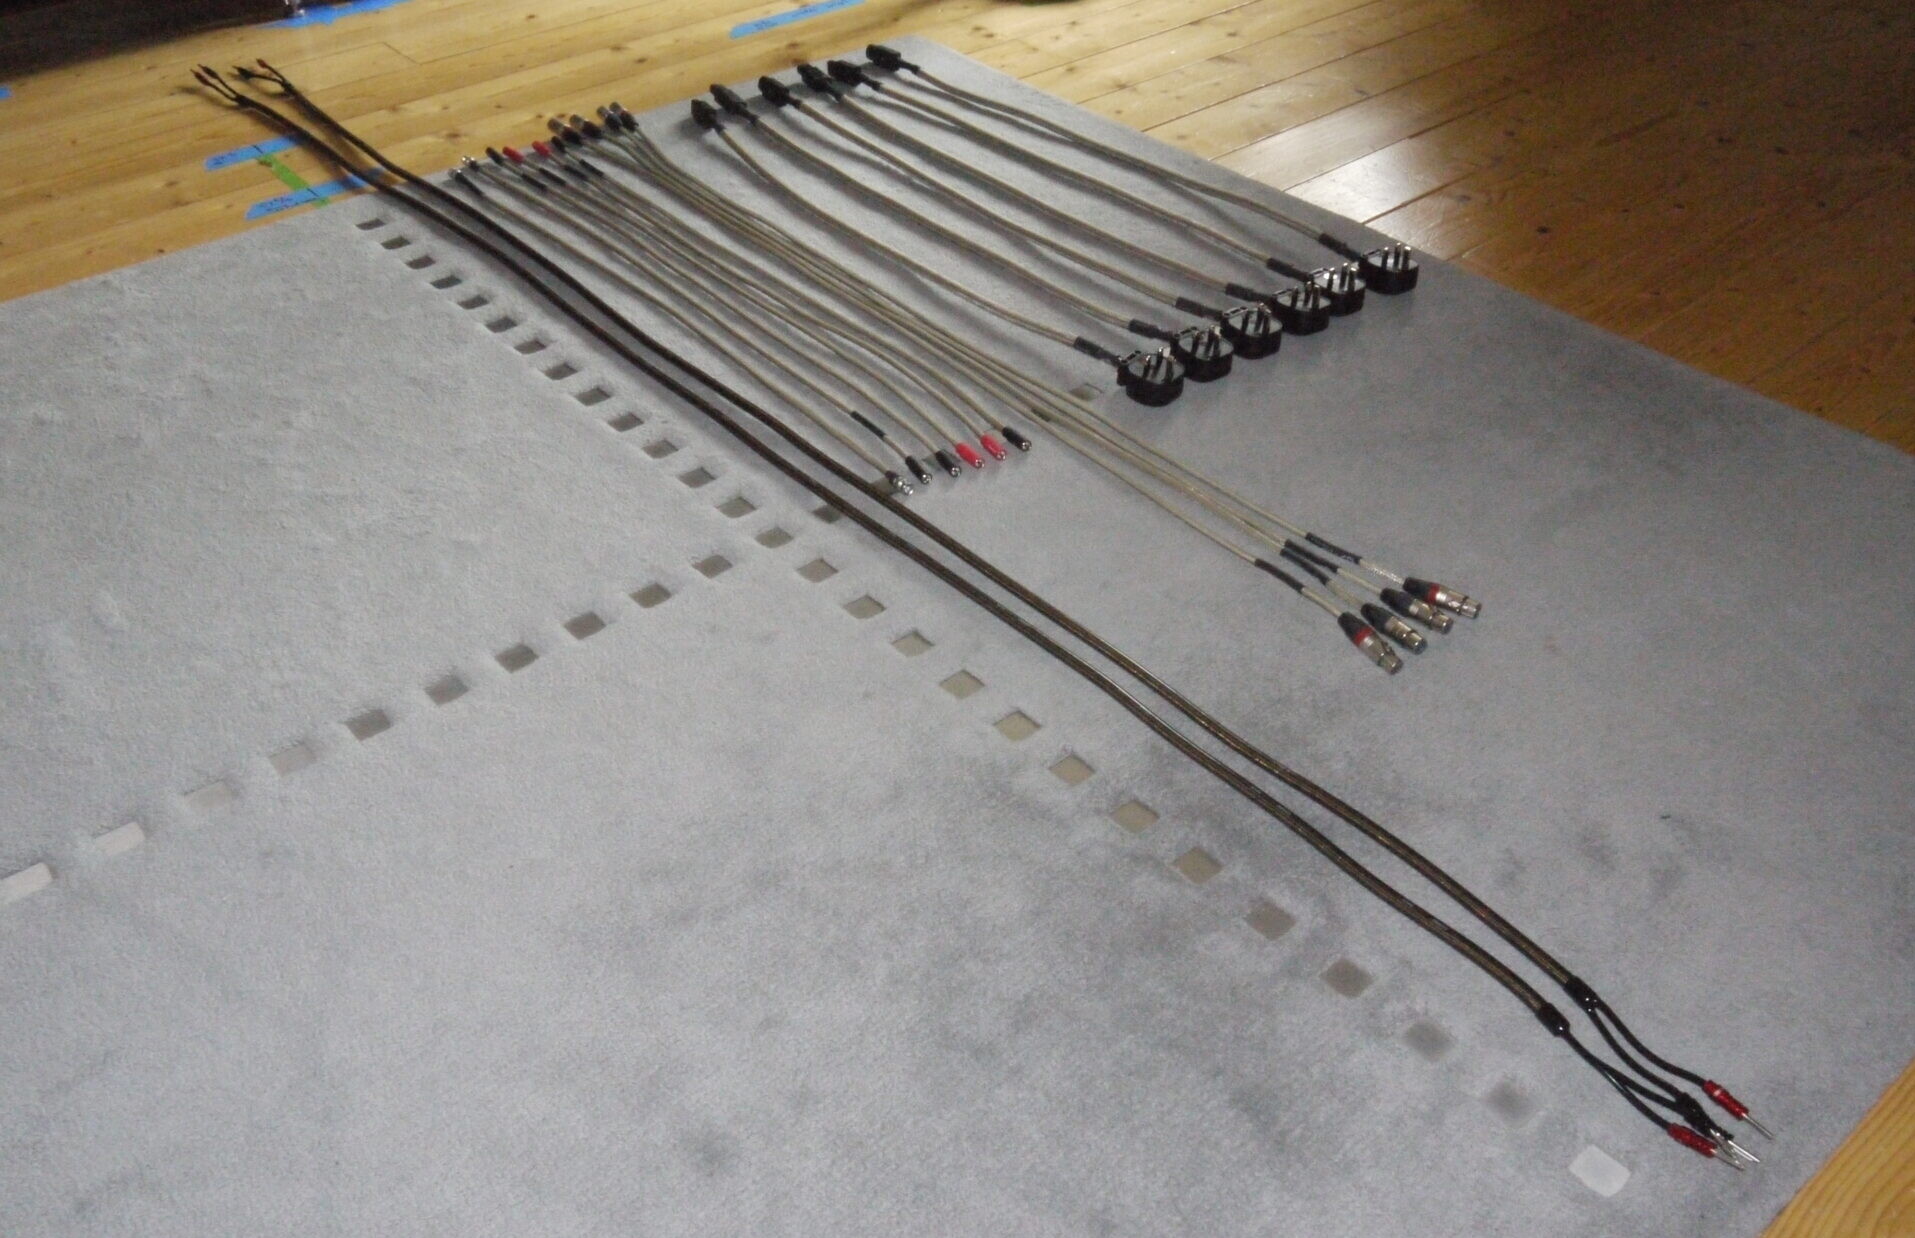
Before re-installing both signal and AC cables with a smooth sheath, I clean the surface with isopropanol and then ‘wash’ them with Eco 3. Obviously, those covered with a nylon net can’t be wiped clean, but they can (and should) still be treated for static.
Stage 3 – Re-installing the rack(s)
With everything clean and tidy, it’s time to reinstall the equipment racks. The actual process here is going to depend on the racks you use. In this case, I’m using the Blue Horizon PRS, a classic modular system consisting of lacquered bamboo shelves and bolt-together, solid stainless-steel uprights in a range of sizes. Normally, you’ll be putting your rack back exactly as it was. However, if you are changing equipment or you decide to alter the system layout, a little bit of planning at this point will save you immeasurable pain and frustration later. In my case, I’m completely re-jigging the system for a new round of reviews. The equipment and cable choices reflect that agenda, so the actual construction and spacings employed need to be considered from scratch.