For these impending review projects I will be using the VPI Avenger turntable to mount and compare the three new tonearms from Alphason. The Avenger’s pivoting armboards make it one of the few ‘tables that will accommodate all three arms with a single board. At the same time, I will be listening to a number of different cartridges. The CAD 1543 Mk II DAC is awaiting assessment, as are the Chord Co. Epic cables and the Stenheim Alumine 2s are also in line for review. So in this instance, I’m looking at a complete system re-set, although the principles and approach remain exactly the same.
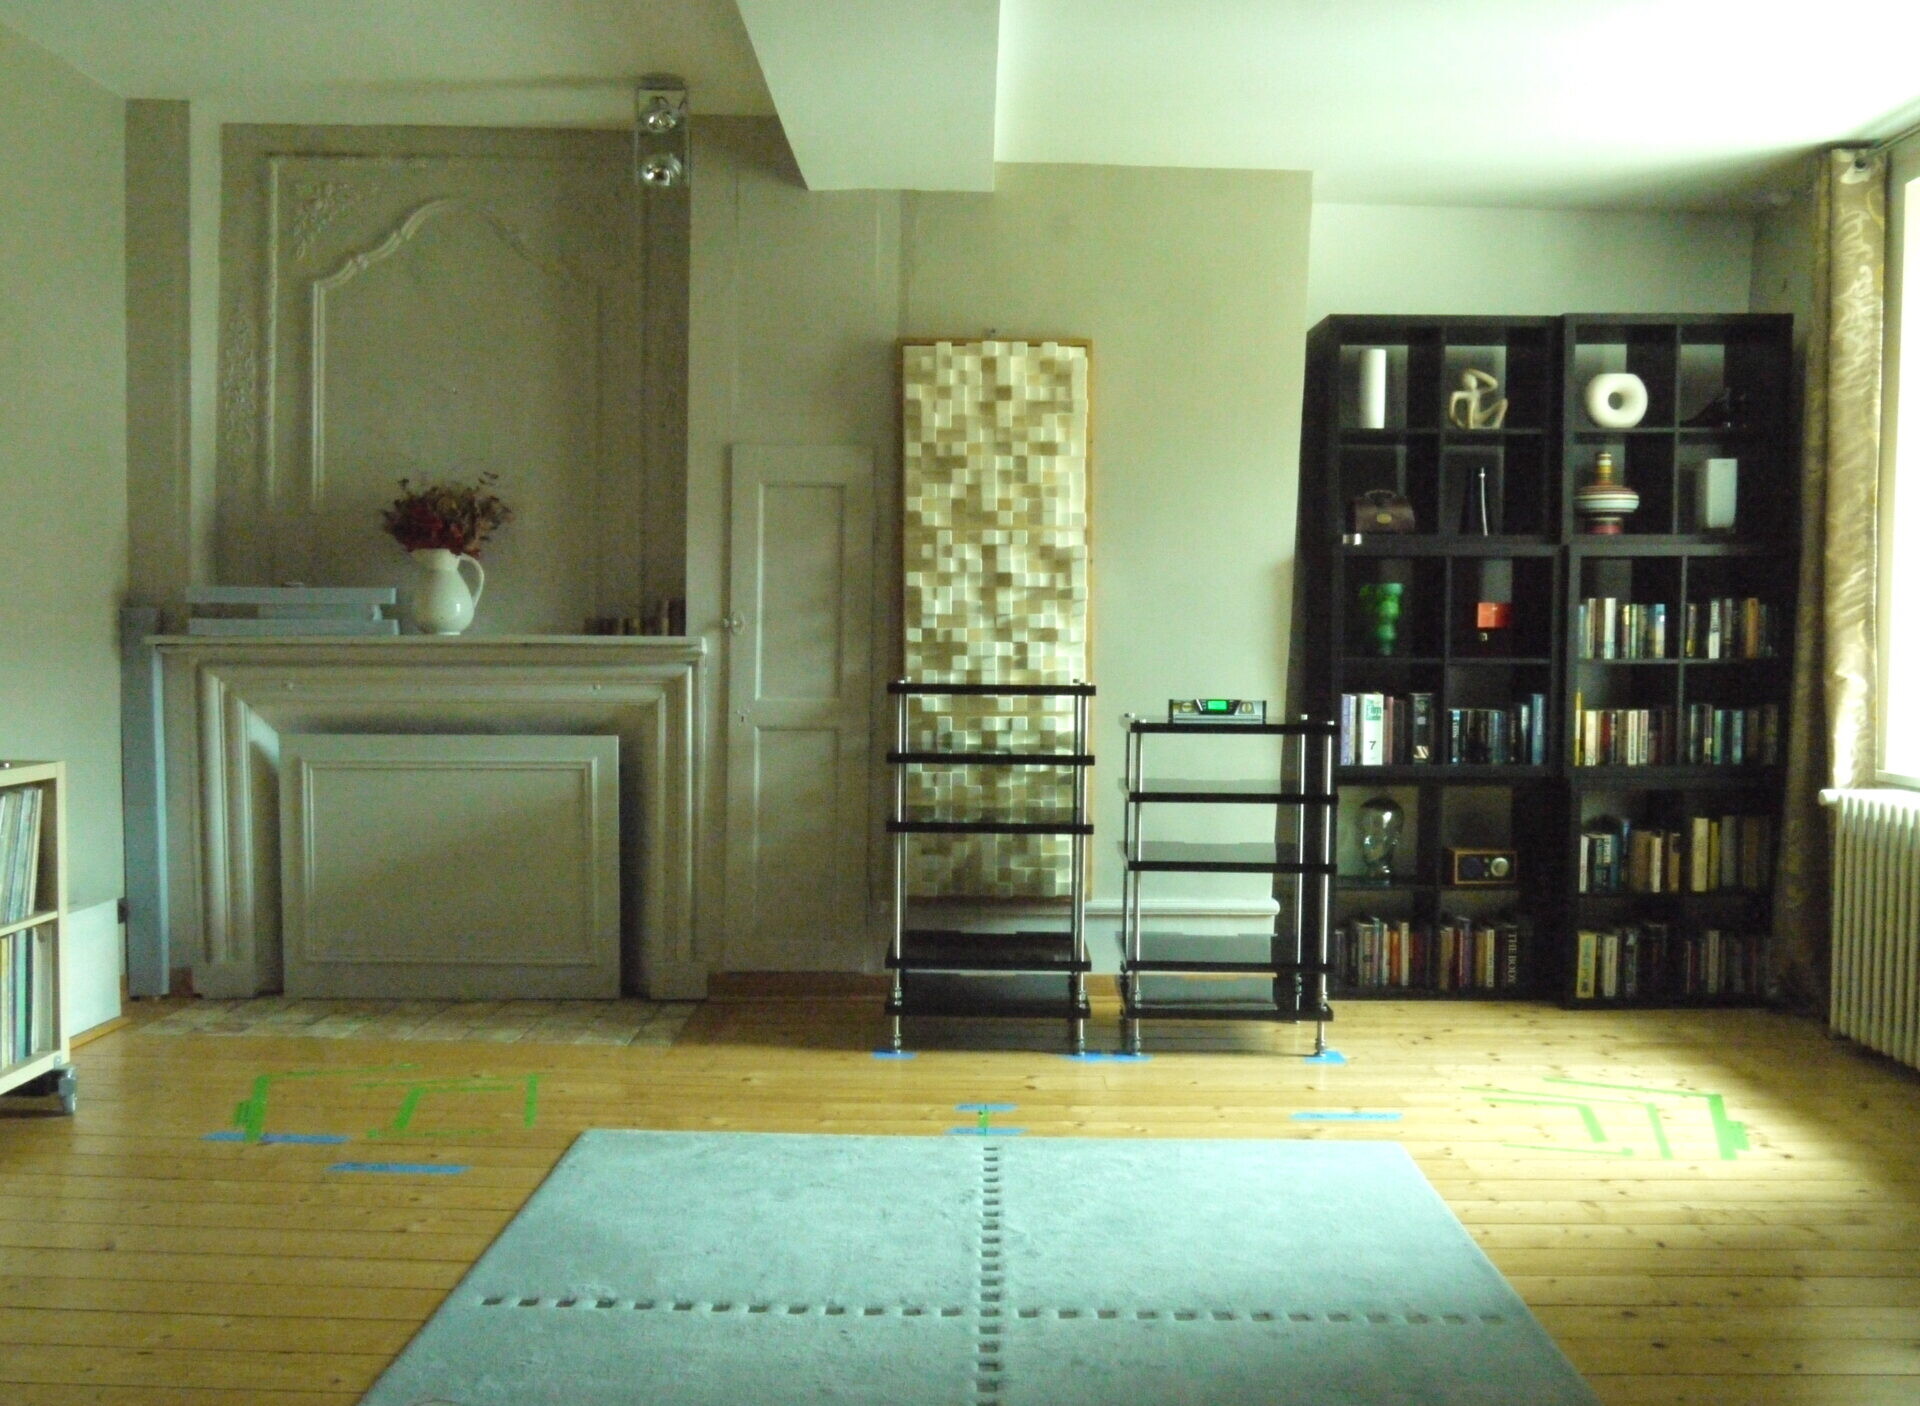
Back to the task at hand and actually building the PRS racks (or anything similar, like a Quadraspire) is pretty straightforward, as long as you approach it in the right order. The first task is to clean the shelves before you start. Then build from the top down, starting with the top shelf and uprights. The top caps have small pry-bar holes that allow you to ‘lock’ them in place with a 2.5mm or 7/64 allen key while you tighten the post by hand. If you need extra grip, then rubber gloves come in handy. The threads should be cleaned and then lubricated and, while grease is an option, I actually prefer Copaslip. This metal paste wills the voids between threads and I suspect that this offers a more consistent energy transfer. Either way, listening tests with both racks like the PRS and spikes under racks and speakers demonstrate a small but worthwhile difference. Just beware of transfer! Copaslip is (unsurprisingly) bright orange and it not only rubs off for fun, it stains with equal enthusiasm. If you put it on threads, just be careful where you put those threads before actually installing them! I normally spread a sheet of newspaper or use the lid of a plastic crate to keep metal parts and Copaslip away from carpeting (and clothing).
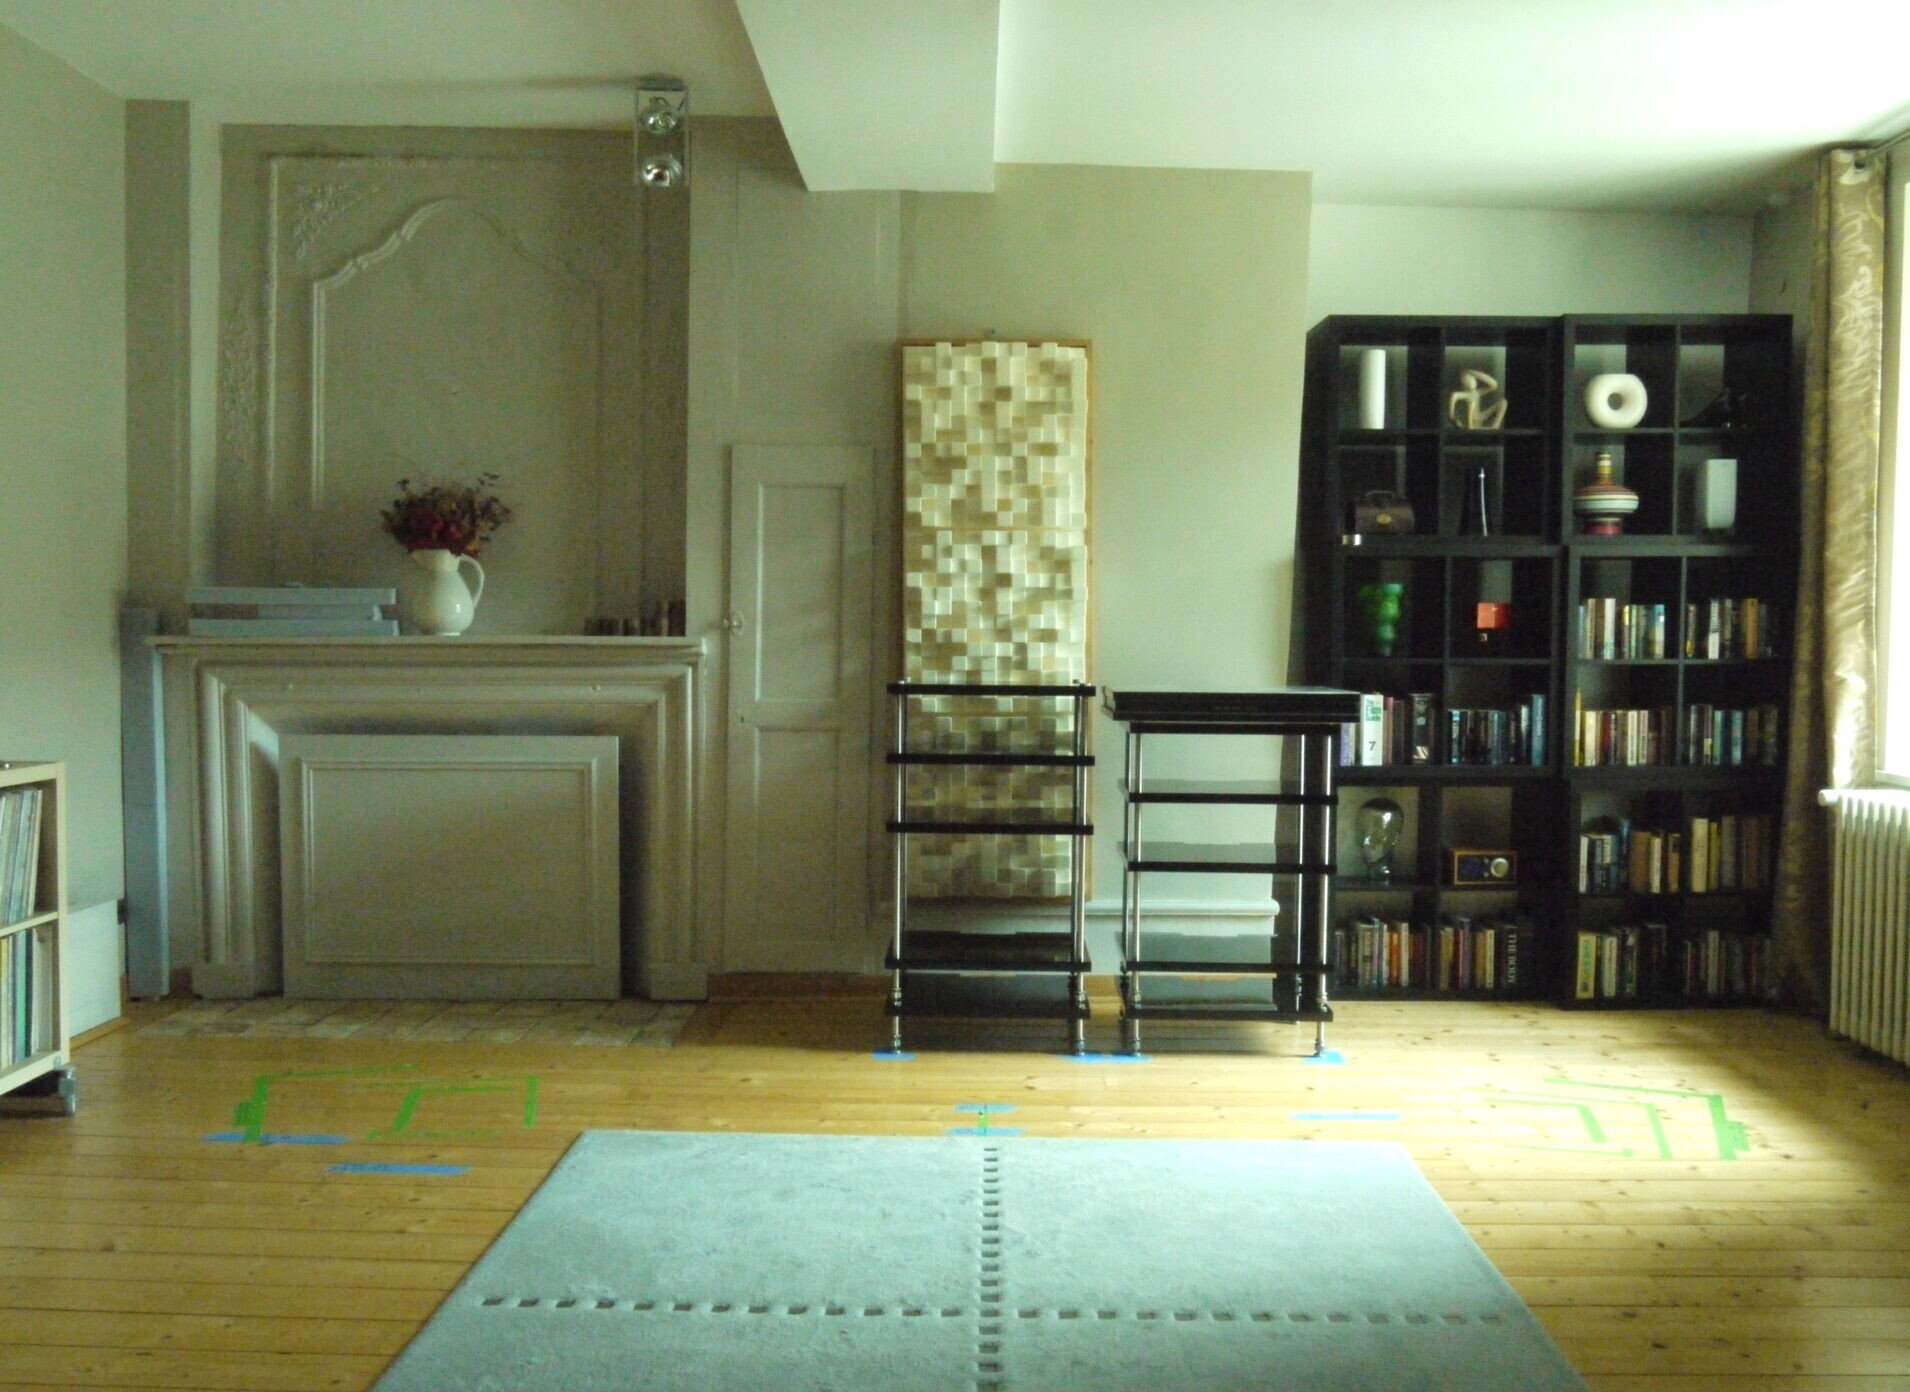
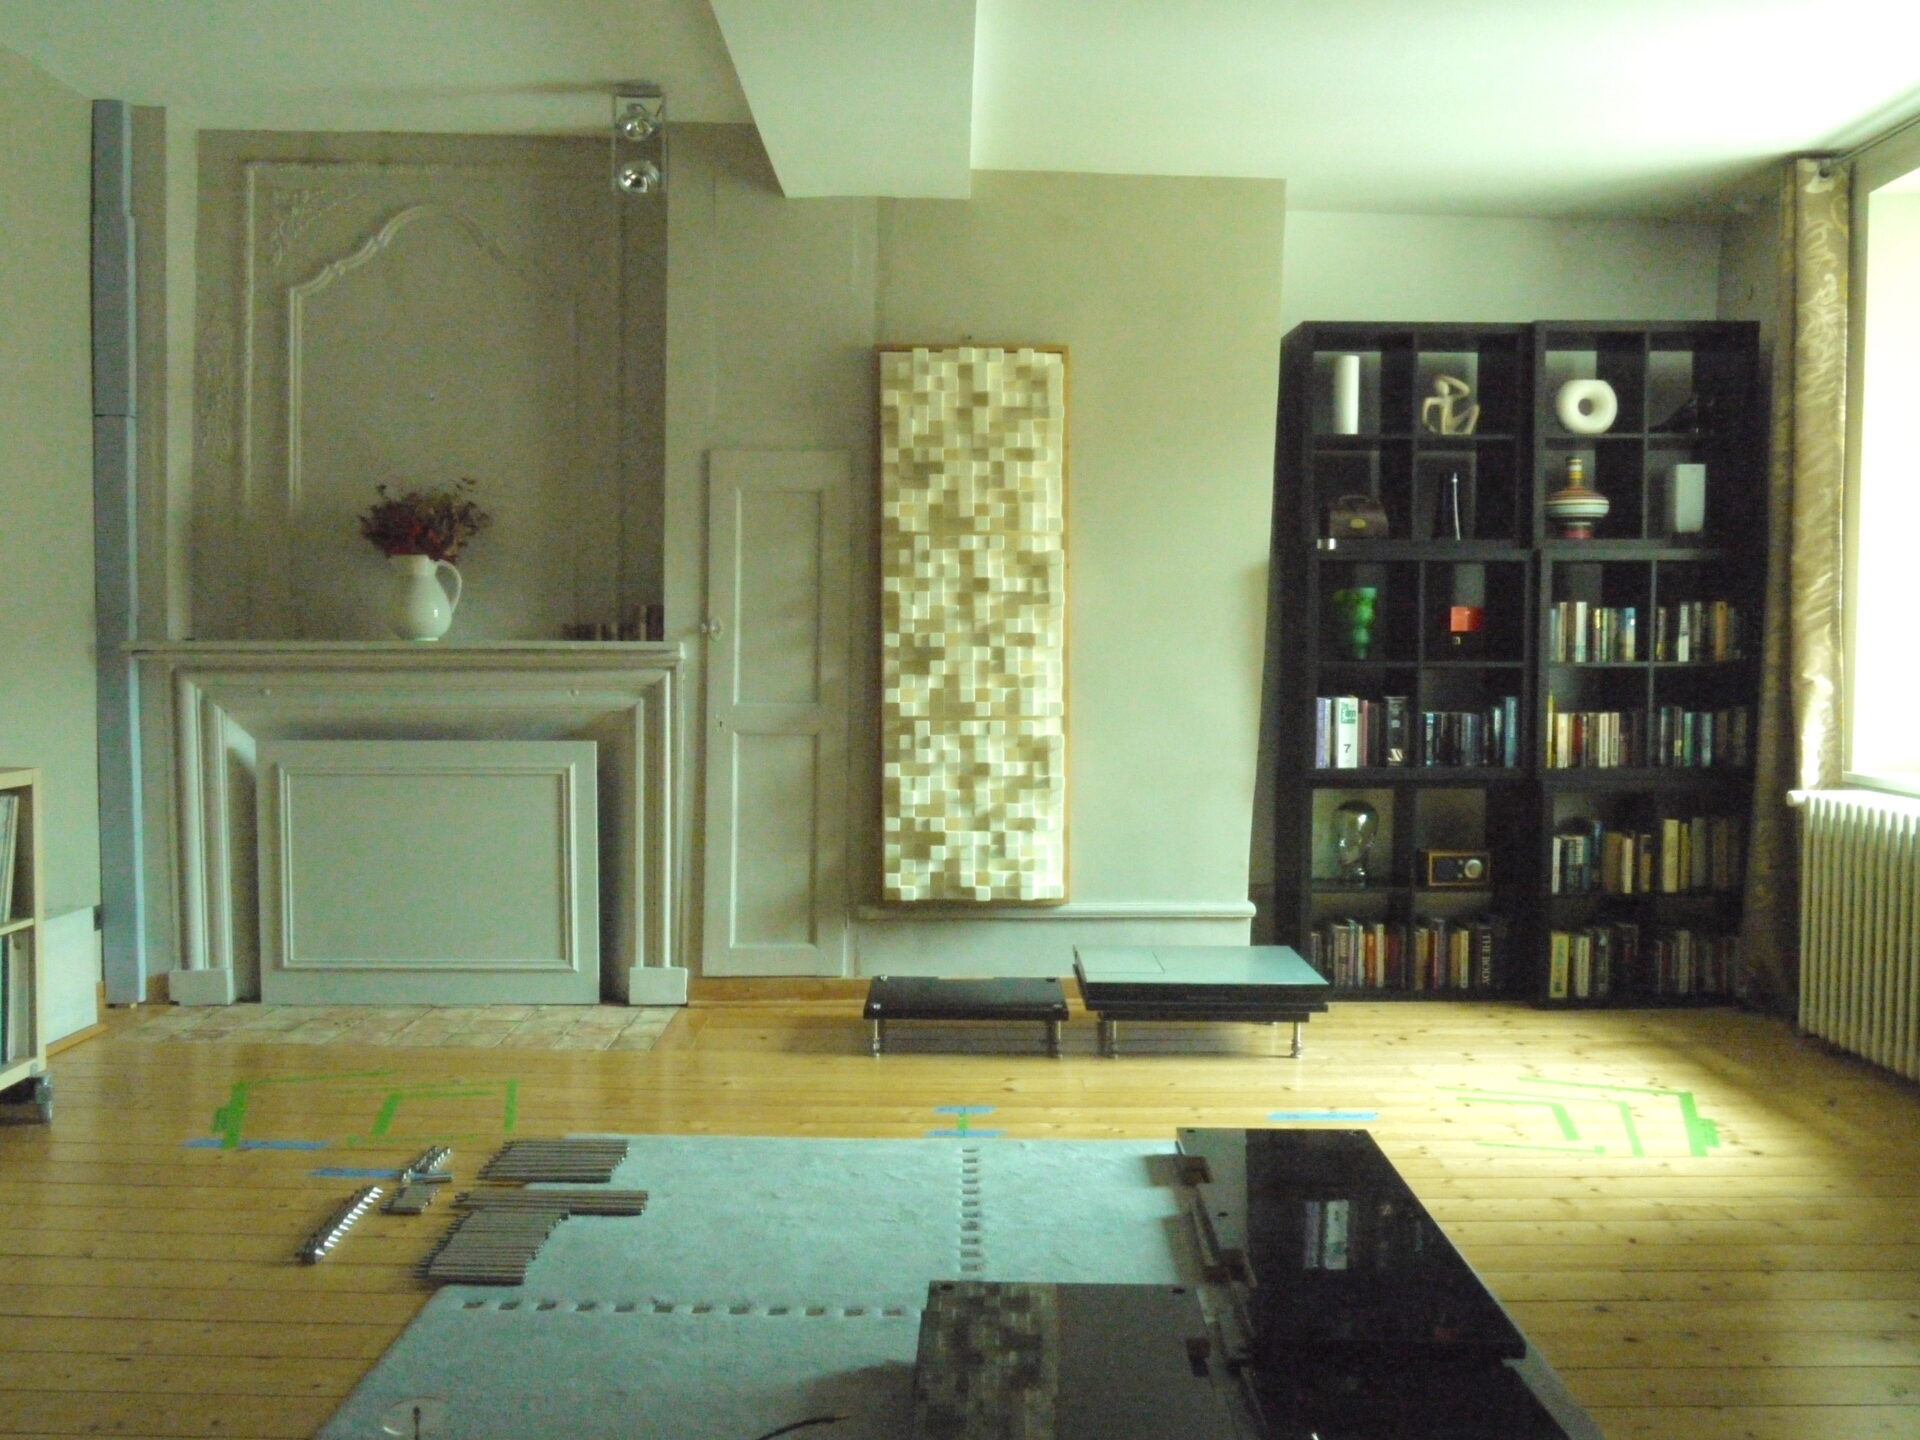
The racks stand on PRS HR Spike Shoes and these are located by the strips of blue painter’s tape that inhibit accidental movement of the rack, with the associated risk to level and stability when loading or unloading equipment. Both the base elements and the main structures are precisely levelled. In this system, I will be using the Symposium Ultra platform to accommodate and support the VPI Avenger, so I’ve opted to make the right-hand rack slightly lower so that with the platform in place, the final height is virtually the same. The left-hand rack is placed centrally, to allow for the short speaker cable runs of the Chord Co. Epic cables. By placing the turntable on the right-hand rack, I move it away from the acoustic node at the middle of the room.