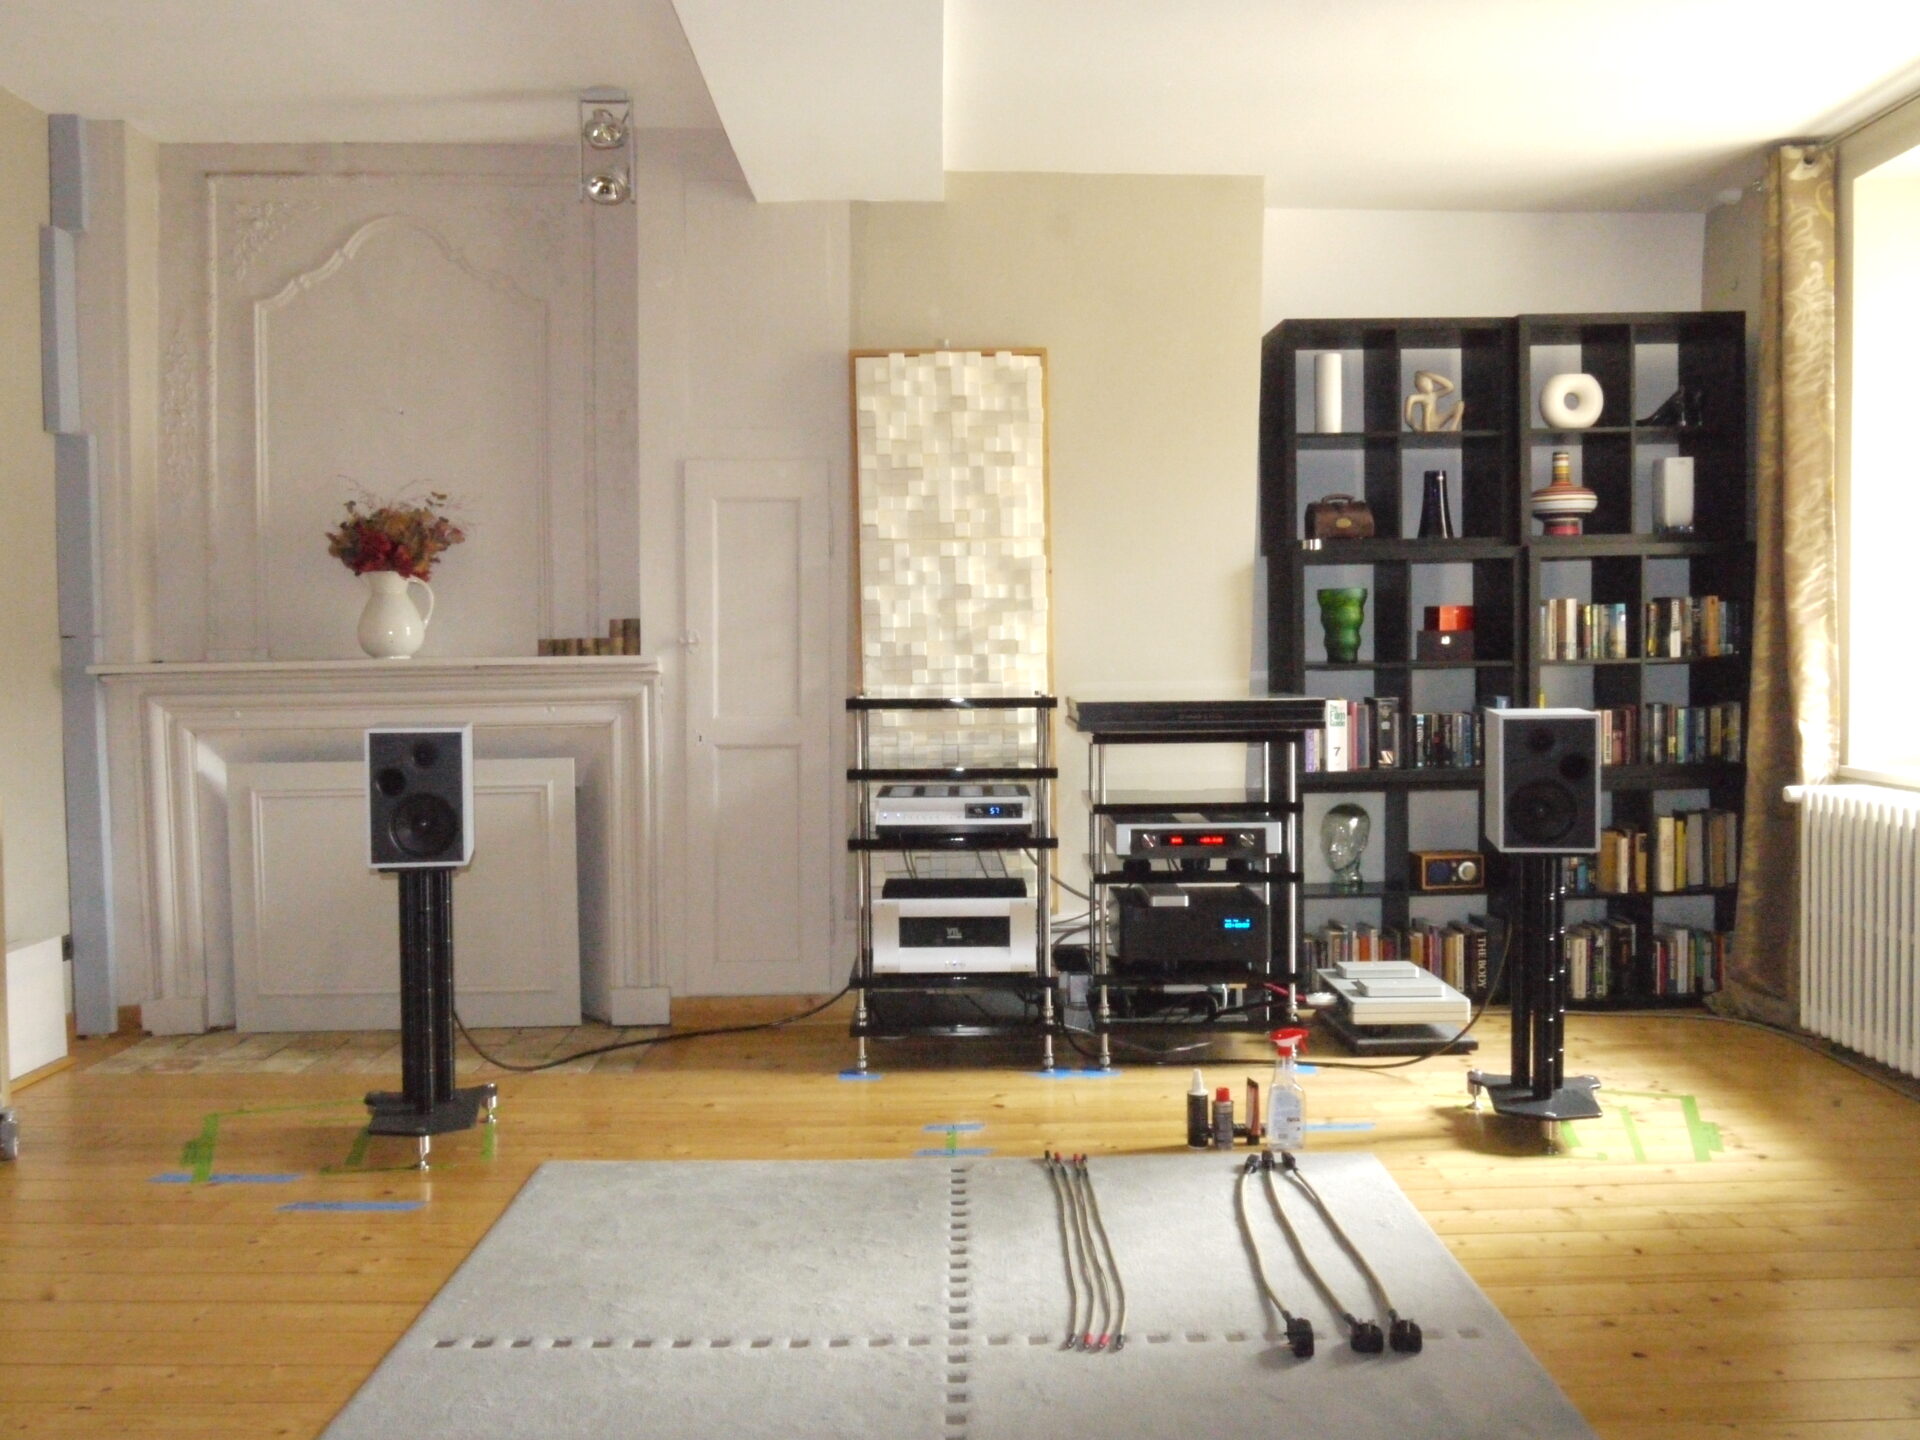
Amplification is the VTL TL-5.5 pre-amp and S-200 power amp. The pre-amp includes its own MM/MC phono-stage as well as balanced and single-ended inputs/outputs. I install the S-200 with its ‘SLS’ gull-wing tube covers removed, allowing easy access to the variable damping switches. Often I’ll install power amps backwards in the rack, allowing easier access to the connections, but in this case I don’t envisage a huge number of cable swaps, so I’m going for the more conventional and aesthetically pleasing set up.
Signal cabling is installed to avoid undue proximity to power cords and, wherever possible, to cross them at right angles. I prefer the BNC S/PDIF output from the Wadia and balanced connections from the Pre 1 to the Tl-5.5 and S-200 (although it is dangerous to assume that balanced connections are a de facto better solution in all cases). With the digital front-end and amplification installed, there are four shelves remaining. These will accommodate the VPI ‘table on the Symposium platform, a standalone phono-stage (the VTL TP-6.5 acting as an alternative to and upgrade on the internal stage in the TL-5.5) and devices such as the CAD DAC, that need to be inserted for review.
With everything hooked up I installed and levelled the Stenheim Alumine 2 speakers and Track Audio stands (ready for proper positioning later), allowing me to have music while working on the turntable…
Stage 6 – Installing the turntable and phono-stage
Before re-installing the VPI Avenger, I literally dismantled it. Removing the armboards, platter and feet, before cleaning and reconstructing it in place. The threads on the feet were cleaned and greased before reinstallation. The chassis surfaces were cleaned with Isopropanol and plastic polish. The main bearing, the posts that support the VTA adjustment on the JMW tonearm and the bosses on which the armboards mount were all cleaned with acetone (making sure to keep it well clear of the acrylic surfaces). The armboards were reinstalled and the main bearing and JMW arm posts covered in a layer of lithium grease. The sockets on the JMW termination box were cleaned with Deoxit.
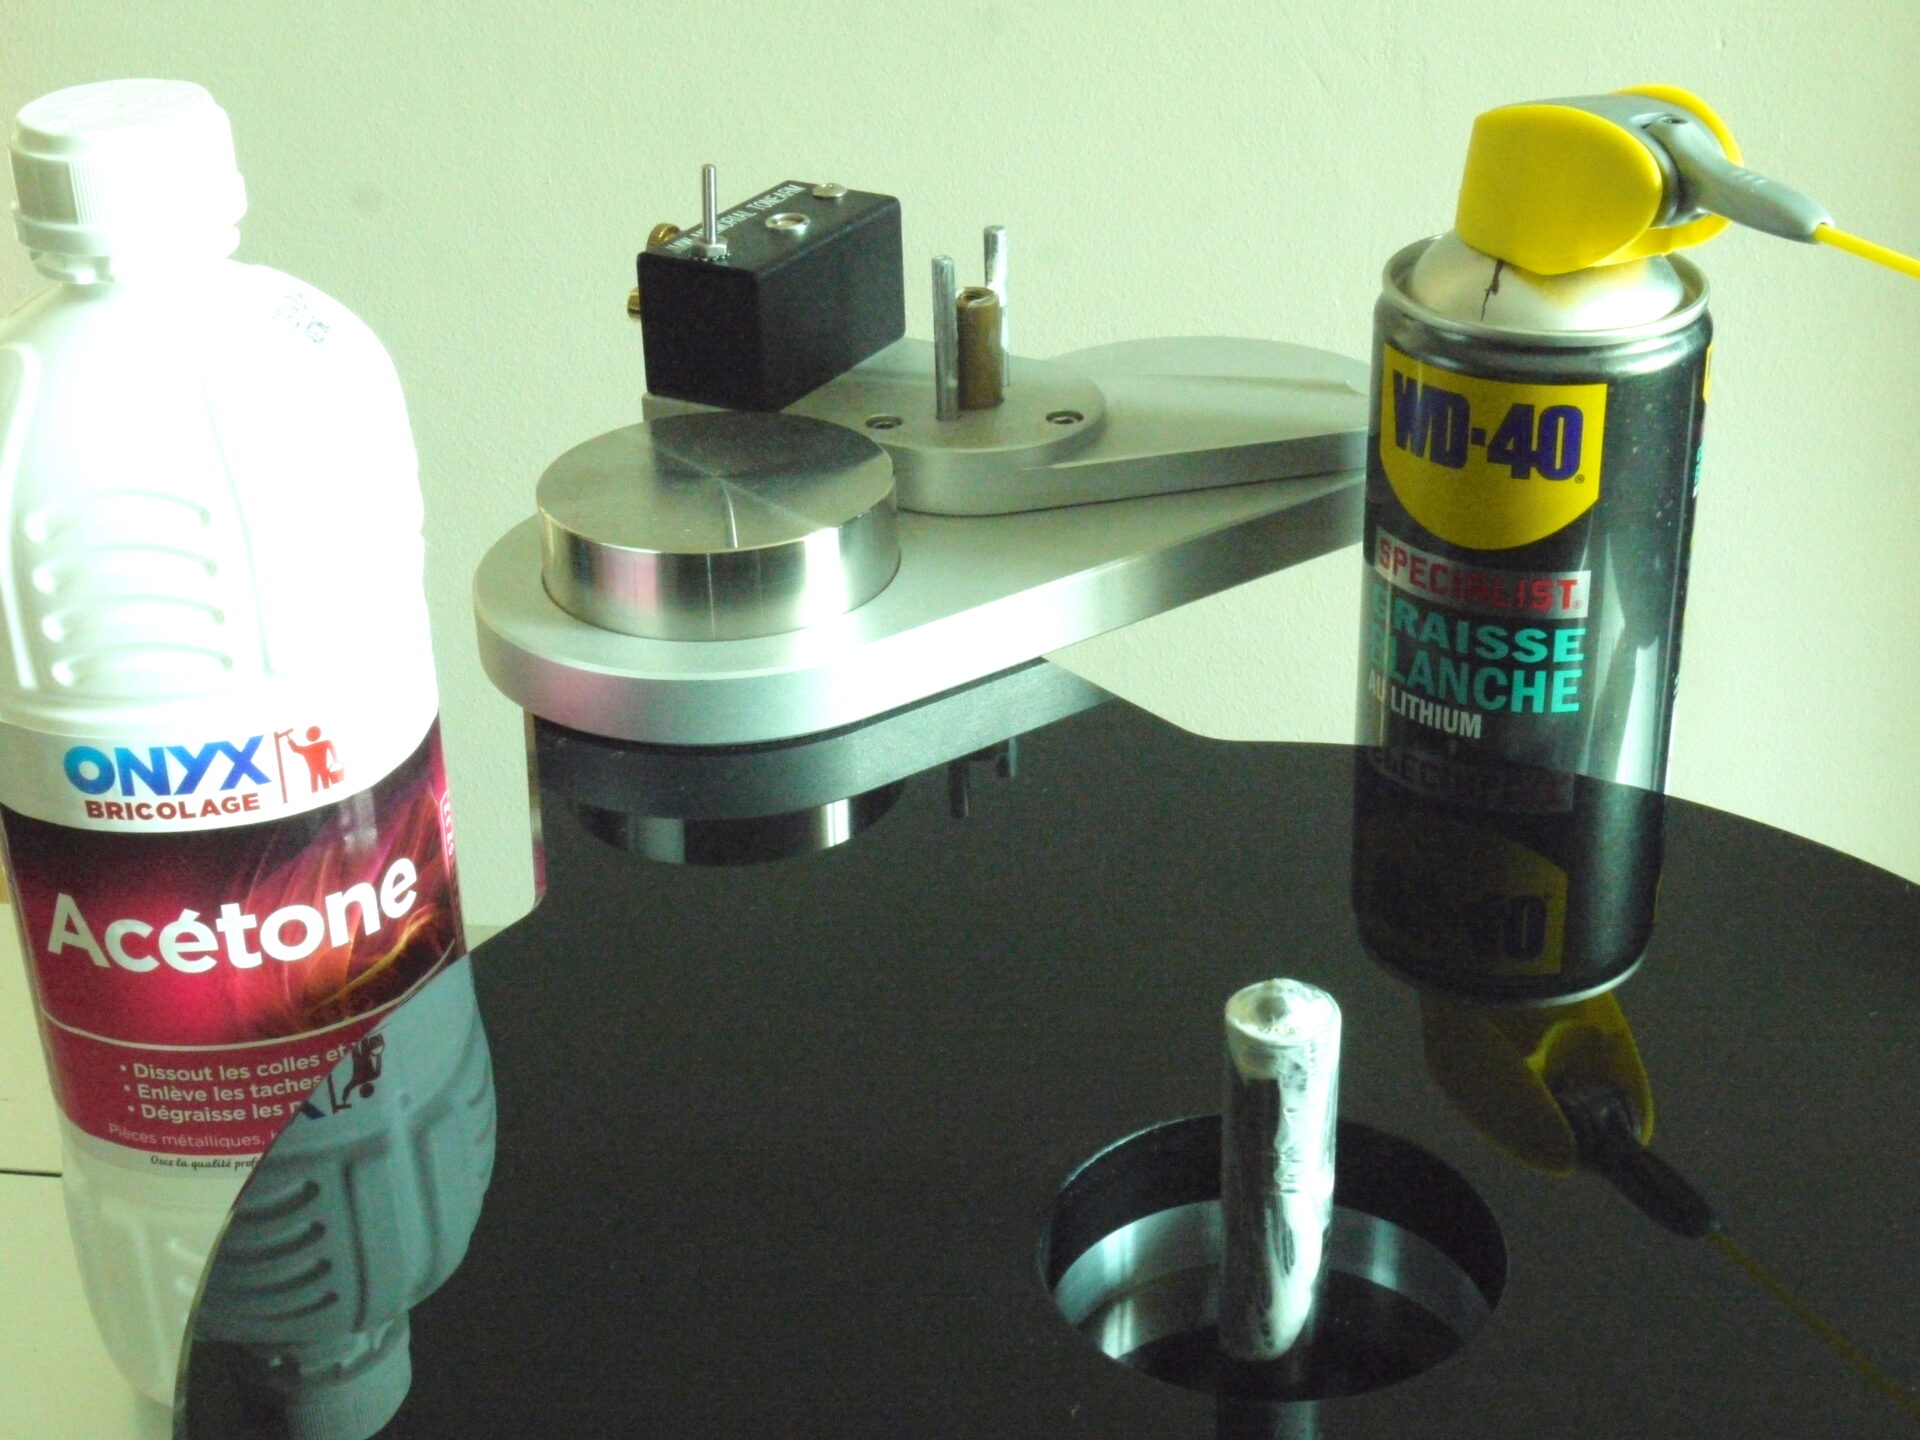
With the chassis stood on the Symposium platform it was time to clean and install the platter and motor. The platter top surface and sides were cleaned with acetone, as was the internal bearing sleeve. Once installed, I wiped around the sides of the platter with isopropanol to ensure that they were clear of acetone that might adversely affect the drive belt. The motor housing was cleaned with acetone and the drive pulley and belt with isopropanol. With the peripheral Ring Clamp installed and the JMW and Alphason tonearms back in place, it was time to finally level the turntable, using a precision, twin axis bubble gauge. The TP-6.5 phono-stage was installed in the slot beneath the turntable where both tonearm leads could easily reach it and be swapped. Finally, the tonearms and cartridges were aligned using the Acostical Systems SmarTractor, awaiting final tweaking once the speakers were properly set up.