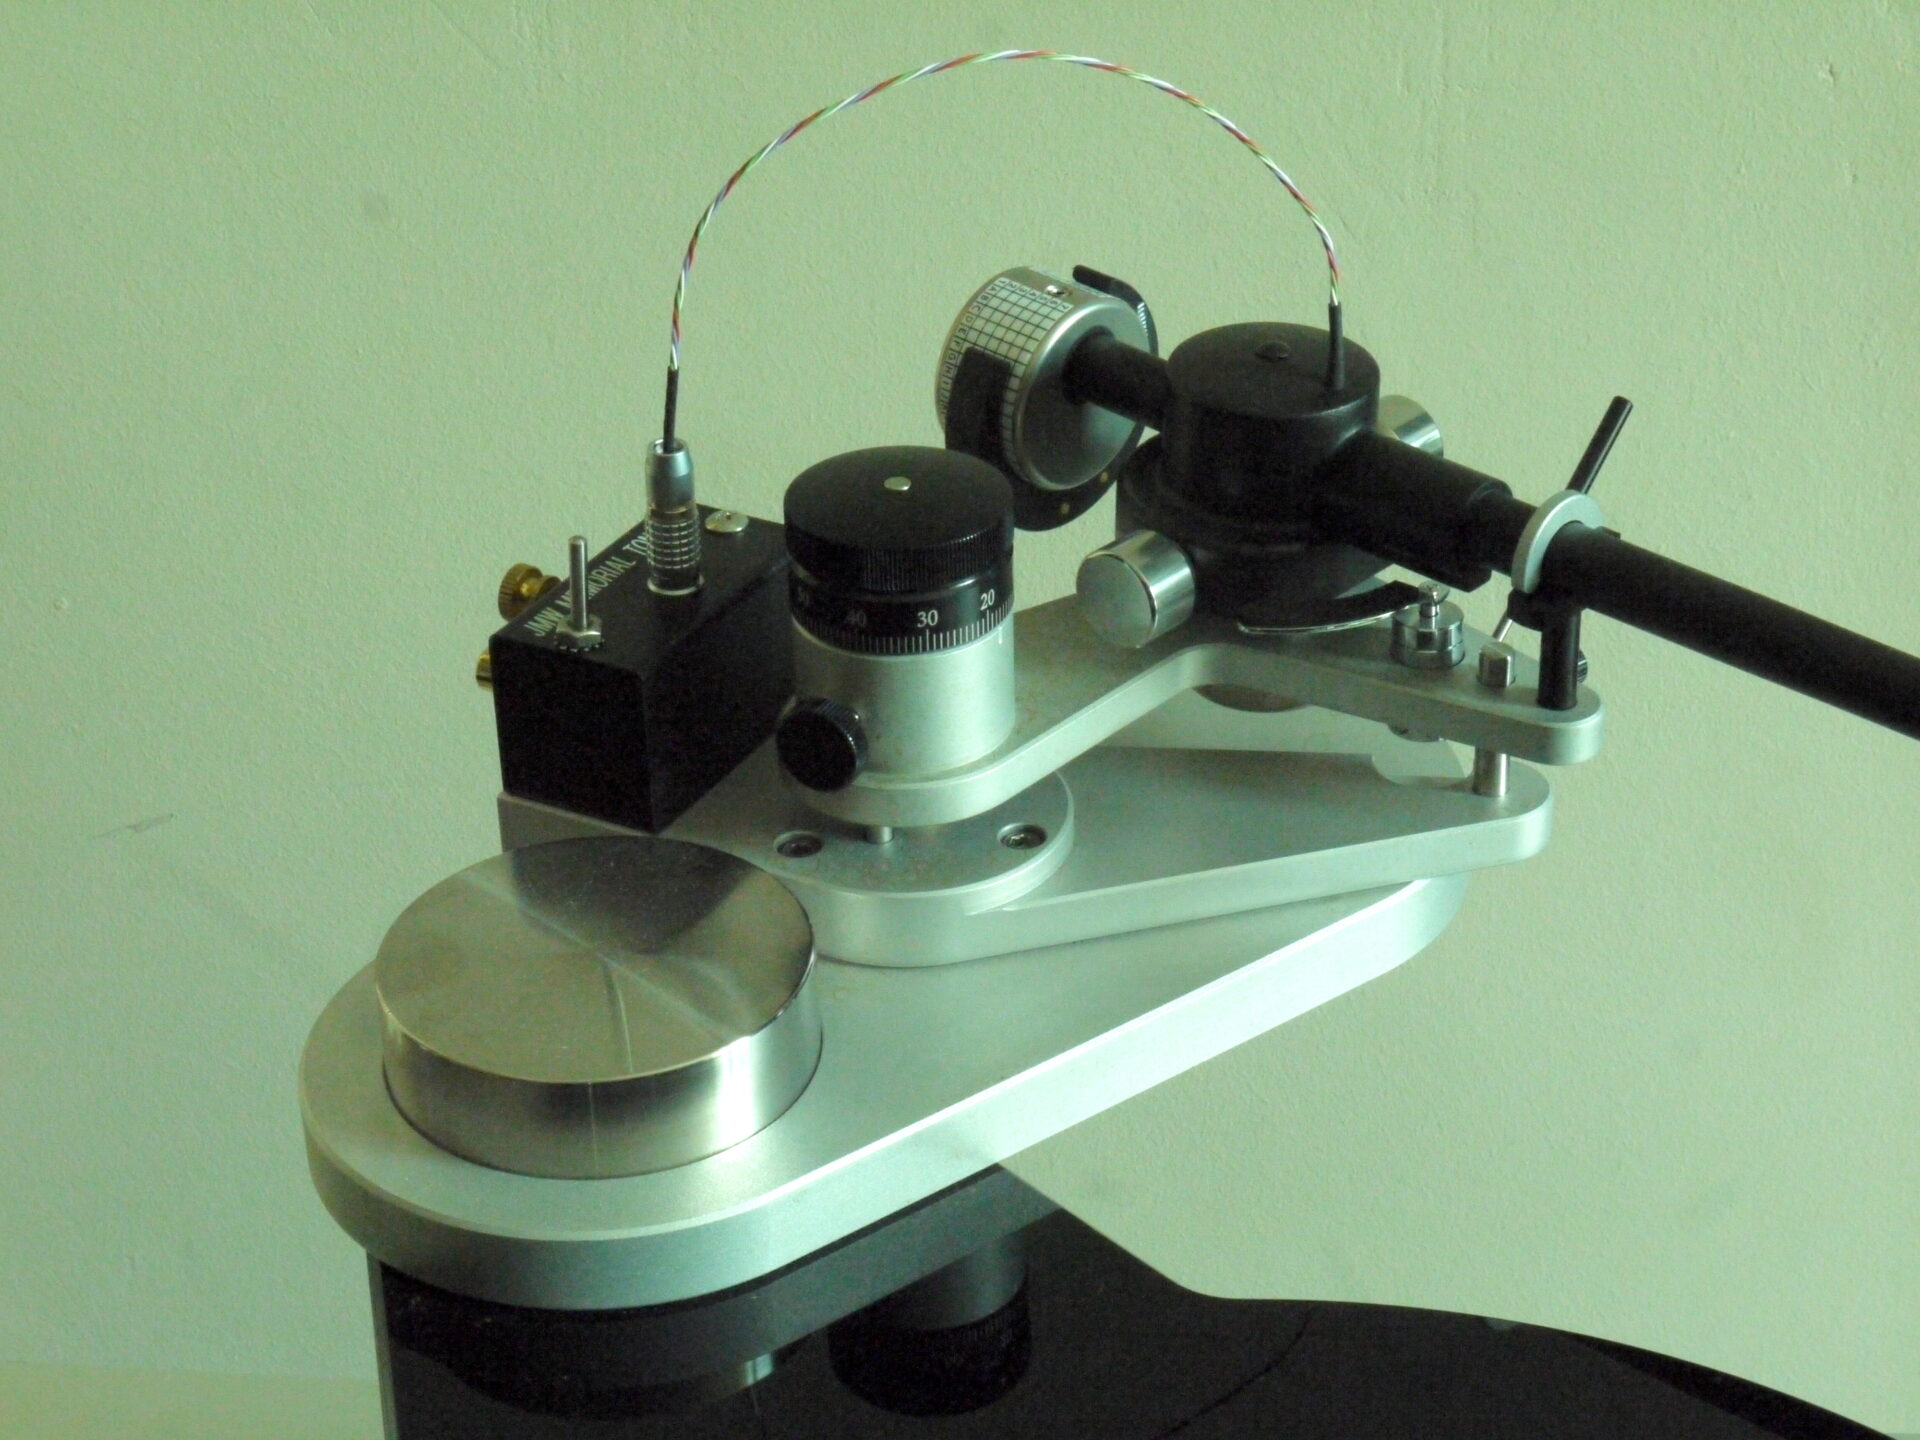
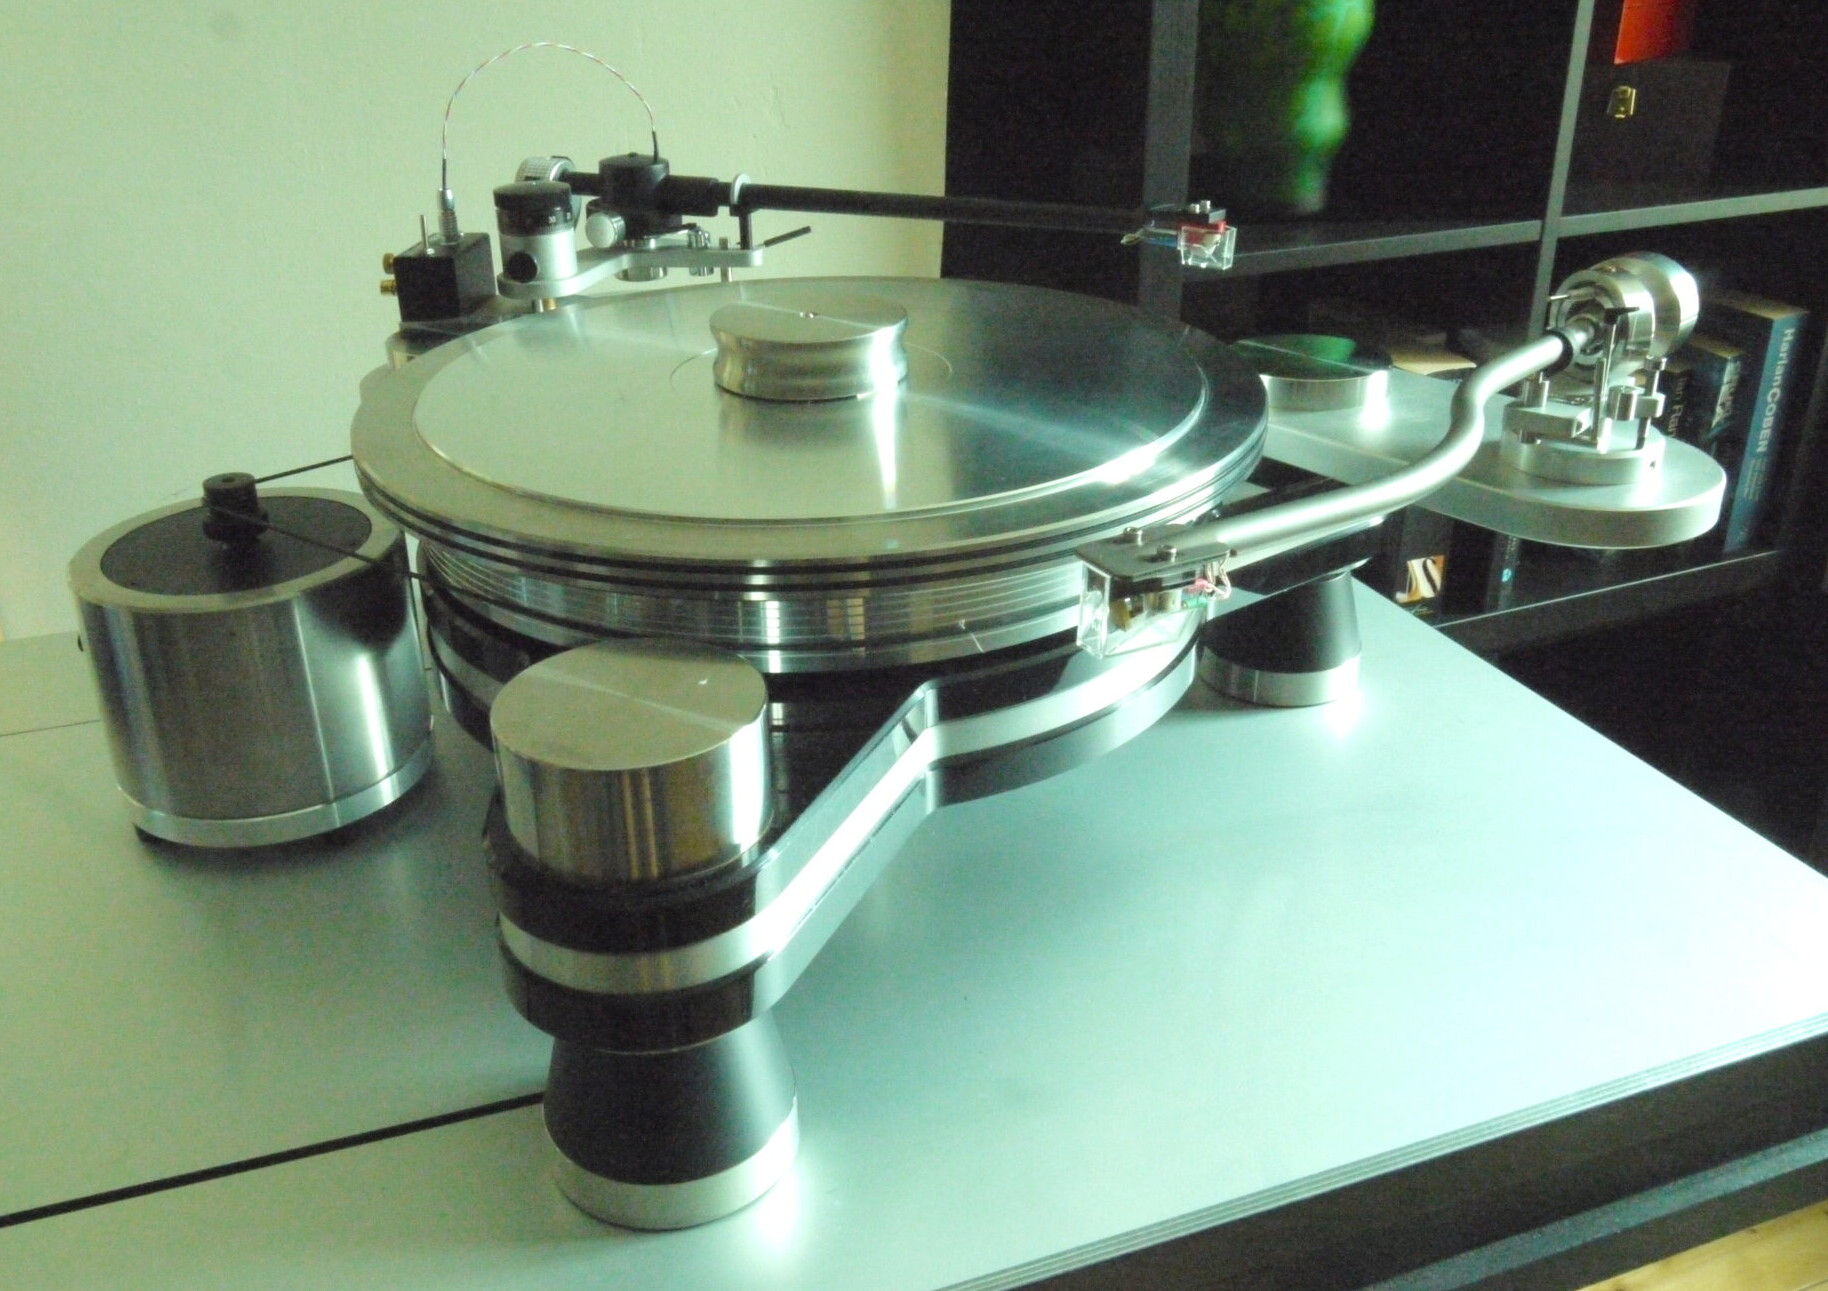
Obviously, these precise actions relate to this particular turntable. Different ‘tables will have different structures, different materials, different drive systems – but the essential imperatives remain the same: clean and lubricate the main bearing; clean any drive surfaces and belts; clean the platter surface; check the security of any fixings and arm and cartridge alignment; make sure that the deck is absolutely level. All of these things apply whether you are talking about an LP12 or a Brinkmann Balance, while there will be additional steps relating to each individual design. But what is also clear is that the turntable, arm and cartridge benefit from the spring cleaning process more than any other single part of the system.
Stage 7 – Finishing up
I’m not going to run through the speaker set up. It’s involved, I’ve covered it before, most people will have their own approach. The changes you’ve made upstream might well necessitate an adjustment in speaker position, or even a complete re-set. But even if you haven’t moved (or don’t plan to move) the speakers, one thing that it is worth checking is that they haven’t shifted, either in terms of attitude (I normally keep a record of rake angle, azimuth and height written on a piece of tape on the rear of each speaker). In particular, check that the speakers are rock stable, the spikes or feet are equally loaded and that any locking rings or nuts are still tight. It’s also worth checking that driver mounting bolts are properly tensioned, although do be aware that tight isn’t necessarily right. Some speakers – notably Wilsons – have specific torque settings for their driver mounting bolts, requiring the correct values and a torque wrench to get them right.
If you are going to reset the speakers, before you do, make sure that you mark and measure their locations, including rake angle, azimuth and their height off the floor. If they aren’t handed, stick a bit of tape on each one identifying it as the left or right speaker. In fact, put all that info on the back of each speaker anyway: preserving the existing settings will save you a ton of time, if not now, then in the future.
The final step is to re-install and check the location/benefits of any support, coupling devices or other accessories (for instance, the QRT Qx4 units that I use in this room). In this system, I’m using both Neodio Origine B2s and HRS Nimbus footers and Damping Plates. In each case, make sure that the contact surfaces are clean and free from any dust or grit. In the case of the HRS pieces, the polymer surfaces can be wiped with a damp, micro-fibre cloth. This is also the time to reinstall and reassess any grounding devices that you use – not forgetting to clean their contacts too!