
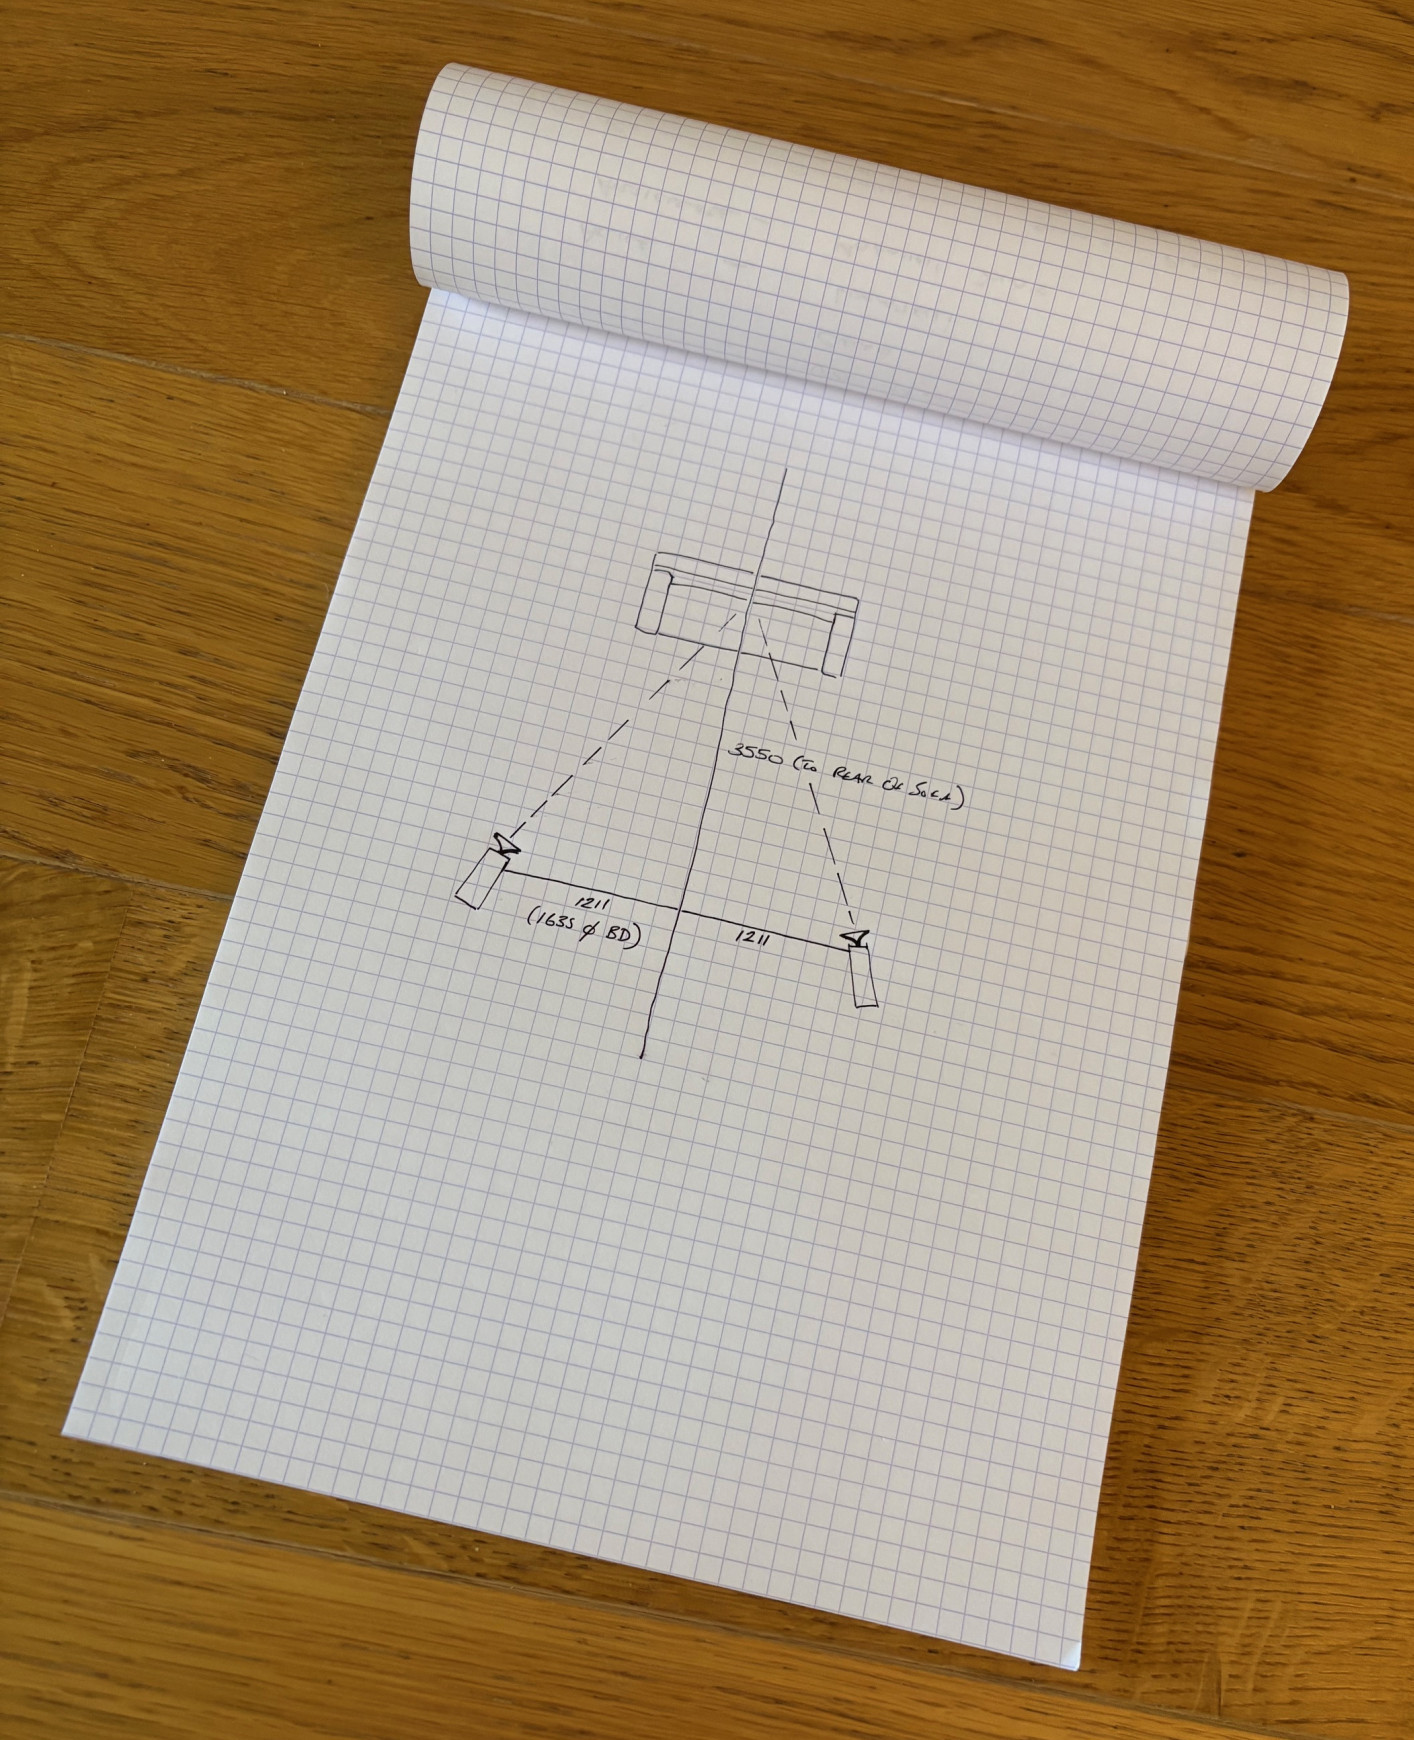
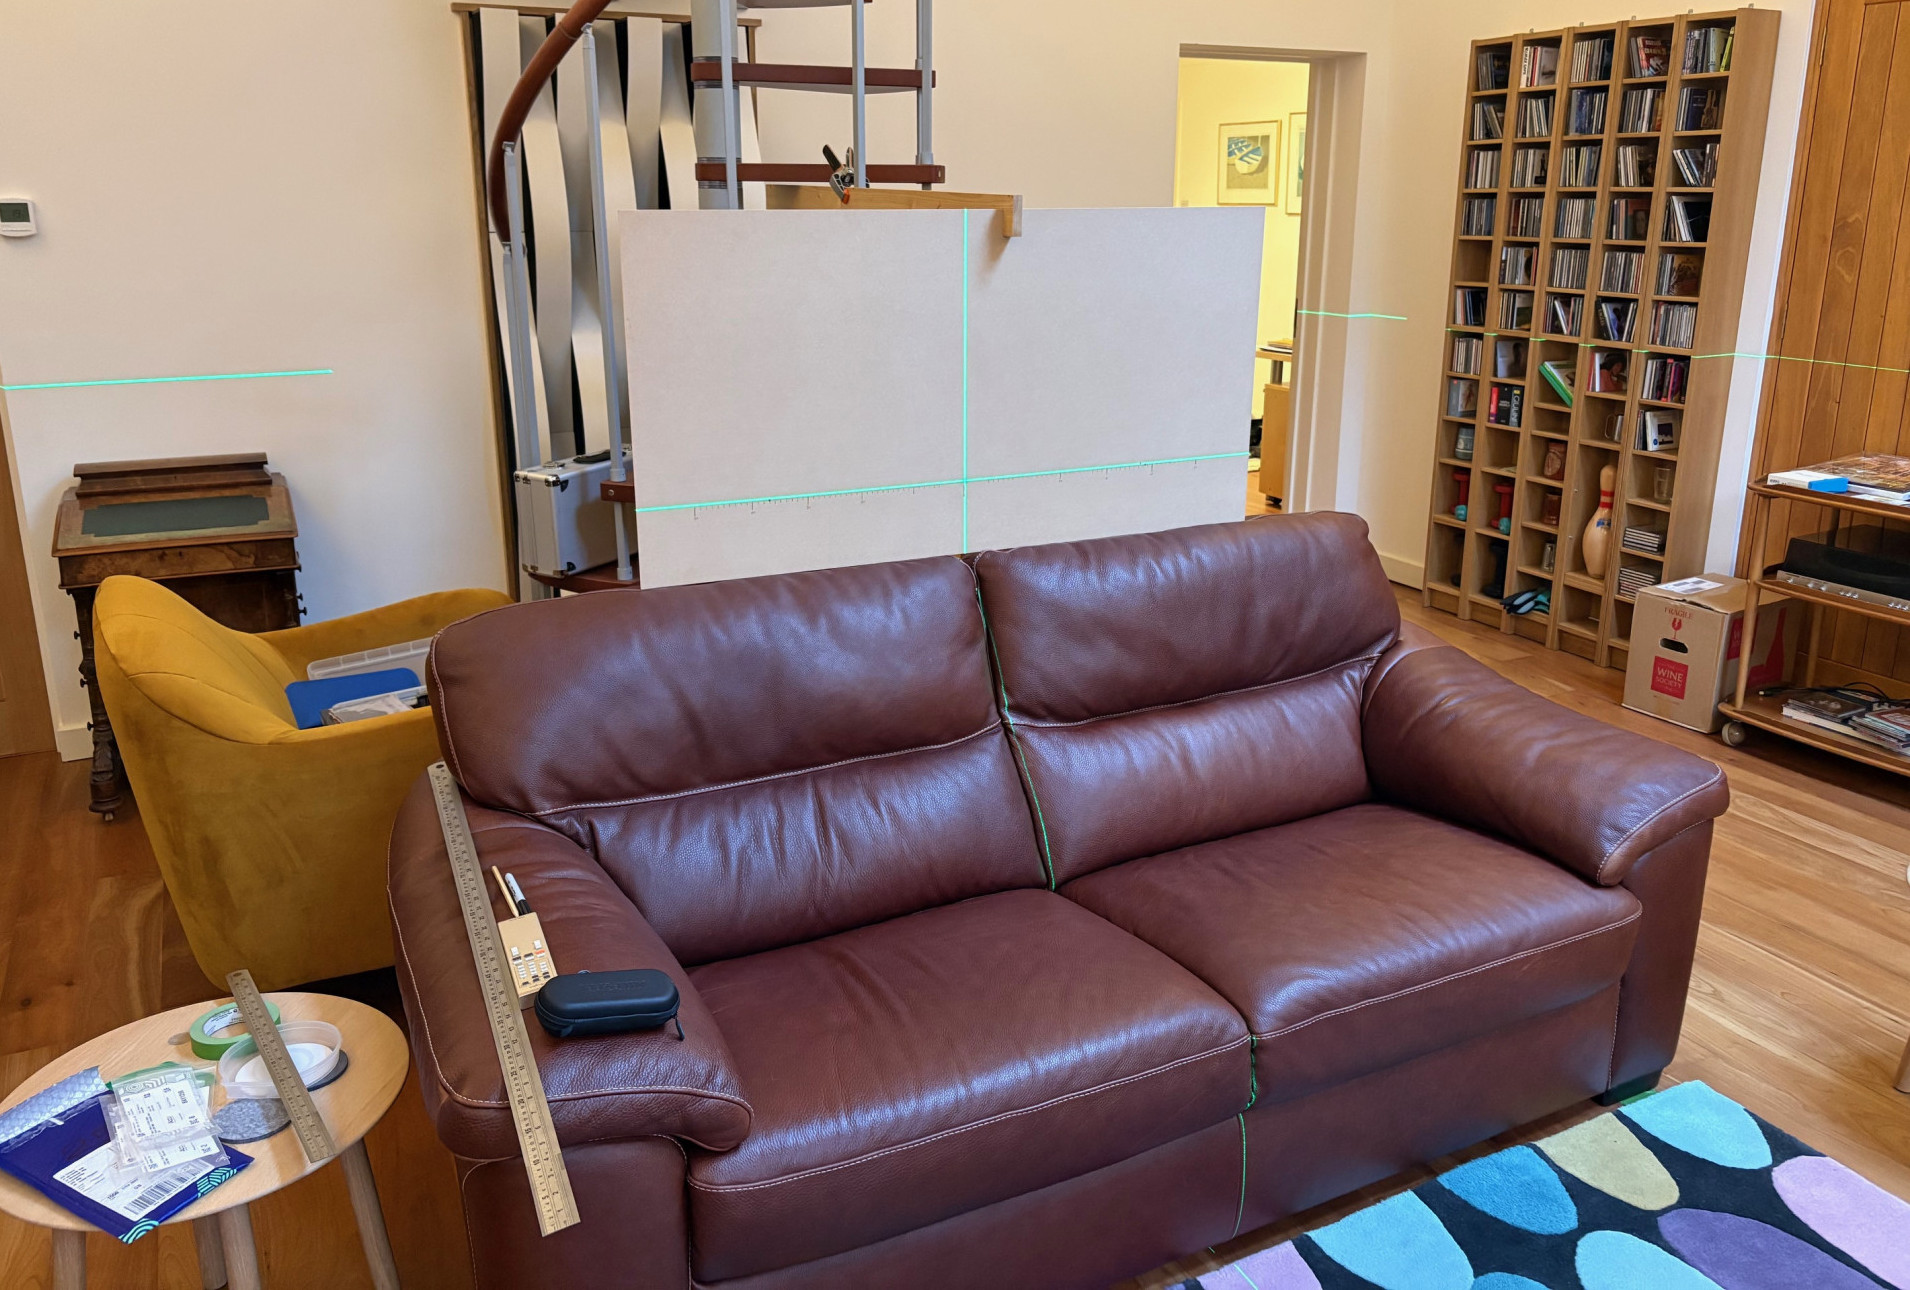
If you look at the sketch from the work pad and the pictures, you’ll see how this works. For the purposes of this piece, I’ve removed the tape measures, which accentuates the value of the laser lines as a positional aid. Now that you’ve got the basic triangle established, this is where the fun really starts…
When it comes to setting toe in, it’s worth starting with your ears and the LEDR tests (available in various place, but I use the e Nordost twin set-up disc). Once you’ve got an aural setting, it’s then time to start really dialling it in. This involves using a laser that sits on the tweeter axis. Given that most tweeters are built onto face plates and set in broad baffles, that might seem like a complicated proposition: it’s actually considerably easier than you might expect. As mentioned above, the existence of small-bore sighting lasers, built into small cylindrical housings is an absolute boon. All you need is an improvised mount with a hole the right size drilled through the middle and away you go. For the Trios, that involves cutting a side-plate sized disc with a rear rim, that fits over the tweeter horn. The same lathe that cut the disc and rear rebate cuts the central hole. Push fit the laser, and there you go. In this instance it’s easy to assess axial accuracy by simply turning the mount on the front of the tweeter, observing the motion of the target dot on a blank sheet. A little judicious nudging soon gets it firing pretty much where it should. Although this owner actually produced two mounts, it’s better to use just one and swap it between speakers, as it helps reduce differential error. You’ll also note that there’s a marking for top-dead-centre. Getting the laser exactly on axis is unlikely. Getting the mount orientated the same way every time means that what error there is will be consistent. It’s also a good idea to arrange that error on the vertical axis, rather than the horizontal – again, easy to do by turning the mount in-situ before fixing orientation.

The Trio is something of a special case, with its exposed tweeter ‘trumpet’. But in practice, it’s just as easy to arrange a mount that positions your bore laser on the tweeter axis for any speaker. All you need is a ‘face-plate’ that offers enough clearance so that the laser can be positioned immediately in front of the tweeter diaphragm. It can be as simple as a square plate with spacers on its rear face. It can be as complex as a face-plate mounted on a sub-baffle, that allows the laser to be turned. Many speakers these days install their tweeters in sloping baffles. How do you set the bore-sight laser to sit level? You use the self-levelling lines drawn by the 4×360 laser. Set the speaker cabinet level. Place the 4×360 laser beside the speaker and hoist it on the tripod until it’s horizontal beam cuts the middle of the tweeter diaphragm. It will extend right down the room and across the end. Now, adjust the angle of the bore-sight mount until its dot hits the laser line generated by the 4×360.