
How do you position the laser mount centrally over the tweeter? Use the tripod-mounted 4×360 laser to place a cross, centred on the tweeter diaphragm. Use crosshairs drawn on the front of your improvised laser mount to align it perfectly. Now just tape it in place using that most valuable of all audio set up accessories, painter’s tape.
Each speaker presents a different mounting challenge, thus demanding a bespoke mount. However, the lasers can be switched from one mount to the next, so unless you are in the habit of changing speakers like you change your underwear, it shouldn’t be too taxing to create a new mount each time a new speaker appears. I have created an adaptable mount with adjustable feet which can be angled as required, to match different baffle slopes, but that it getting more involved than most users need.
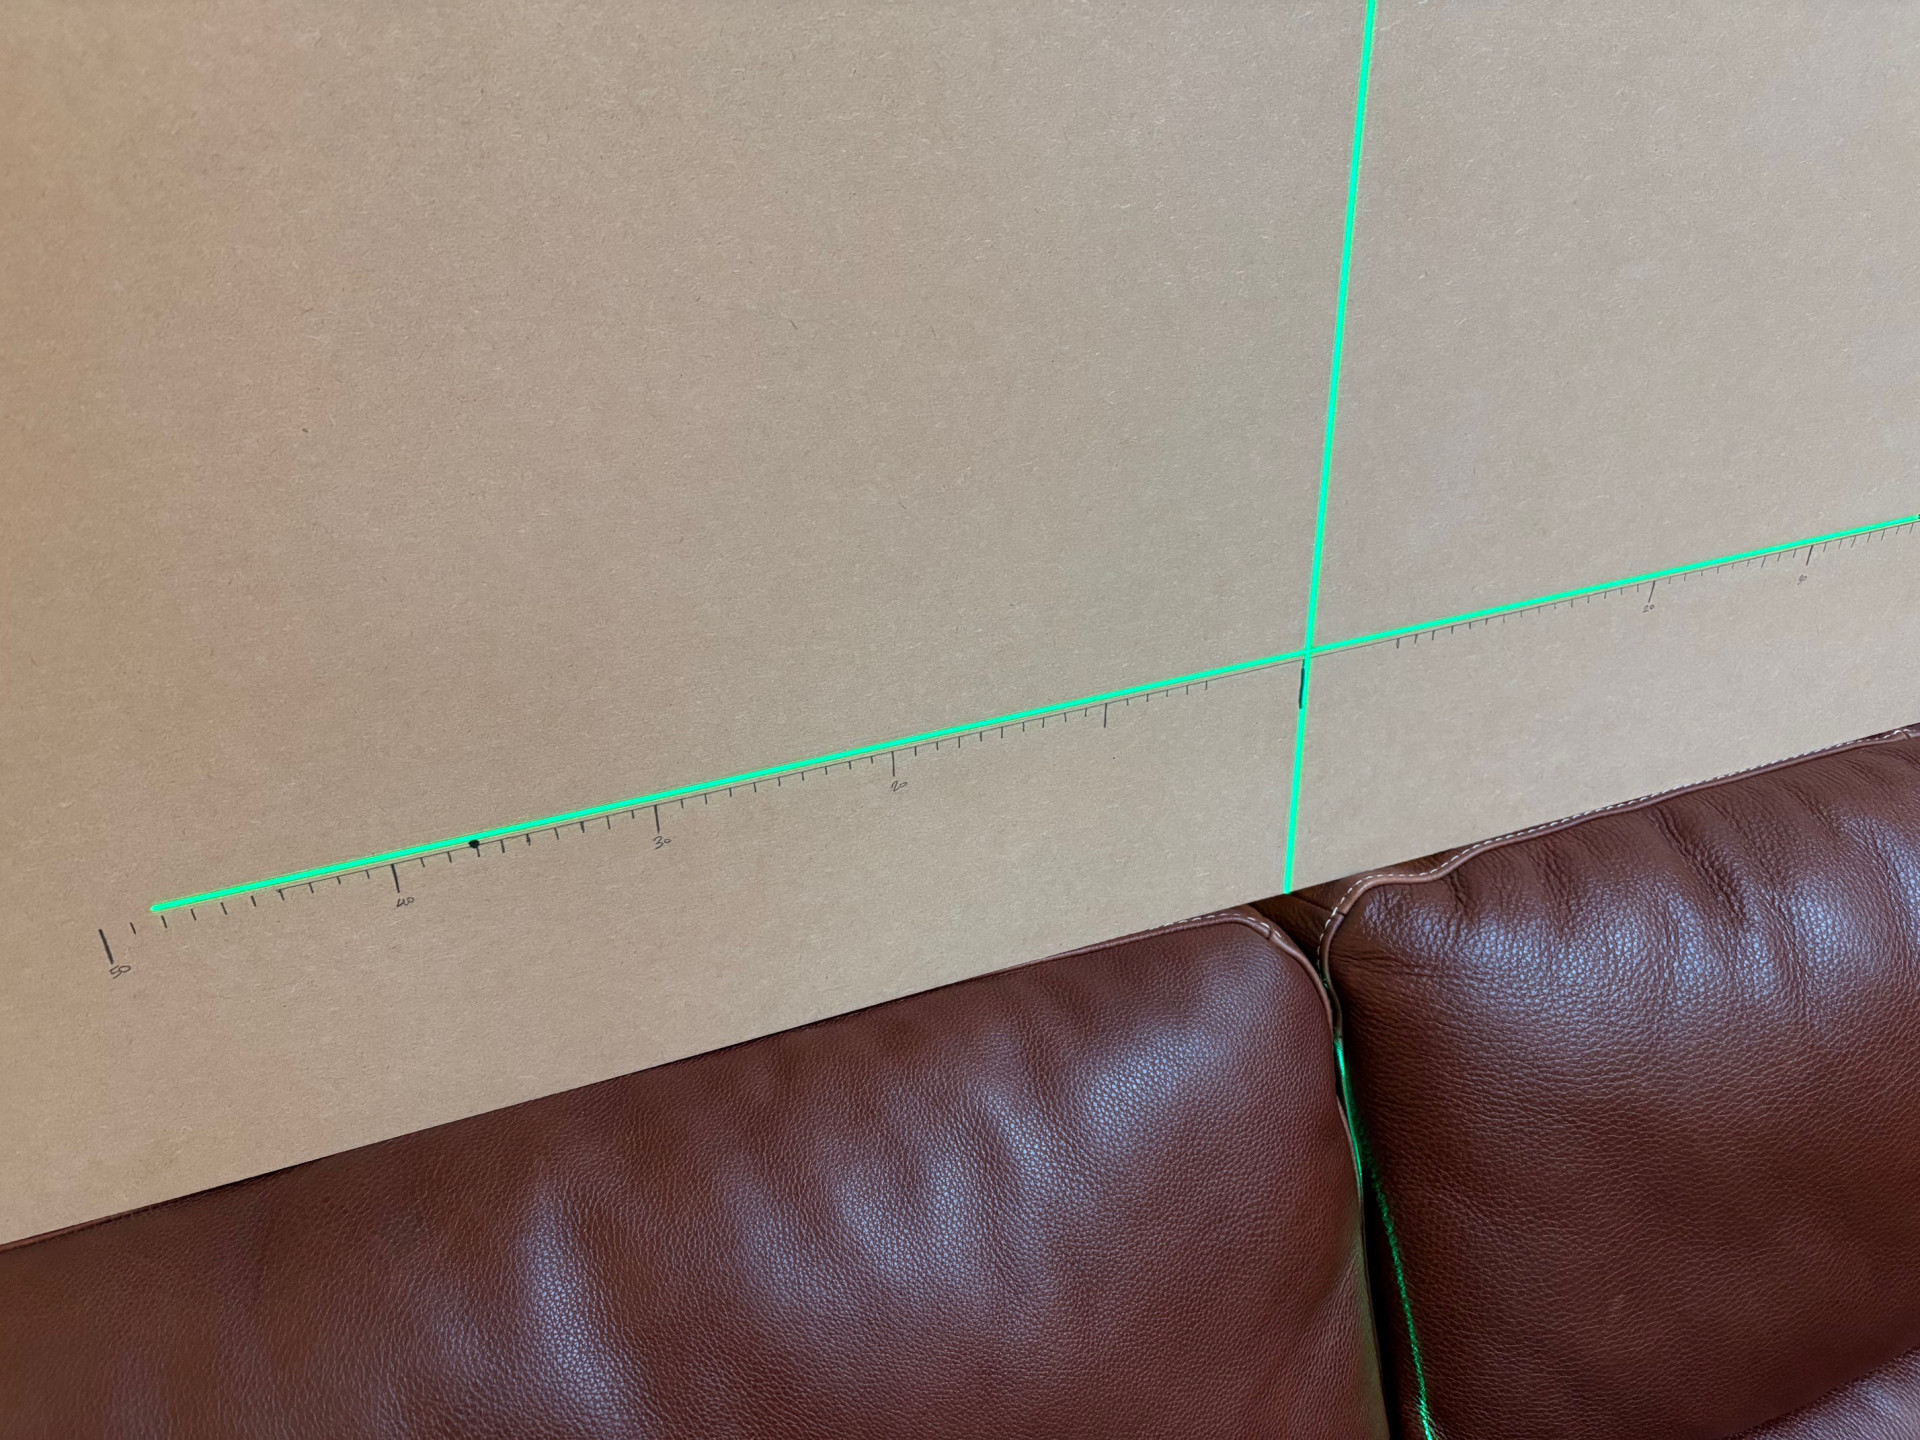
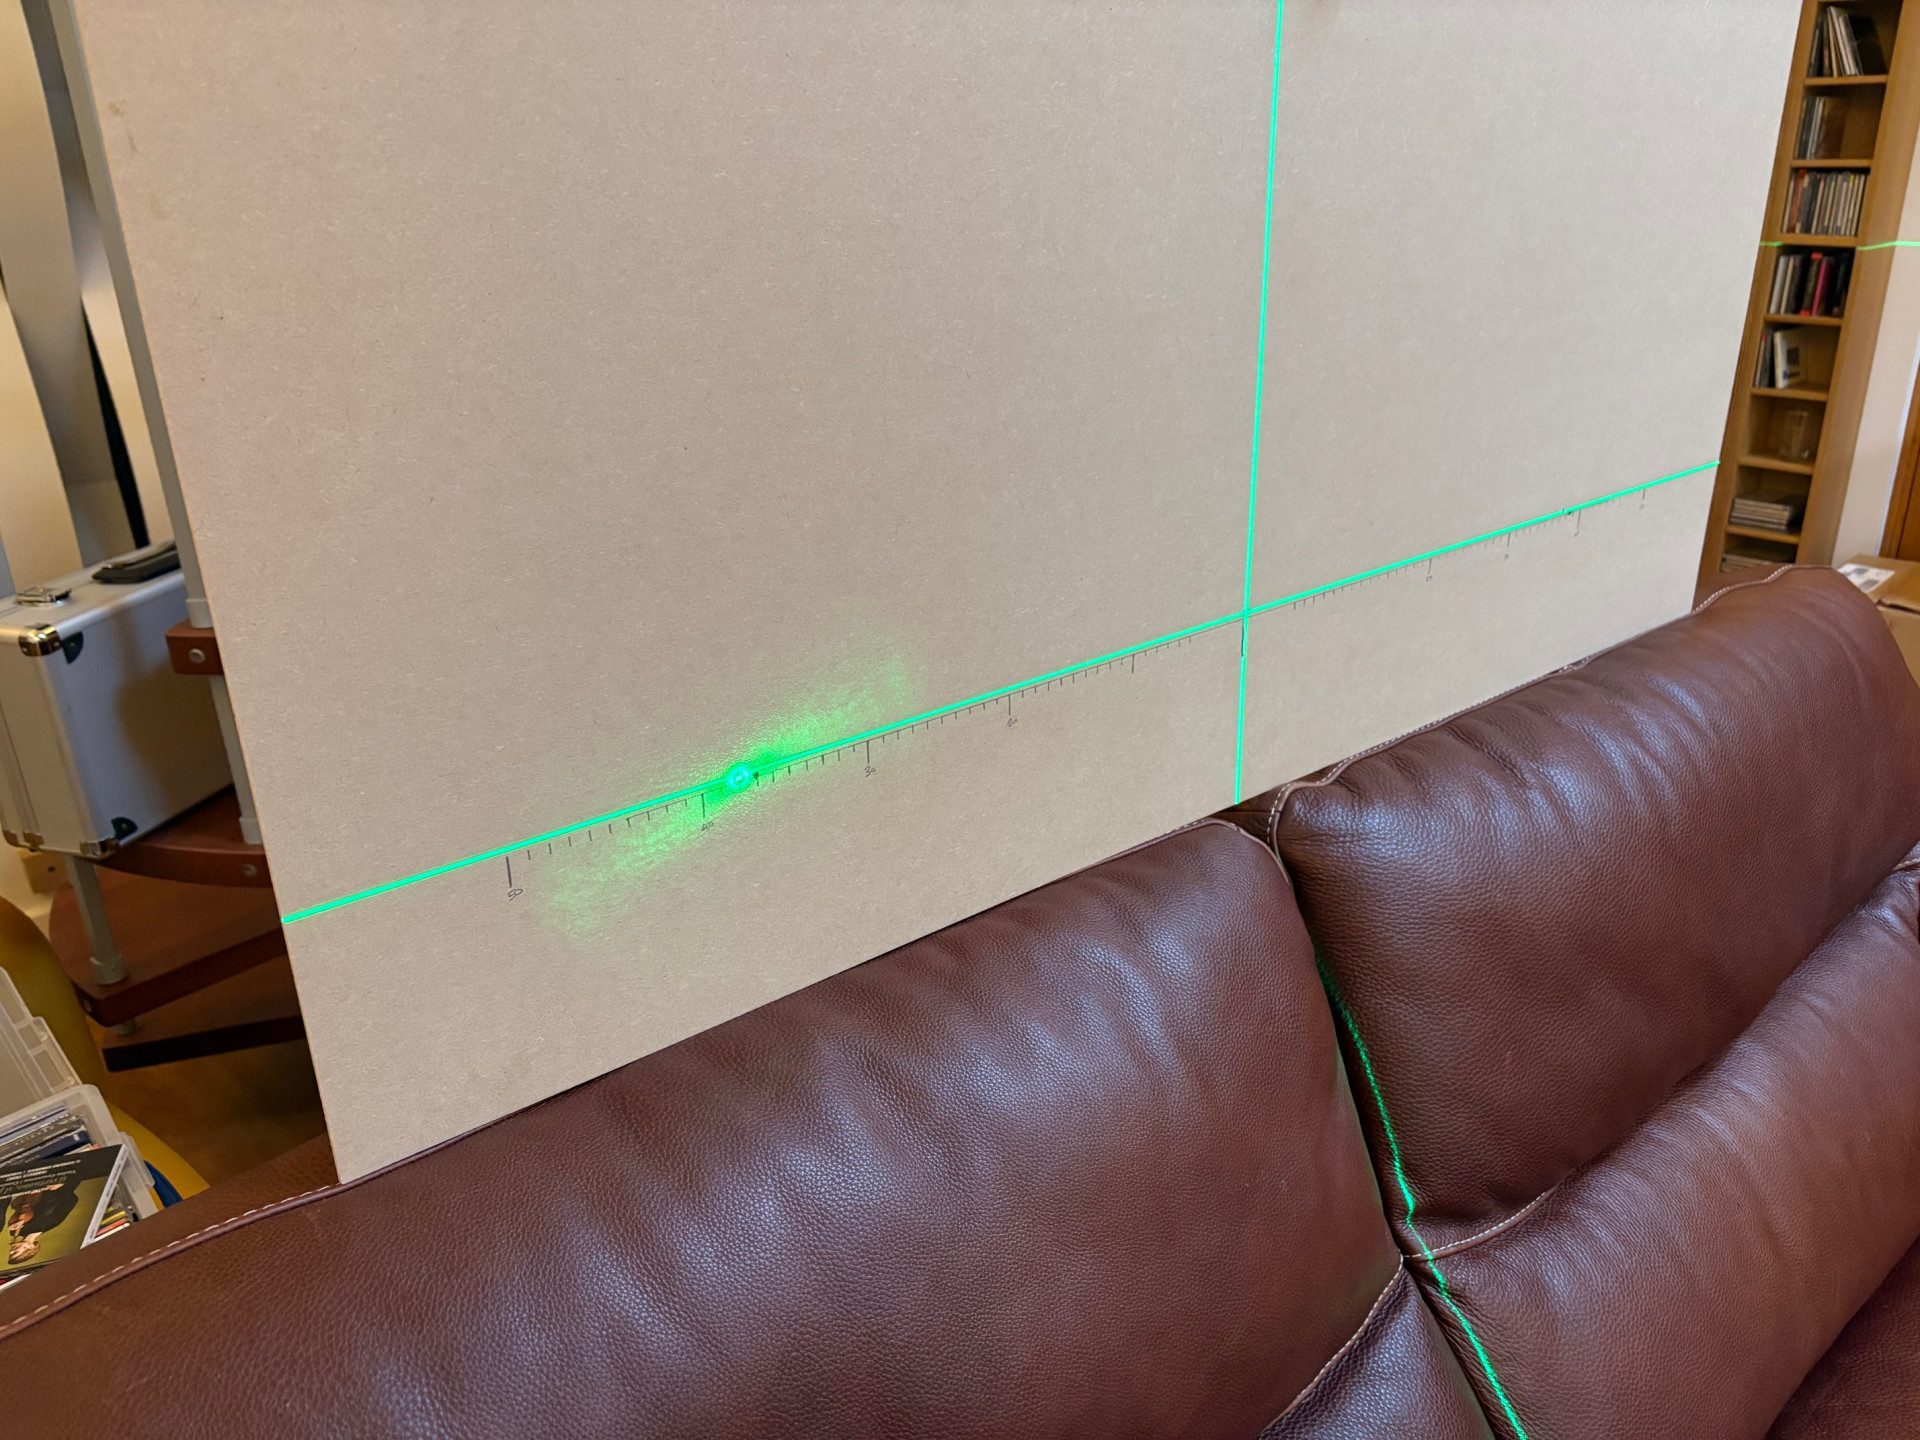
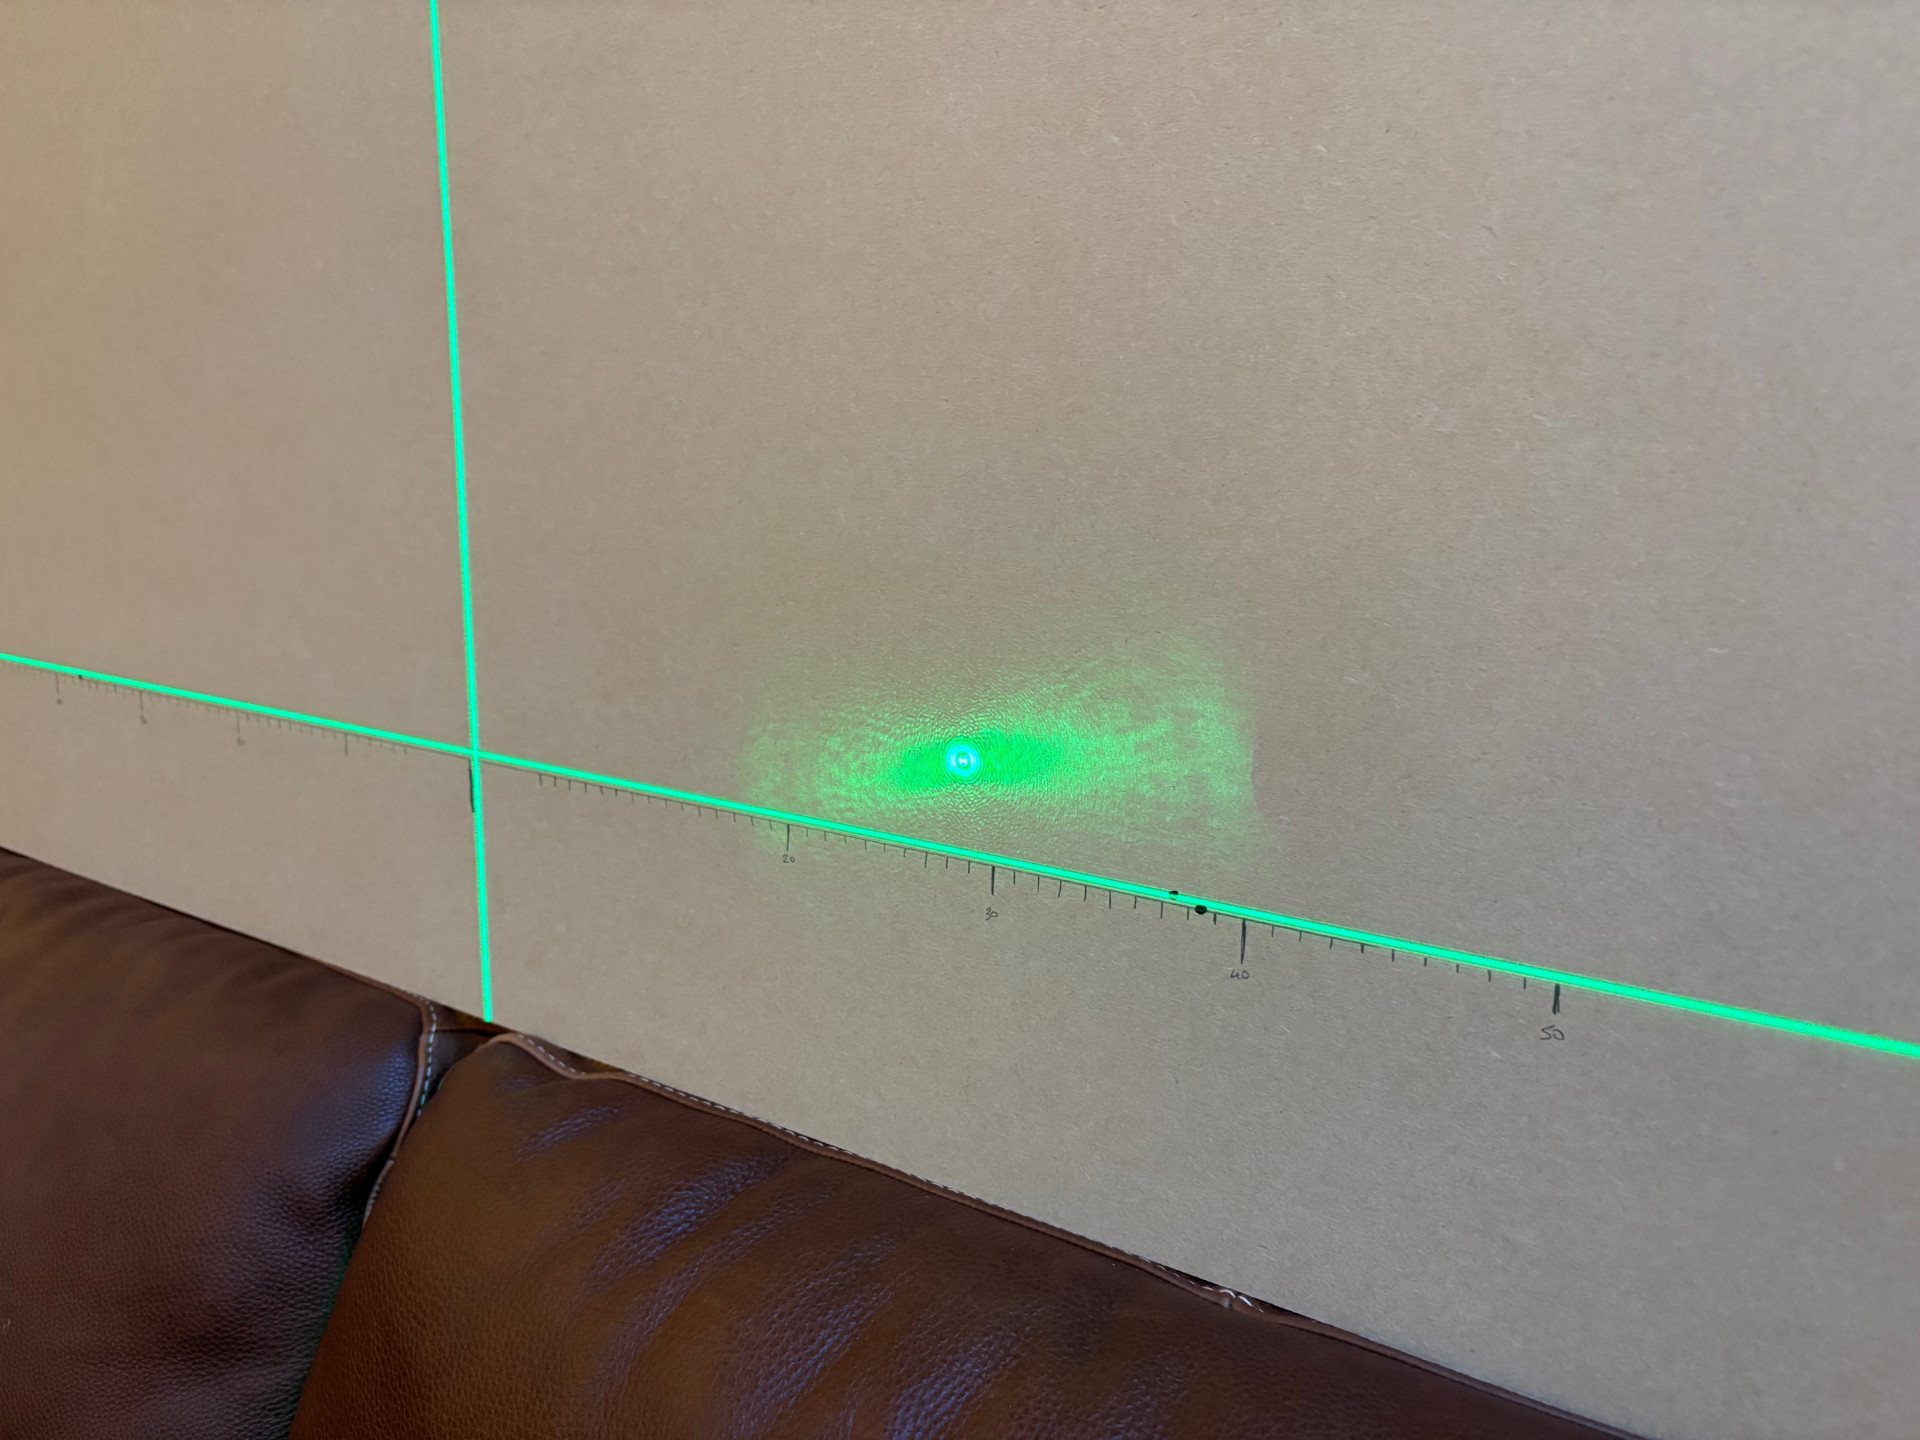
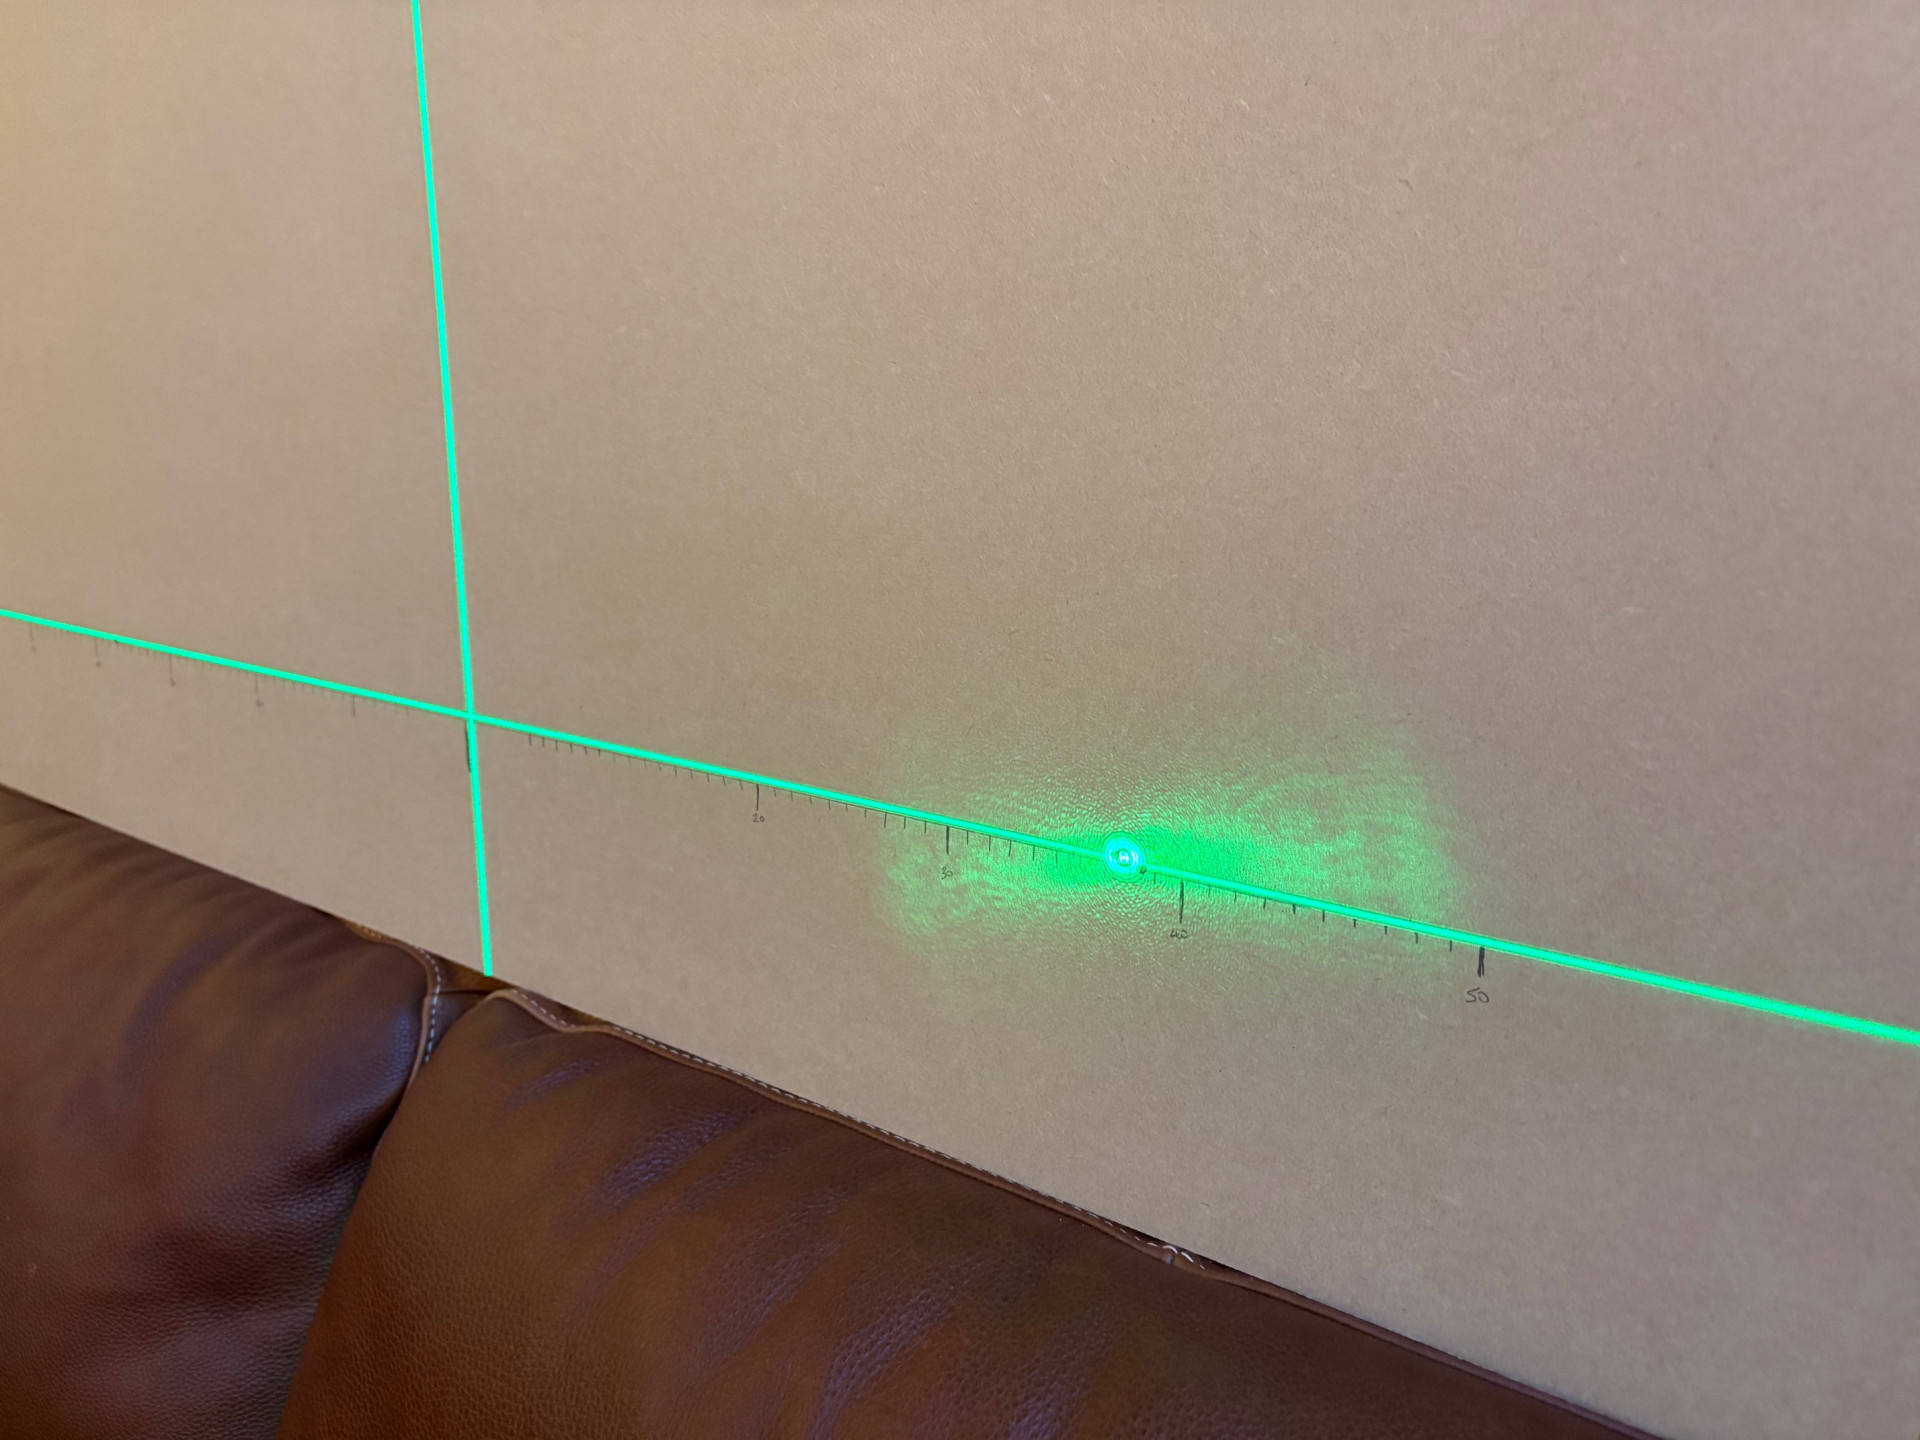
With the bore-sight laser mounted over the tweeter you can display rake angle with considerable precision, but to do so you need a target. It can be as simple as a strip of tape (or even a tape measure) with graduations marked across it, stuck to the back of the listening seat. But it’s better to set a graduated lateral line at seated ear height. For that you’ll need a piece of board or card, supported vertically on the listening seat. Use the 4×360 laser to set a horizontal line across it and then mark and graduate that line about the centre point. Using the bore-sight laser and the speaker’s feet/spikes, you can now bring the tweeter axis to ear height and establish its toe-in/out. It’s then easy to set the other speaker to match.
Final step is to use the laser range-finder to set identical tweeter distances for both channels. Stand the tripod over the centre line, just in front of the listening seat (using the 4×360 laser to get it spot on). Note that you are not measuring the distance from tweeter to ear, but to an arbitrary point on the centre-line between the two speakers. What’s important is that the distance is the same. Won’t that be the case anyway, given the equilateral set-up? The speaker positions have been set at the base of the cabinets or frames. Depending on the rake angle arrived at using the bore-sight laser, you will almost certainly have moved the tweeter slightly backwards or forwards. You now need to adjust this to get the tweeter distances exactly the same, while preserving toe-in and lateral spacing. This is where it gets fiddly. Make a note of the target spacing and distance and shuffle the speaker until you hit those numbers.
Congratulations, you now have a properly symmetrical set-up. It probably already sounds way more focussed, spacious, coherent and dynamic than it did and you might well be tempted to stop at this point. However, if you have the patience to nudge and nurdle the speakers in ever smaller movements (and I do mean tiny) your ears can take you further still. As with all set-up, the more you use the right tools in the right way, the easier it becomes. But there’s no substitute for experience and a little practice goes a long way – in this case, directly affecting the results you’ll achieve.