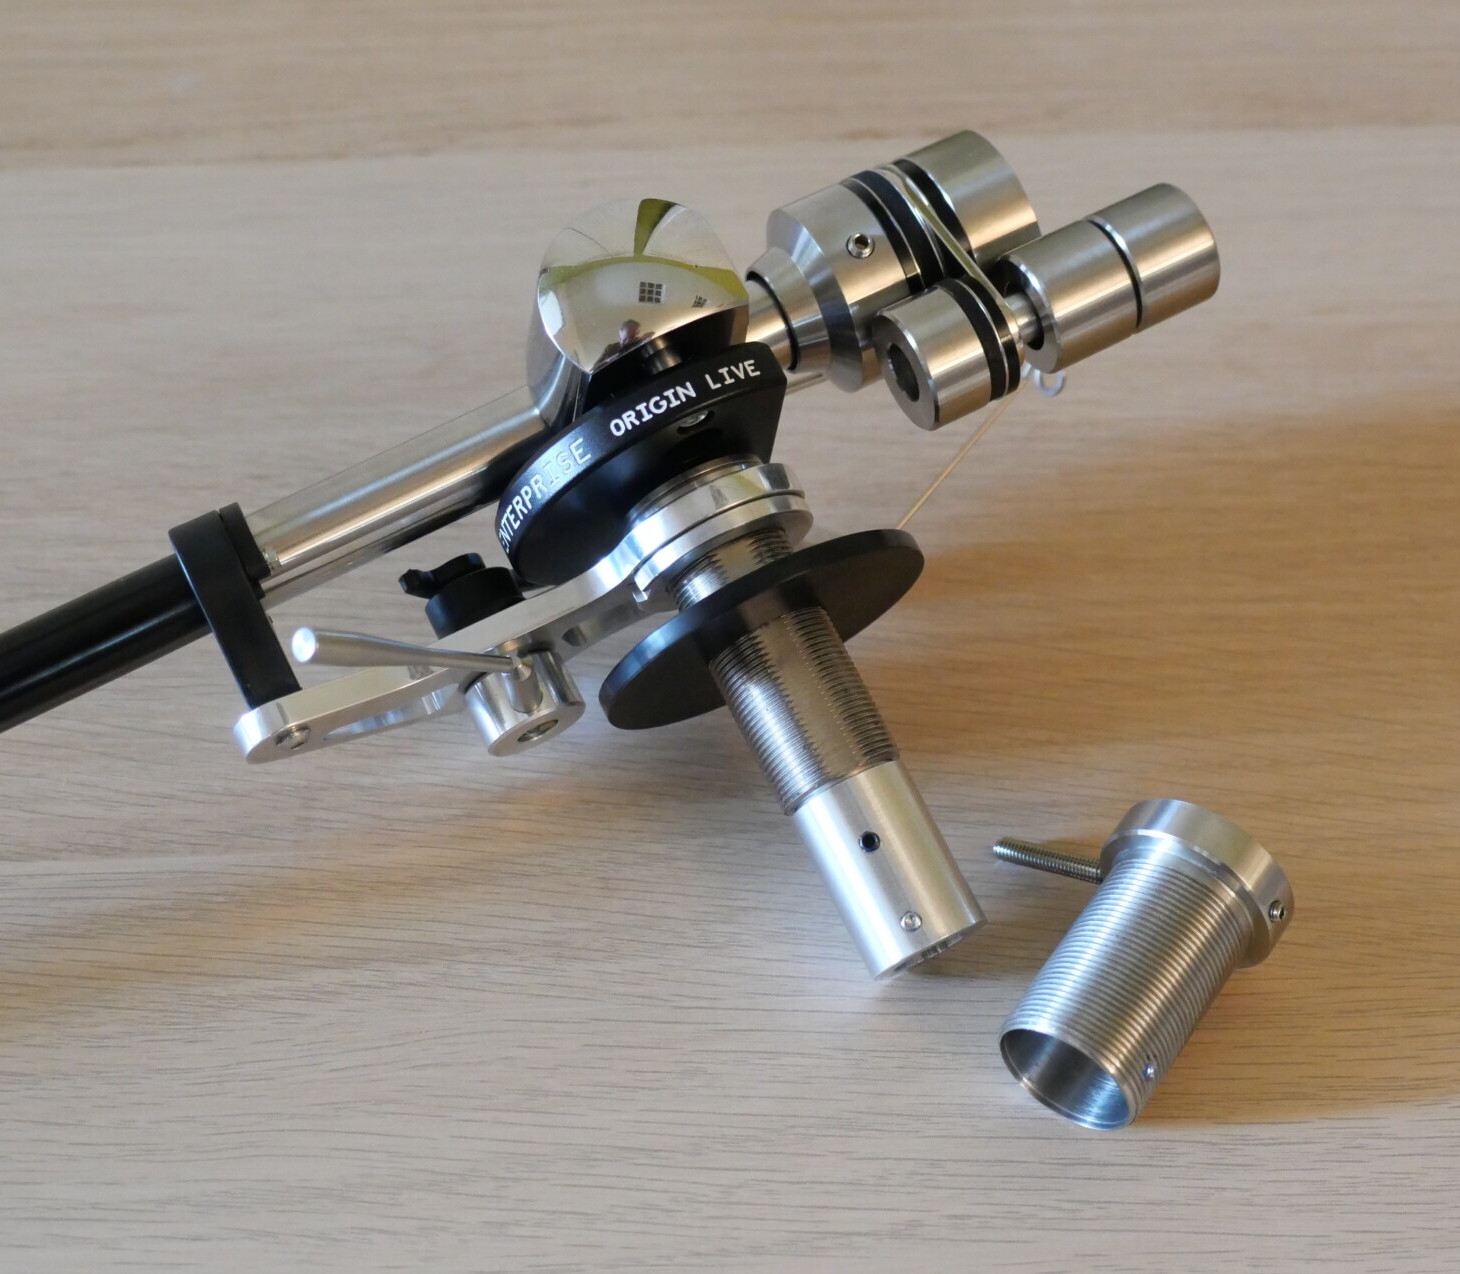
The arm-pillar is threaded and fits inside a second threaded sleeve. This outer sleeve is the 23mm diameter mounting element and is fixed using a single large diameter bolt (and thin cork washer), just like the original Rega arms. OL even provide an excellent 3D printed tool to hand tighten the bolt – thus preventing overtightening that might score the underside of the armboard and displace the arm-pillar if there is

any ‘slop’ in the mounting hole. It’s an elegant solution that ensures a solid mount and even mounting force – as long as the threaded sleeve is long enough to extend through the armboard. The OL sleeve has a 35mm extension, which even allowing 6mm for the bolt is generous. However, I suspect that if your armboard is deeper than that, either OL will machine a special sleeve for you, or suggest using their Linn collar – of which more later.
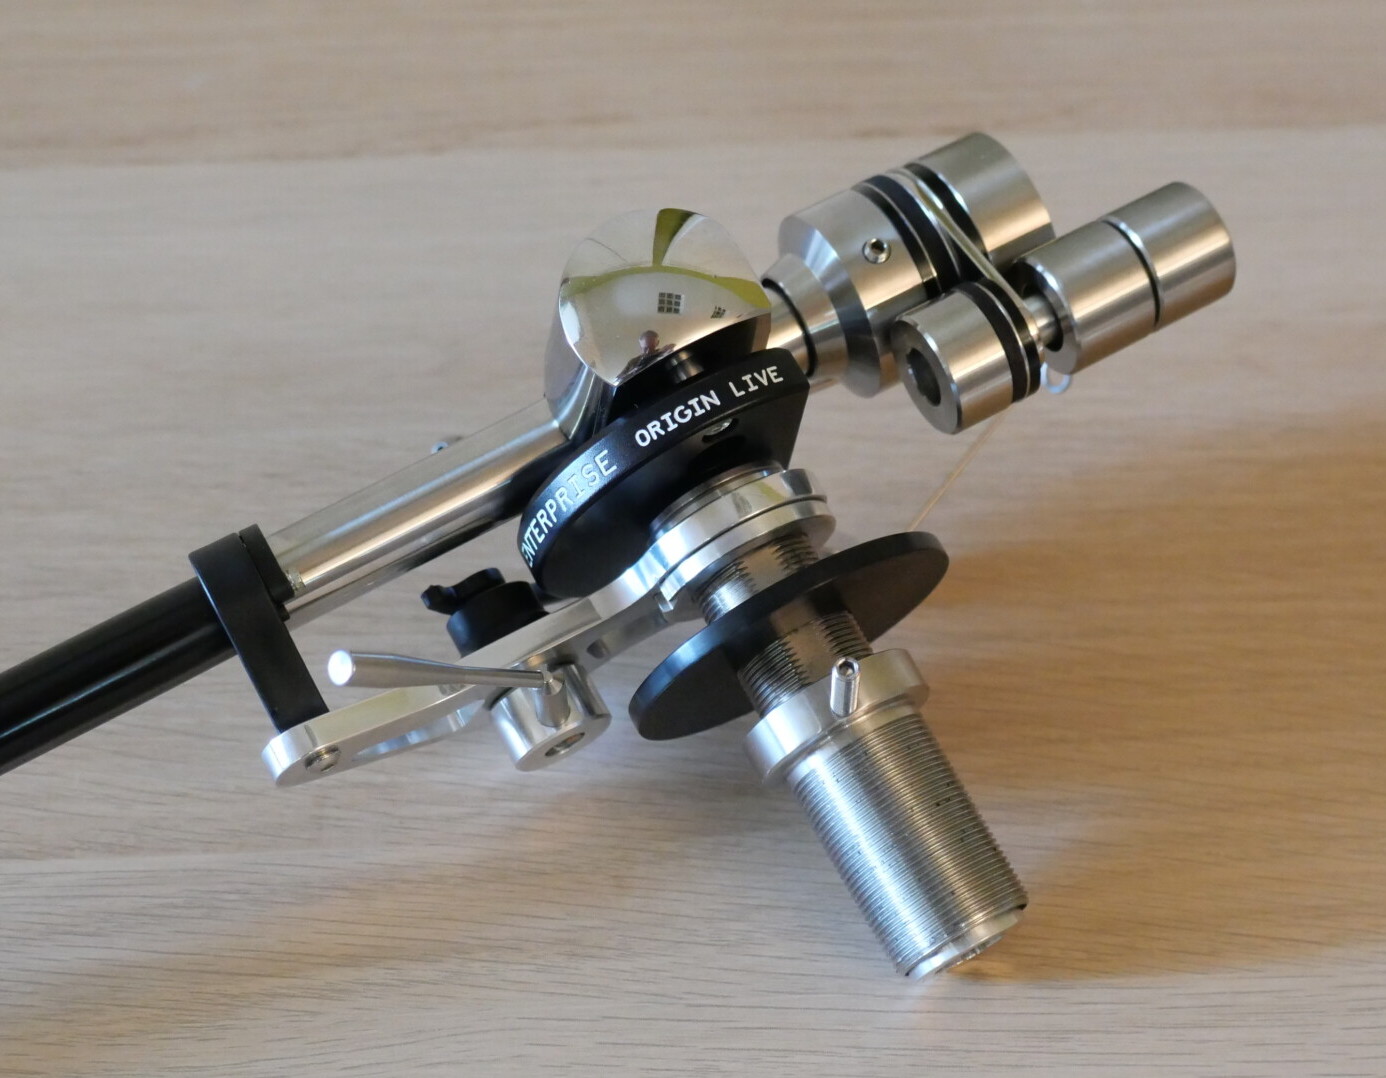
The inner, threaded sleeve sits within the outer one, supported on a large diameter, graduated disc, running on its thread. Turning this disc raises and lowers the inner sleeve relative to the outer, allowing for adjustment of arm height/VTA, the lines on the disc acting as a visual reference for repeatability. A groove in the arm pillar allows a grub screw in the inner face of the outer sleeve to prevent uncontrolled rotation of the arm, while a second, extended screw in the outer face locks the inner sleeve in place. It’s a lot simpler than it sounds and a quick glance at the pictures should reveal all.

If you don’t have a deck that’s cut for, or you prefer not to use, Rega geometry, OL offer two alternative solutions. The company will build their arms for the Linn geometry that uses a 211mm P2S dimension. The arm pillar remains 23mm but they supply a mounting collar and sleeve to allow you to fit the arm to a standard Linn six-bolt cut-out. Just be warned that the mounting collar is quite shallow and uses blind holes threaded from below, meaning that you need bolts that are exactly the correct length – the depth of the armboard plus 3-5mm.
Alternatively, they offer an SME adaptor plate, allowing you to mount the OL arms to an armboard with an SME cut-out, while maintaining correct geometry. Somewhere in that lot you should find a workable solution.
The Origin Live website suggests that cartridge alignment is important but not critical to performance, pointing out that the cartridge is only ever tangentially aligned at two discrete points in its passage across the record. That’s an argument that ignores the rate of change in tracing error, which is actually a far more important factor, as demonstrated by UNIDIN geometry. I suspect this is more a case of linguistic lassitude (or perceived priorities) than a firmly held view. I can’t agree with the OL premise and the benefits of really precise alignment are so clearly audible with their tonearms that I can’t see them being ignorant of that fact either. The good news is that the smooth headshell surfaces and long slots certainly contribute to easier cartridge alignment. If close enough is good enough for you, that’s fine. But if you are typically OCD about cartridge alignment – and most people spending upwards of £5K on a tonearm are (or should be) – then the Enterprise certainly won’t stand in your way. Having said that, I adjust VTA on a record-by-record basis where possible, so perhaps the message here is simple: take as much care on alignment as you feel the need to – you’ll certainly hear the results.
Counterweight
The counterweight slides on and is then rigidly fixed to the oversized stub, that runs through the bearing yoke and into which is fitted the toneram tube. All fairly normal stuff. However, the counterweight itself is far from normal. A composite construction, it consists of front and rear weights that are bolted together, sandwiching a series of different materials and mechanical elements: two acrylic discs, a softer (damping?) disc, thin metal washers and an outrigger mount. It’s a complex construction whose resonant signature has been carefully tuned.