
With the left-hand speaker placed, I mirrored its position for the right-hand one, before fine-tuning that independently. Interestingly, a symmetrical set-up around the centre-line was near perfect in this instance, whereas box speakers often demand an asymmetrical placement in my, far from symmetrical room, perhaps reflecting the very different way in which a di-pole drives the room. I used the Huepar ZK04CG laser to achieve symmetry between the two speakers and the listening seat. The central laser line makes this a cinch, but you can achieve the same result with tape, a pen and schoolboy geometry, establishing a perpendicular axis to the plane of the speakers.

Next step was to achieve proper azimuth, starting by getting the speakers vertical on the fore-and-aft axis, by adjusting the rear foot, built into the crossover block. Once that is done, the outer, cylindrical foot can be adjusted to correct the azimuth. With that done, you can use the LEDR tests to establish toe-in. These computer-generated pulses move across and within the soundstage in predictable patterns that allow you to clearly hear the impact of attitudinal adjustments on the dimensionality, continuity and coherence of the acoustic generated by the speakers. Each speaker can be adjusted independently, with clearly audible results. They also allow you to assess the impact of adding acoustic treatment to the room boundaries, but that’s a different discussion for a different day. What the LEDR tests are going to tell you about the Diptyques – and tell you in no uncertain terms – is that they need minimal toe-in. So minimal that it’s easy to overdo it, while tiny angular adjustments to either speaker will make a significant difference to the coherence and continuity of the stage, causing the pink-noise blips to hop and skip erratically, rather than proceeding calmly and evenly. The LEDR tests are just as useful in setting up any type of speaker, but their use with the Diptyques is as salutary as it is effective
One unexpected sonic effect revealed by the LEDR tests is a brightness, glare or halo around the blips – something that’s equally apparent on music. This is a direct result of clashes between the output of the two speakers, caused by incorrect lateral spacing or a non-parallel relationship between their drivers. Its presence is a key indicator of incorrect set-up, just as it’s a clear guide to getting it right. In my room/system, once I had the speakers vertical/parallel, the right-hand speaker needed top move outwards by 2mm before the two channels blended seamlessly. Having said that, while that 2mm adjustment might be small, it took a while and some serious experimentation to arrive at. It also required re-checking for panel attitude, toe-in and listening distance, to correct for errors introduced by all that shunting and shifting.
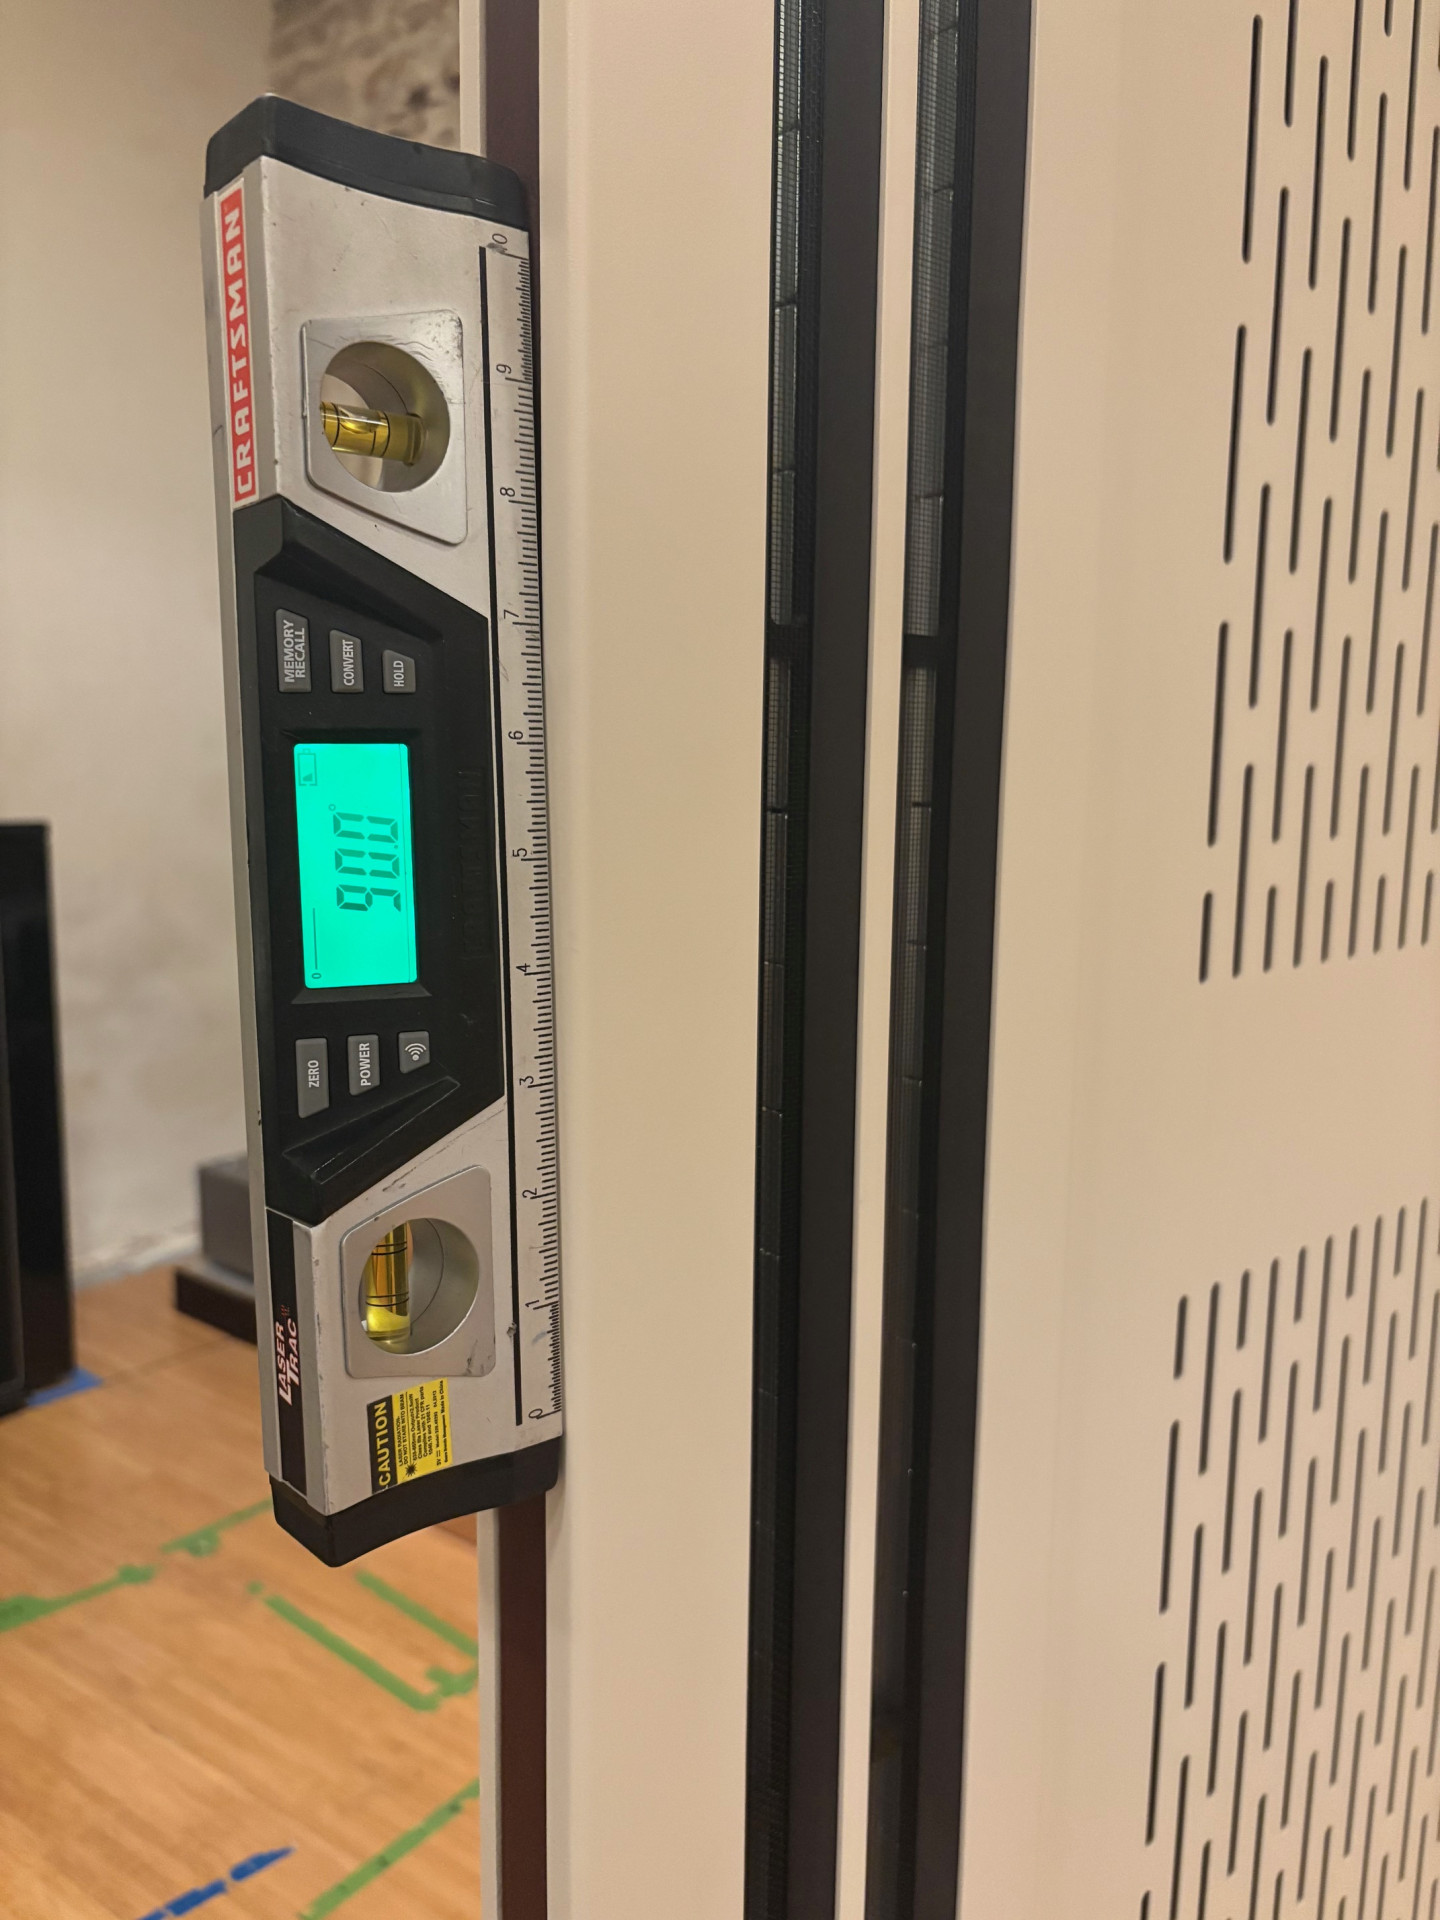
With everything singing sweetly, we’re at the final step – rake angle. As already mentioned, this is absolutely critical to achieving the impressive sense of scale, presence and musical energy that these speakers can produce. But getting it right takes some care. Isn’t it just a case of using that adjustable rear foot built into the cross-over block? Well, yes – and no. The Ref II uses a three-footed arrangement: one fixed at the front, the adjustable foot at the rear and that third, cylindrical foot on the outer edge of the panel, which is also adjustable. The problem here is simple, raise the rear of the speaker using that back foot and you also tilt it outwards – and we know what that will do. Rather than trying to juggle both adjustments at once, I adjust fore-and-aft angle of both speakers first, for greatest energy, scale and presence, before then correcting the azimuth using the outer feet. It is really important to get the rake angle on both speakers identical. Close enough isn’t good enough in this case. Take your time and get it spot on. I used a basic (Craftsman) digital level for initial attitude adjustments, simply because its magnetic base made the operation easy. But for the really fine adjustments required to dial in final angles, I used the far more accurate Level Developments unit, measuring in terms of geometric (mm/m) rather than angular deflection (degrees).