
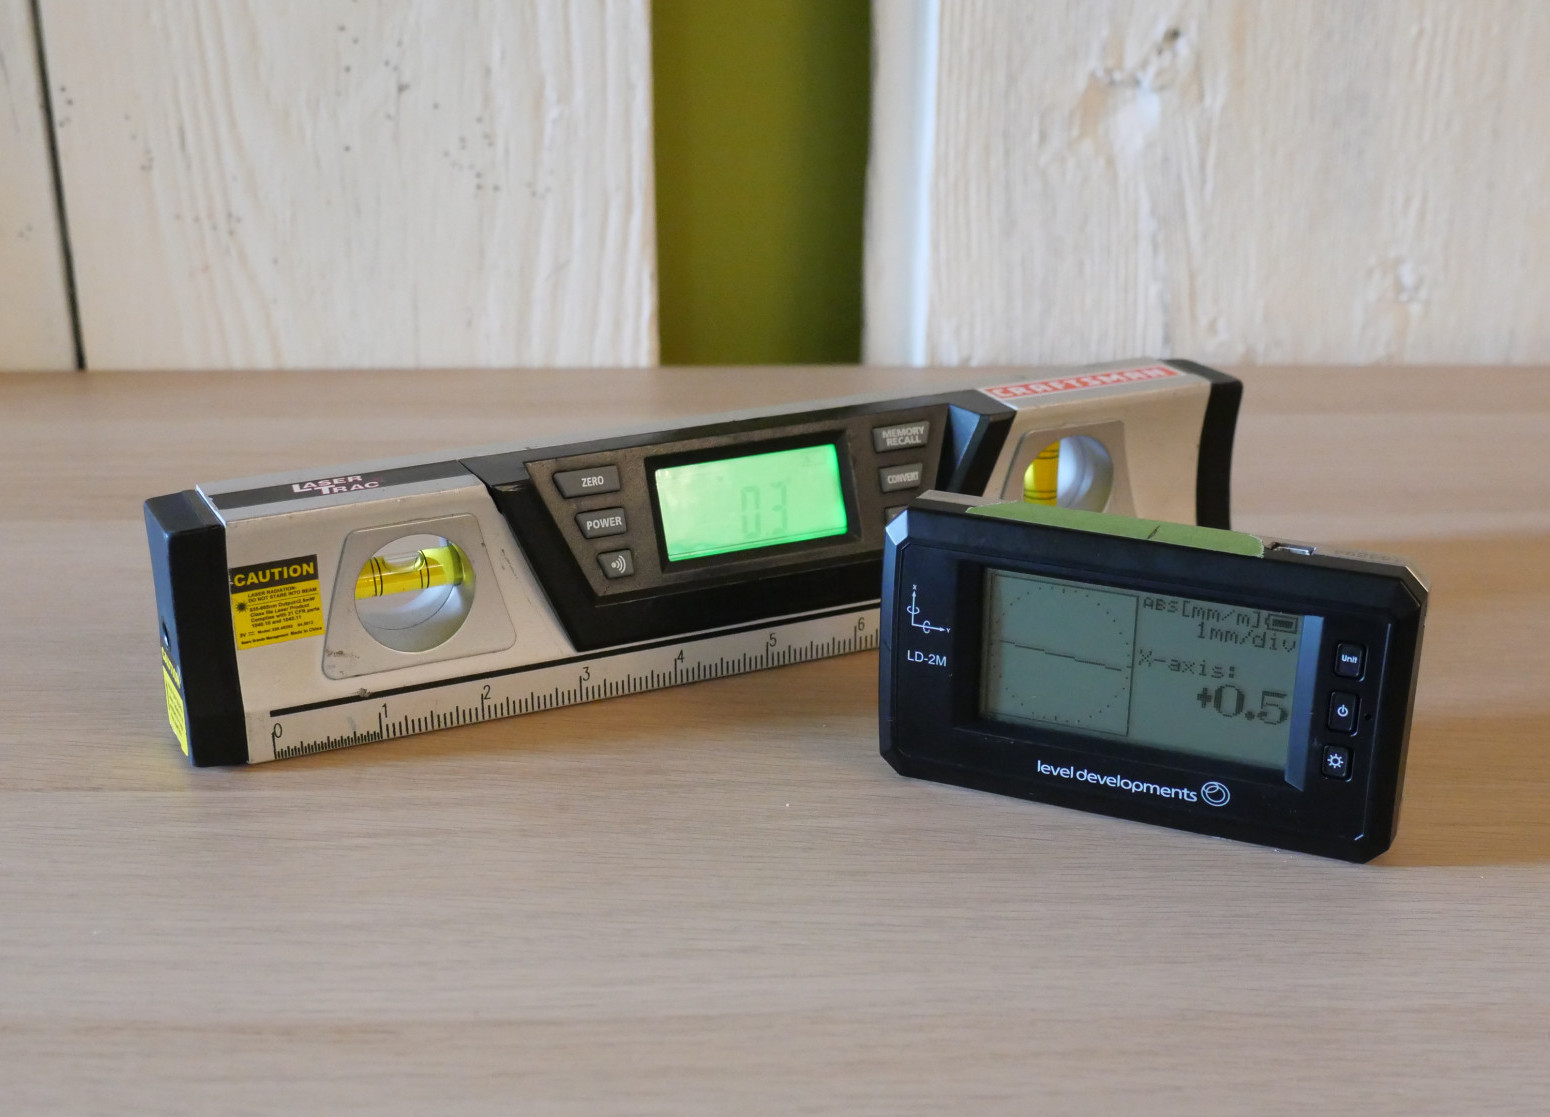
With the speakers back to vertical azimuth as per your digital level, it’s time for a final tweak. Your ears are more sensitive than your level, while what you are measuring is the speaker panel rather than the drivers themselves. We want those drivers in both speakers to align perfectly and, at this point that means trusting your ears rather than the digital display. By sitting in the listening position and rocking slowly, from side to side, you can hear whether there’s a change in the presence and projection of a central voice or instrument. If it gets louder or more present to the left or right, I’d suggest tilting the speaker on that side into the soundstage slightly: and I do mean slightly – turning the periphery of the circular foot by a couple of millimetres or a 1/16th of an inch. If there’s a left or right bias, try tilting the opposite speaker outwards, by an equally tiny amount. Keep refining the adjustment(s) until you have peak presence in the centre and even decay on either side.
Rest… and relax.
As I said at the start, none of this is difficult, not least because the speakers make it so easy to hear the result of any adjustment that you make. But it is essential to understand both that these adjustments are necessary and just how small many of them are. The same is true of any loudspeaker, irrespective of design or type. But it certainly seems that large panels, with their long line sources and more intimate coupling to the room magnify both the differences and the benefits of getting things spot on. At the same time, the converse situation is that if you don’t know what you should be doing, or simply don’t take the time and trouble to do it properly, you’ll find yourself frustrated and failing to realise the best possible performance from your expensive purchase.
One step beyond…
But as far as the Diptyques are concerned, this isn’t the whole story. There are several further steps you can take, adding real musical benefits in the process. With its large, steel front and rear surface and multiple allen bolt fixings, the Reference II is an obvious candidate for chassis grounding. I took ground wires from one of the central bolts that sits between the upper and lower bass panels and ran them to a pair of Nordost QK1s. It’s something that I’ve done many times, on various Stenheim and Wilson Benesch speakers, always with positive musical benefit. What I wasn’t expecting was the degree of improvement evinced with the Diptyques. Okay, the steel structure and massive magnet arrays should probably have been a clue, but I wasn’t ready for the scale of the increase in clarity and focus, the quieter background, the sense of micro-dynamic jump and immediacy that resulted. This was a major step up in performance, to the extent that I’d consider some form of chassis grounding mandatory or, at least a first upgrade on any Diptyque purchase, not least because it injects micro-dynamics and life into a speaker that can sound a tad laid back. Once tried, there’s no going back, so all serious listening was conducted with the chassis grounds in place. This ‘upgrade’ was significant enough to warrant a separate article on the whole subject of grounding metal speaker cabinets. It’s a subject I’ve been reluctant to write about, but the time has clearly arrived to grasp the nettle.