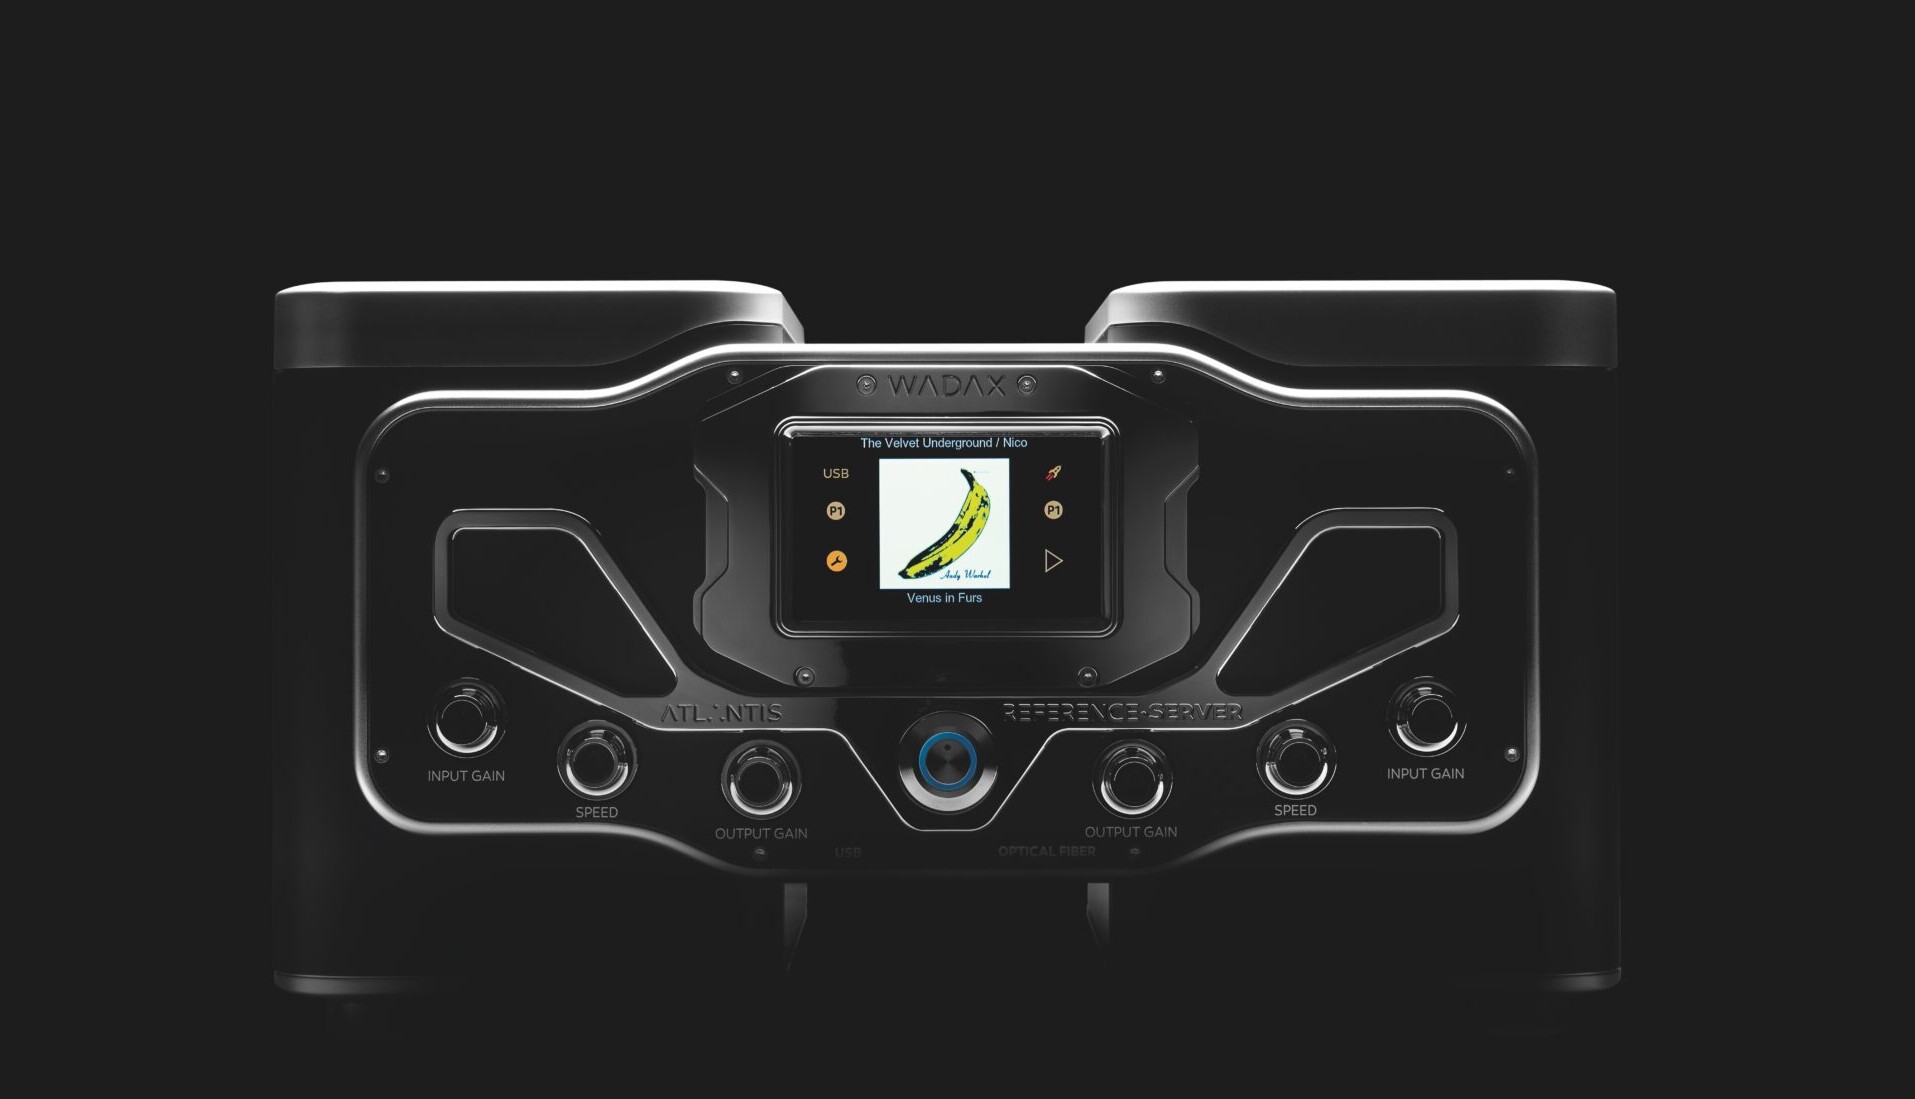
 The most important thing to appreciate about the DWC controls is that they operate in concert, as a set. The way to optimise the settings is to advance them all as a group and once a general level has been decided on, set about trimming them individually. Fortunately, the graphic display provided by the reference Server’s screen makes this very easy to achieve. Rotate any of the controls (for either the USB or Akasa output) and the screen switches to show six horizontal bars, the top three relating to the USB connection, the bottom three the Akasa optical. I’ve run through the actual operation of the controls in the Installation Notes, but it bears repeating here, simply because it is so key to achieving the performance potential of this unit.
As you advance the three controls, you will hear the music gain body, purpose, energy and weight. Go too far and it will start to thicken and slow, the excess noise and energy generated muddying the gaps between and the leading edges of the following notes. In some respects, this whole operation is reminiscent of setting up a sub-woofer – albeit somewhat easier to execute. Just as initial settings on subs are nearly always too high and you end up dialling them back over time, the same is true of DWC. If the best settings for a sub are the ones that mean you don’t notice it until you turn it off, DWC is somewhat similar. It’s not that you won’t notice it. The differences it makes are way too big and too musically significant for that. But it should be balanced in terms of that musical impact, avoiding individual aspects of the performance standing proud of the others. That’s where trimming the individual levels comes in…
Despite détentes, the controls themselves have a slightly soft and indistinct feel. Sometimes you turn one a notch and nothing happens, at least not according to the display. All of which makes that display vital to the process. You wind all the settings forward to the same point, a point that delivers an engaging musical performance. That might sound vague but believe me, you’ll know it when you hear it. Advance the controls a notch at a time and things just keep getting better – until they don’t. The sound will go soft and muddy – and it will happen quite suddenly. Back off a notch and things will come back to life. At this point you might even want to back off another notch, to check your setting but also to give yourself a little headroom for fine-tuning. That will be a personal choice. I prefer to back the settings off from a higher point, but you might well prefer to go the other way. However, a step back at this point can save considerable confusion later, even if its only result is to confirm that you need to take another step forward.
When it comes to trimming the individual pots, I start with the Input Gain control. Broadly speaking, I’d describe its impact as ‘Timing’: it affects the space between notes, their sense of rhythmic authority and placement, the shape of phrases and the way they interlock.

