

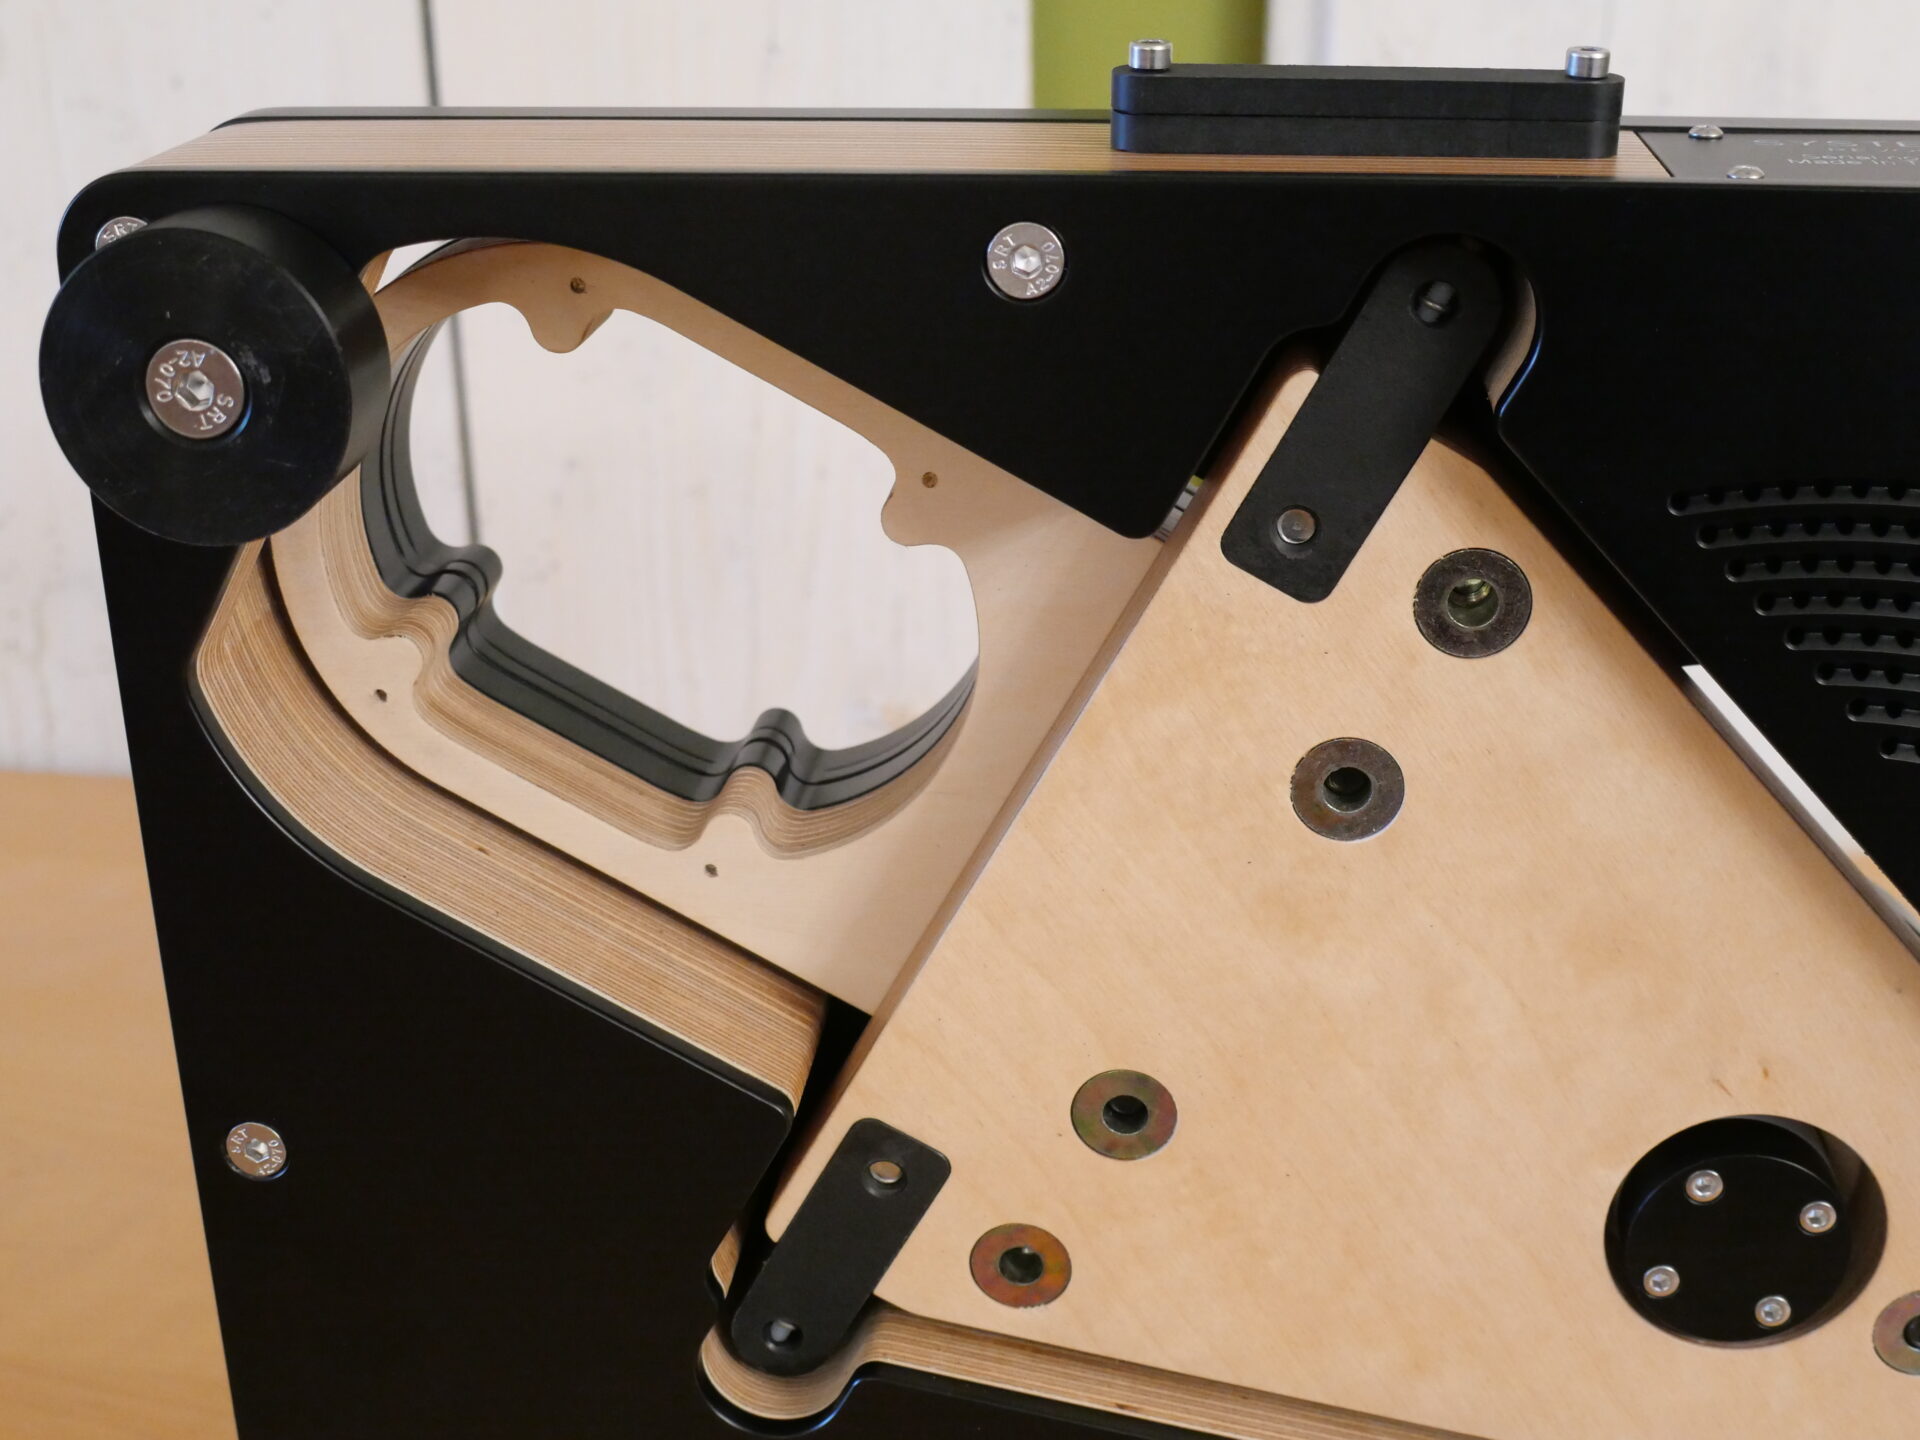
The arm-cable simply drops through the upstand and out of the turntable’s underside. Leave it loose for the moment. If the arm has a cable that exits above the top-plate (like the Kuzma 4Point or VPI JMW) then you’ll need to clamp it in the same way as one that enters the bottom of the arm-pillar – although that comes later.
With the arm installed, cartridge mounted and aligned and a provisional tracking force set, place the deck on a levelled supporting surface. Unlike some examples, the Systemdek seems relatively impervious to the nature of that surface and seemed perfectly happy on the andante Largo (birch ply) shelf, the HRS (phenolic) R-shelf or an Acouplex slab. It seems like anything goes, so long as it’s stable. I wouldn’t use a flexibly mounted support, so if I was employing an HRS platform, for example, I’d use the G7 solid foot option.
Now level the plinth using its four feet. Take your time, get it precisely level with all four feet equally loaded. As with any set-up step, the tools you use are critical to the result. A precision spirit level from the likes of Level Developments (https://www.leveldevelopments.com/) will make a real sonic and musical difference and is a worthwhile investment. Just consider the next step before choosing which one you need.
With the plinth level, it’s time to level the suspension, which is where you need to take a bit of extra care. Adjusting the sub-chassis itself is extremely easy, thanks to the adjusters mounted on the ‘table’s top-plate, around the circumference of the platter. But before you start work, you need to place a record on the platter and the arm half-way across the playing area. If you are going to use a clamp, you need to put that in place too. Next, make sure that the cable isn’t impeding the free movement of the chassis. You can do this by un-weighting it, or provisionally clamping it, making sure that you have a gentle loop from the arm to the clamp and that the cable doesn’t touch the plinth or supporting surface. Next, you need a lightweight but accurate twin-axis level. Circular bubble levels are not accurate enough for this due to error induced by the angle of view. I use a heavy engineering level for the plinth, but on the sun-chassis I use a T-shaped level:
This is light enough not to disturb the overall level and accurate enough to do the job. It will do the plinth too if you need it to. Place it alongside the headshell, between the cartridge and the turntable spindle, aligned with the axis of the adjusters – not square to the plinth.
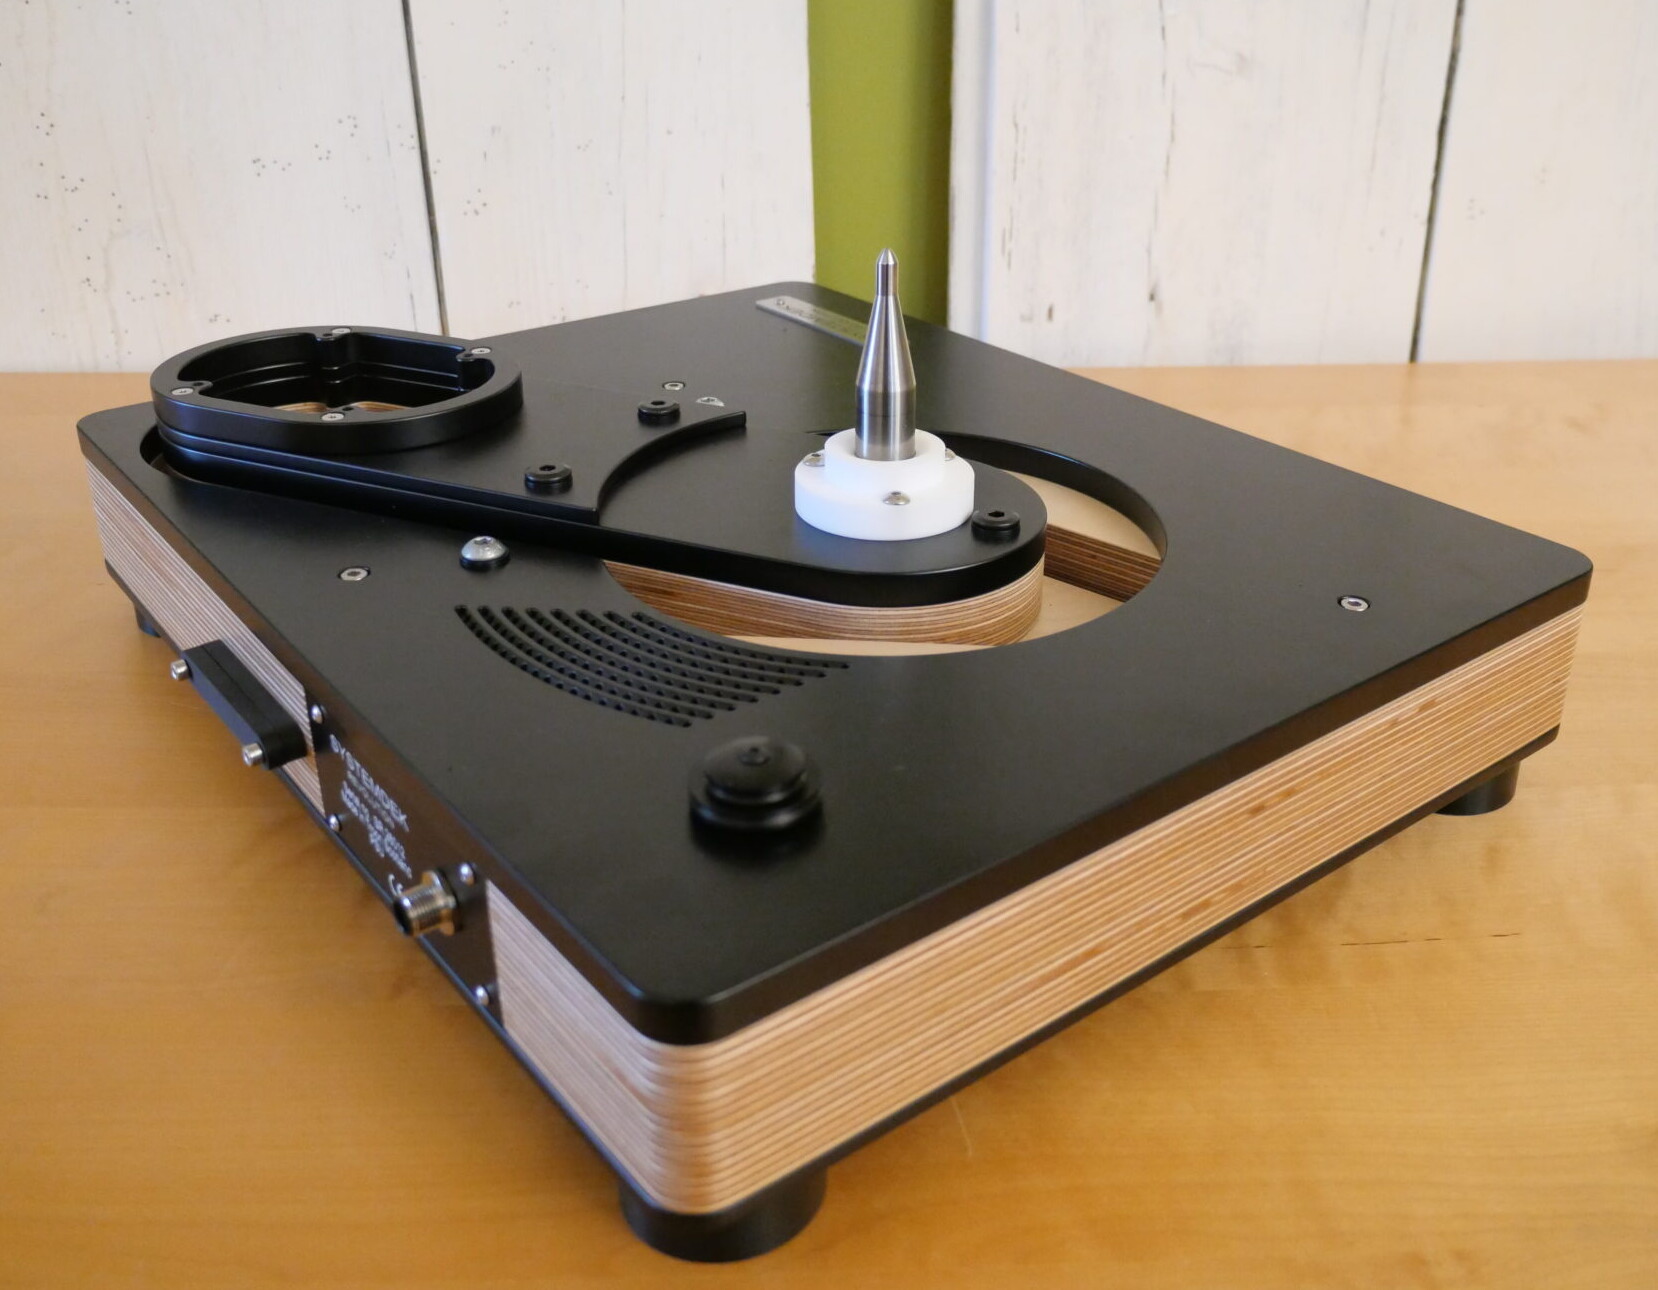
Now you can level the sub-chassis. Once you’ve got it spot-on, re-dress the arm-cable and check/adjust the level.
With all that done, you are finally ready to fine-tune the VTF, bias and cartridge azimuth. It might sound long-winded and complex, but it’s extremely logical and surprisingly quick, as long as you remember that what you are trying to do is level the point where the stylus meets the groove. Keep that in mind and it all falls into place.
Putting theory into practice…
I got to try the Revolution in several turntable/arm combinations, thanks in part to the easily exchangeable (and obtainable arm-boards). I tried the 9” Alphason HR-200S (£4,732.50), the more affordable and arguably more price-appropriate 9” Alphason Xenon.2 (£2,999.95) and perhaps most successfully of all, the Origin Live Zephyr, which at £1,250 builds into a £10K record player when combined with the Revolution and its outboard power supply. Despite the Zephyr’s single-nut, original Rega-style fixing, the space below the arm-board and within the upstand made mounting straight-forward, although precise VTA adjustment was less so.