

One other wrinkle with installing the front-end components: the CH power supplies and the Tai-Chi distribution unit are placed backwards in the rack. Whilst this would never pass muster in a domestic situation, it makes a whole lot of sense here. Not only does it give easy access to the Telos unit, making it easy to check AC phase for each component as well as ordering/prioritizing the sockets (all will become clear in the Telos review), it keeps most of the AC power cords on one side of the rack, away from the signal cables on the other. Unfortunately, the AKASA DC cables on the Wadax units are too short to allow this arrangement – but I’d do it to them too, if I could. Having access to the individual AC sockets also makes component changes significantly easier. Odin 2 power cords are a bear to work with, so anything that helps make them easier to wrangle during repeated system evolutions is always going to be welcome. For the same reason, all of the IEC plugs were equipped with Tripp Lite plug locks, to ensure a secure and consistent connection.
Alongside the Tai-Chi, I also employed the Telos Master Earth Grounding Unit, an active grounding solution that we’ve previously reviewed (https://gy8.eu/review/a-riddle-wrapped-in-mystery-inside-an-enigma/). Here, it is supported on HRS Nimbus footers, stood in a vertical attitude behind the rack, making its connections easily accessible for chassis and signal grounding. I also used the Telos Macro Quantum USB noise blockers in all of the CH Precision firmware upgrade ports. Although the active element in the Macro Qs doesn’t function, because the ports aren’t powered, they still have an audible benefit, just like the CAD USB controls. The two units sound different, with the Telos offering clarity and precision, the CADs a more rounded, warmer sound: you pay your money and makes your choice, depending on system and personal preferences.
Before cabling the system, all sockets and connectors were cleaned with Andante Largo Super TMD contact cleaner/enhancer. I discovered this cleaning fluid in Munich last year and it has quickly become indispensable, with a musical performance that eclipse all the alternatives I’ve ever used (https://gy8.eu/review/andante-largo-super-tmd-contact-cleaner-and-enhancer/). It’s a boringly tedious process but the results more than justify the effort. The good news is that, once cleaned, a domestic system (without the constant chopping and changing that afflicts review systems) should be good for a couple of years. Also, the average domestic set-up doesn’t use quite as many cables as this one!
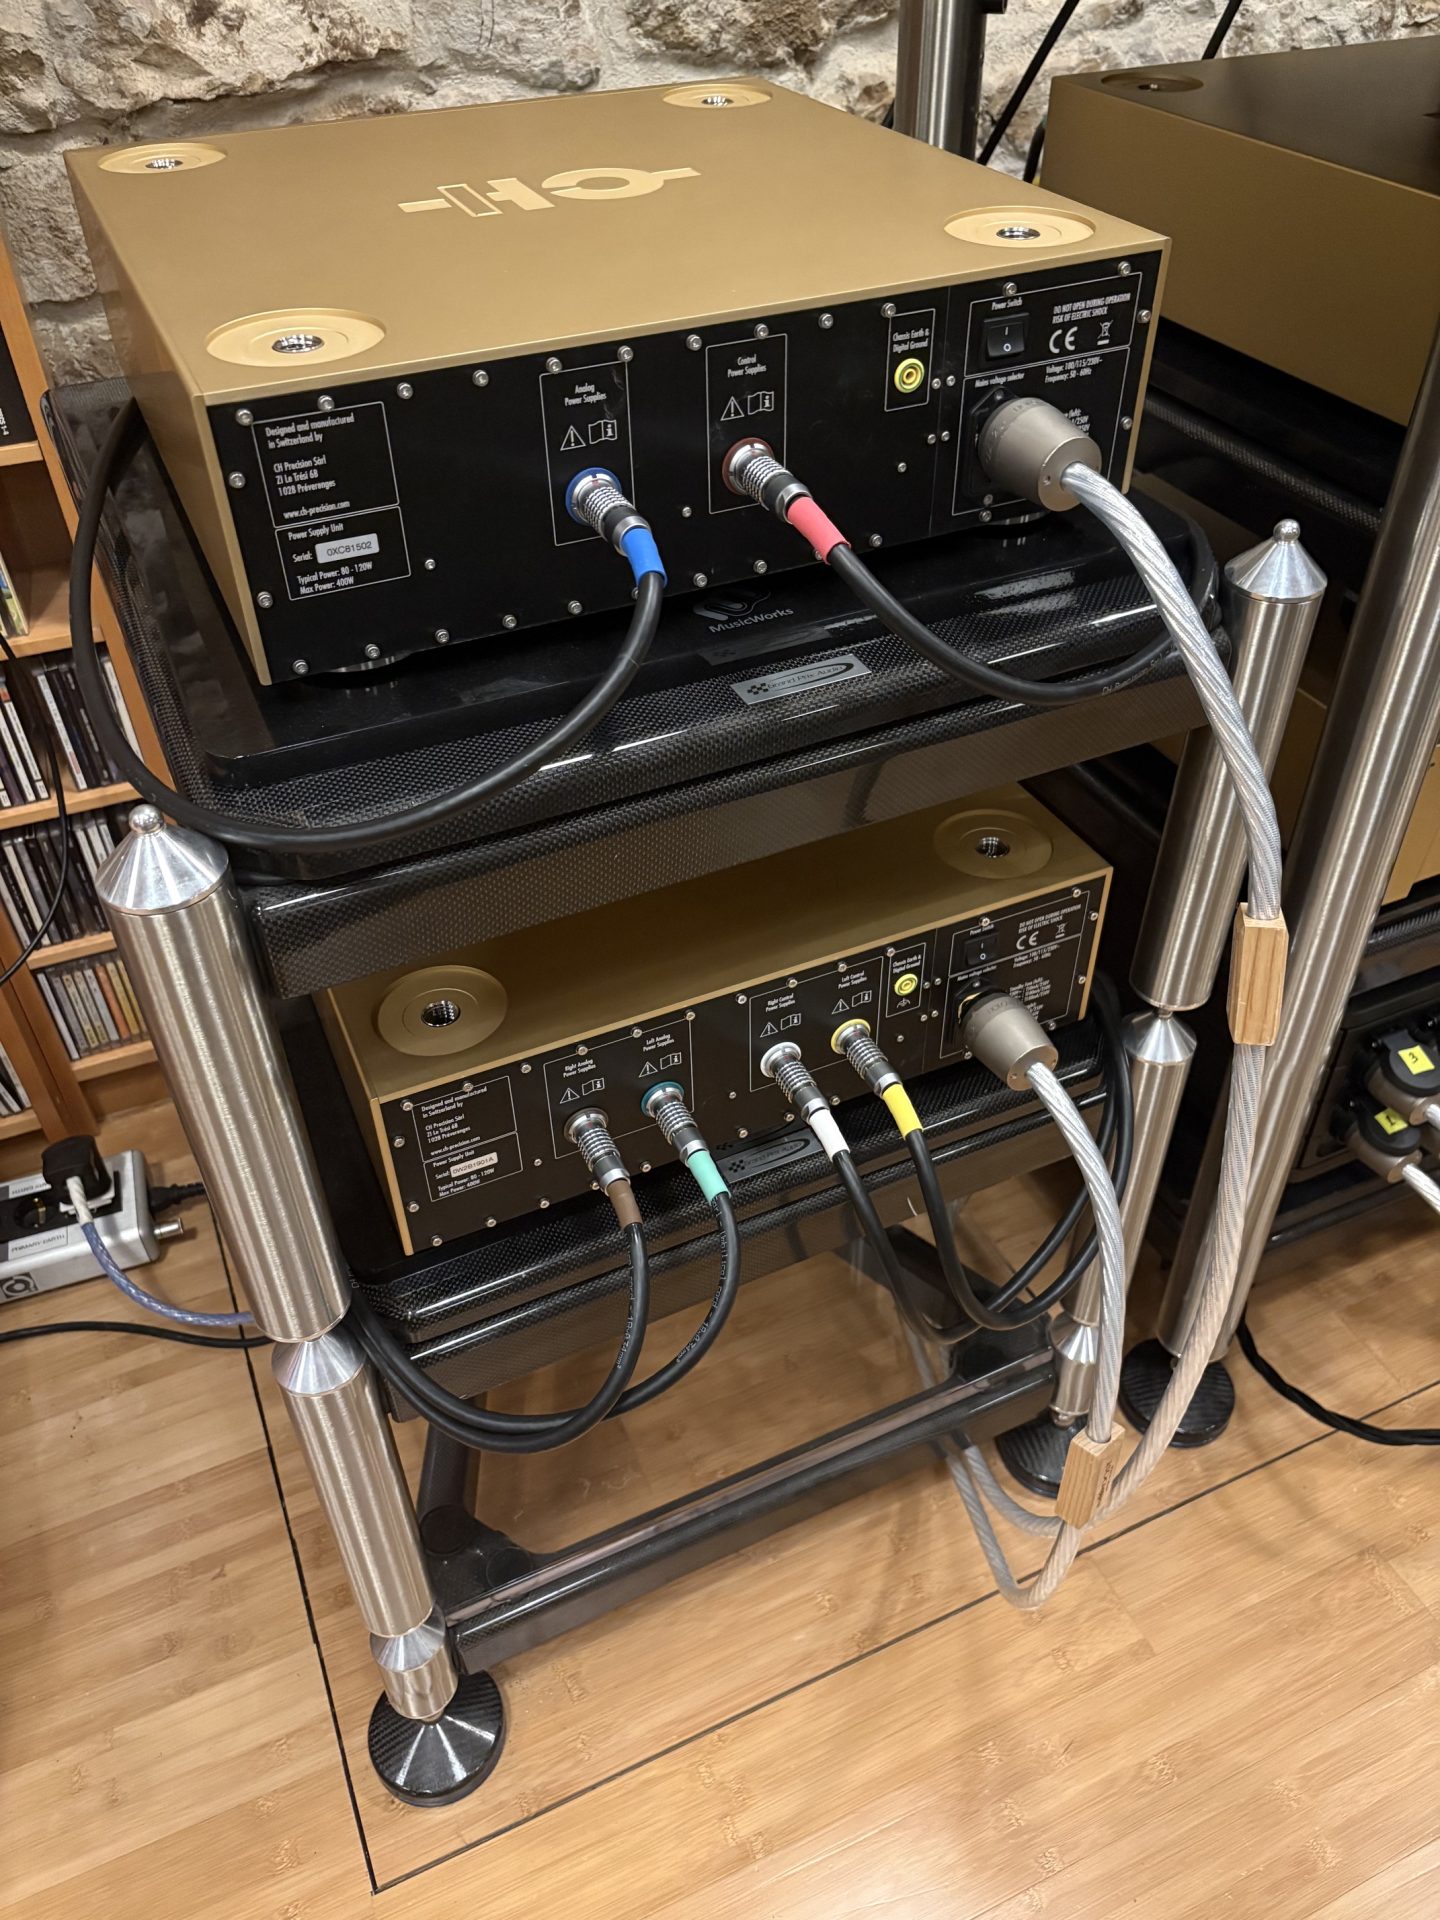
With everything cleaned it’s time to wire it all up, starting with the umbilicals on the 10 Series and AKASA DC on the Wadax units. I’ve already talked about the advantage of keeping the majority of the AC cables away from the signal leads, but you need to be careful with the DAC cables too. The umbilicals on the 10 Series components separate analogue and digital supplies, especially on the C10 DAC. Running those DC leads next to each other generates an audible rise in noise floor, along with a loss of clarity and fluidity. Likewise, be careful where you route the clock cables running from the T1) to the C10 and D10. Proximity to AC or DC leads has a similar impact, making me wonder just how anybody ever thought it was a smart idea to run control, digital signal, DC and clock cables down a single, composite cable – especially one that uses a non-impedance appropriate connection. Keeping cables separate and as far apart as possible, being careful how they cross when they have to and what they rest on is all part of maximizing system performance. A composite cable loom to lace together half a dozen digital boxes might make life easier, but it’s also a major compromise that erodes performance in what is supposed to be a no-compromise situation. Taking time on cable dressing and support pays significant musical dividends in terms of system performance – and at this price level, let’s take all the wins we can!
Bringing in the big guns…
With the front-end racks and components physically installed and wired up (save for parallel grounding arrangements, which obviously need an operating set-up to optimize), it was time to wheel in and install the Göbel speakers, an operation that demanded clearing the floor of almost all other items. Once the speakers were upright and unwrapped, we could finally bring in and install the power amps, located between and behind the plane of the speaker baffles.